[開箱] ASUS PA246Q
看板PC_Shopping (個人電腦購買)作者pertonas (崁入式訊息菜鳥™p)時間15年前 (2011/03/11 21:49)推噓7(7推 0噓 14→)留言21則, 11人參與討論串1/1
link : http://www.xfastest.com/viewthread.php?tid=58552&extra=page%3D1
這台LCD讓不少人等了許久… 一年前在德國Cebit展示的時候, 讓許多人眼睛一亮, 也受
到不少好評. 接著的台北Computex結束, 許多人開始在問, 東西呢? 怎麼還沒看到東西啊
…
轉眼飛逝, 2011年CES結束之前, 有消息指出即將到貨, 結果...大家都知道的…
終於…2011年的Cebit前, 美國終於開賣了…而台灣也在Cebit結束之後準備上市, 這樣就
等了一年…
作為ASUS第一台專業等級的LCD, 這台PA246Q到底是什麼地方讓人期待、也讓人觀望, 就
讓我們從規格表看起.
http://pic.xfastest.com/pertonas/PA246Q/246.JPG
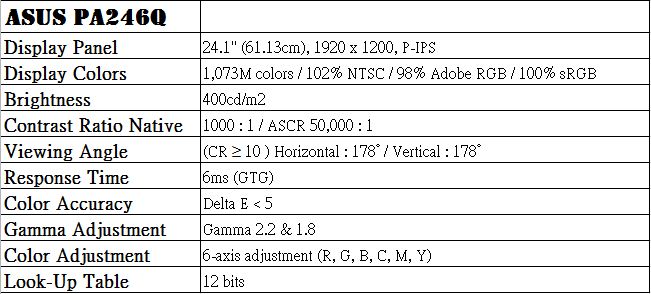
有別於S-IPS面板, ASUS PA246Q採用了更高階的P-IPS面板, 全名為Professional-IPS或
是tftcentral將之稱為Performance-IPS, 尺寸大小在24” – 30”之間, 屬於H-IPS中的
一個分支, 主要是NEC為了區分10-bit產品線而延伸出來的產物.
可能要注意的地方在於P-IPS並非真正的10-bit, 實際上它提供的是8-bit的模組, 10-bit
的接收器. 然而透過了FRC技術, 讓它產生了1.07M的Color Palette(10-bit).
跟過去ASUS LCD的外箱也非常大的差異性, 這台LCD的箱子為什麼那麼大一箱, 也搭配了
一些色彩進去.
http://pic.xfastest.com/pertonas/PA246Q/1.jpg
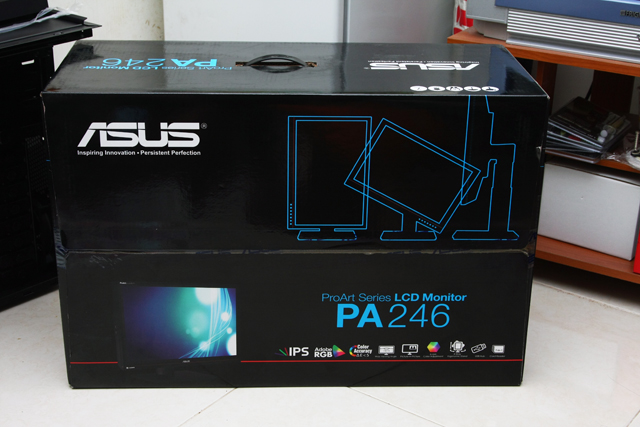
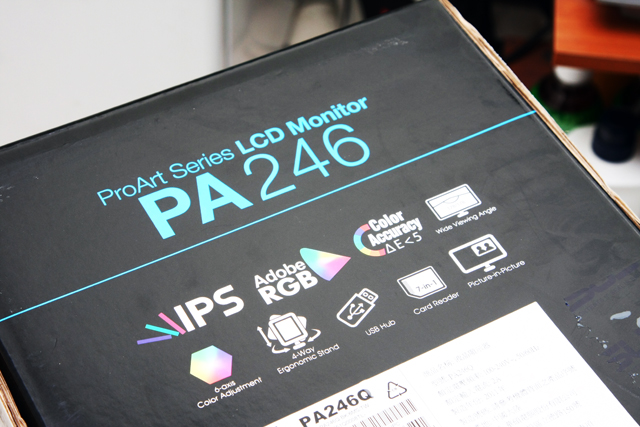
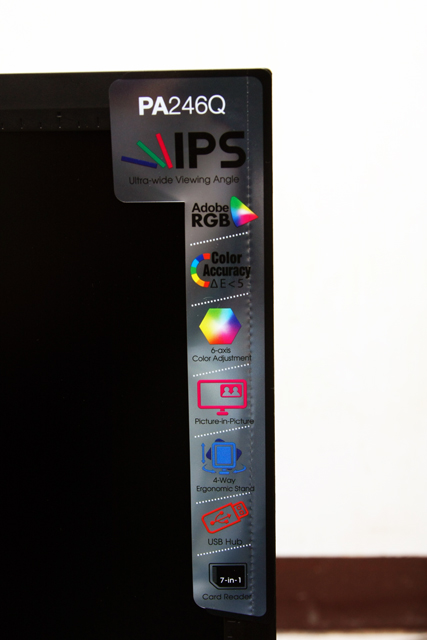
特色都印上去了, IPS面板、Adobe RGB、delta E < 5、廣視角、PIP、6 axis Color
Adjustment、四向翻轉、USB HUB以及7 in 1讀卡機.
http://pic.xfastest.com/pertonas/PA246Q/2.jpg
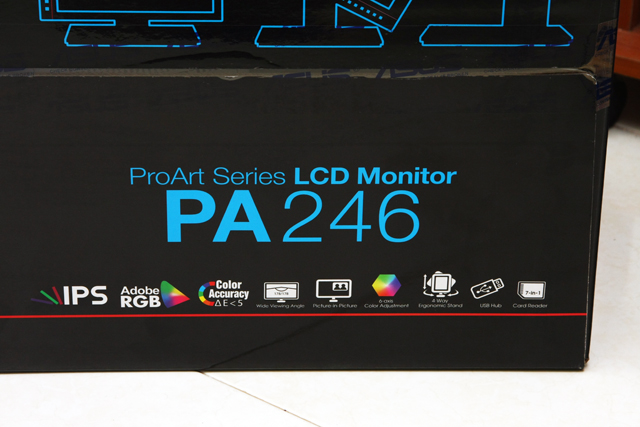
側邊部分, 也有同樣的印有同樣的圖案.
http://pic.xfastest.com/pertonas/PA246Q/3.jpg
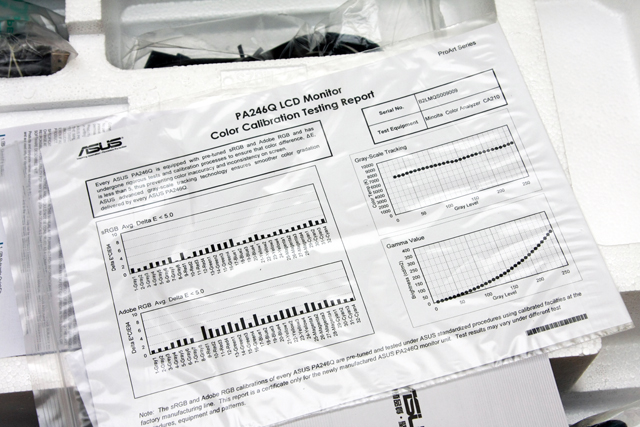
每一台PA246Q出貨之前, 都會經過專業的調校, 而結果都會輸出到這張報表中, 提供各位
做一個參考.
http://pic.xfastest.com/pertonas/PA246Q/4.jpg
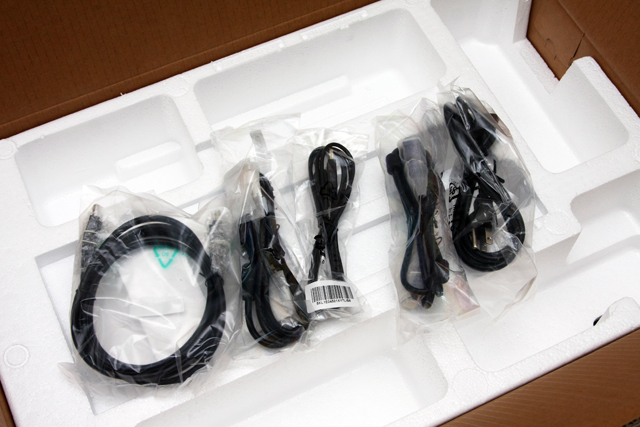
線材部分, 除了HDMI沒有提供之外, 包含了DisplayPort、D-sub、DVI、USB以及Power
Cord都可以在盒子內尋獲.
http://pic.xfastest.com/pertonas/PA246Q/5.jpg
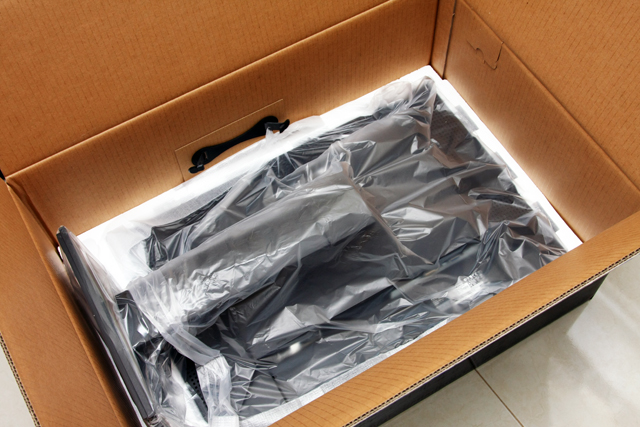
PA246Q由兩層很厚的保麗龍套著, 基本上不需要擔心運送途中會發生什麼問題. 腳架部分
已經固定好, 直接搬出來接上線材就能夠使用, 很方便.
http://pic.xfastest.com/pertonas/PA246Q/6.jpg
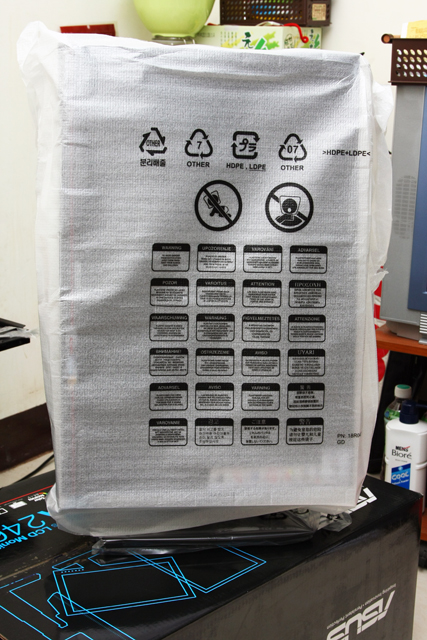
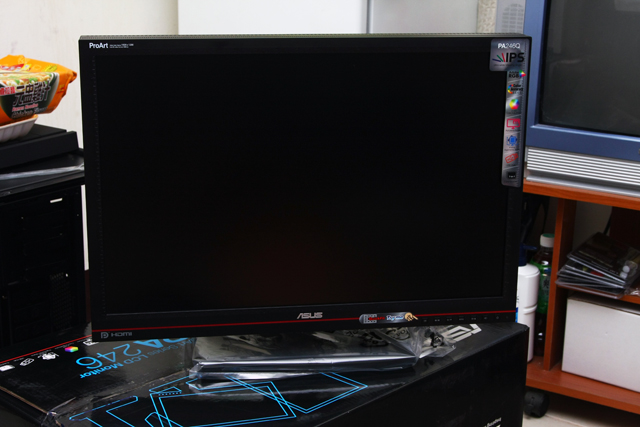
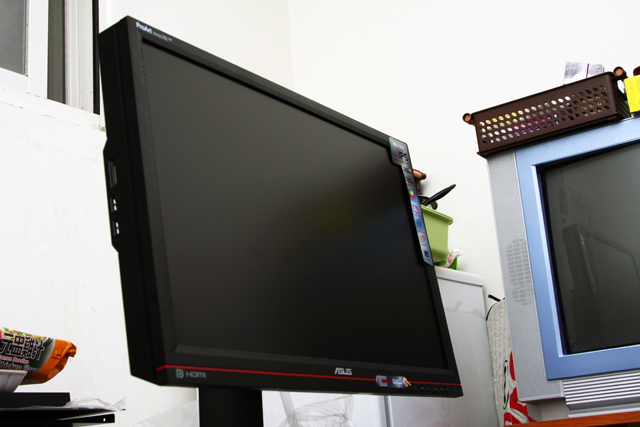
把外套移除之後, PA246Q呈現在眼前.
http://pic.xfastest.com/pertonas/PA246Q/8.jpg
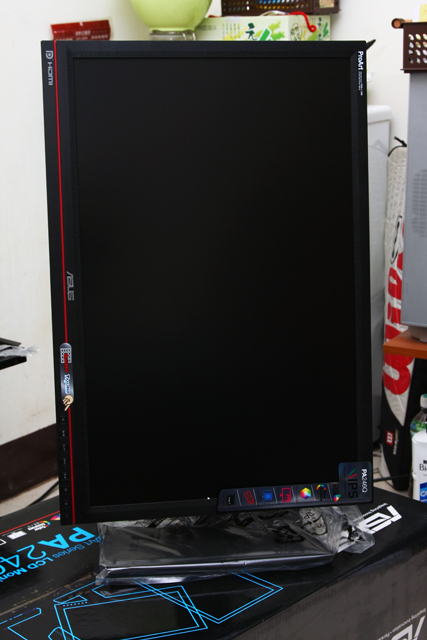
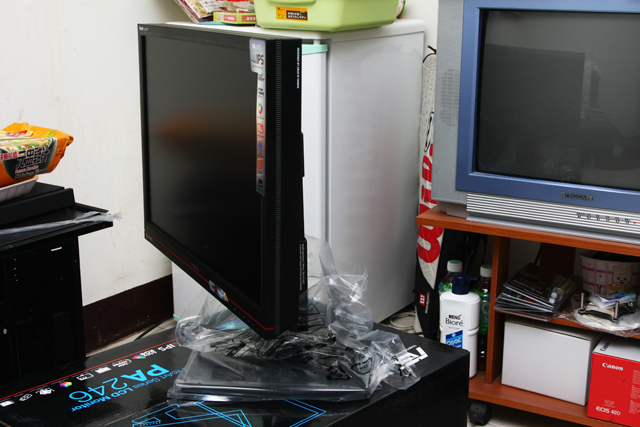
橫向處理一下, 這個高度已經是調整到最頂端了.
http://pic.xfastest.com/pertonas/PA246Q/9.jpg

中央伍為準, 向左轉!!!
http://pic.xfastest.com/pertonas/PA246Q/11.jpg
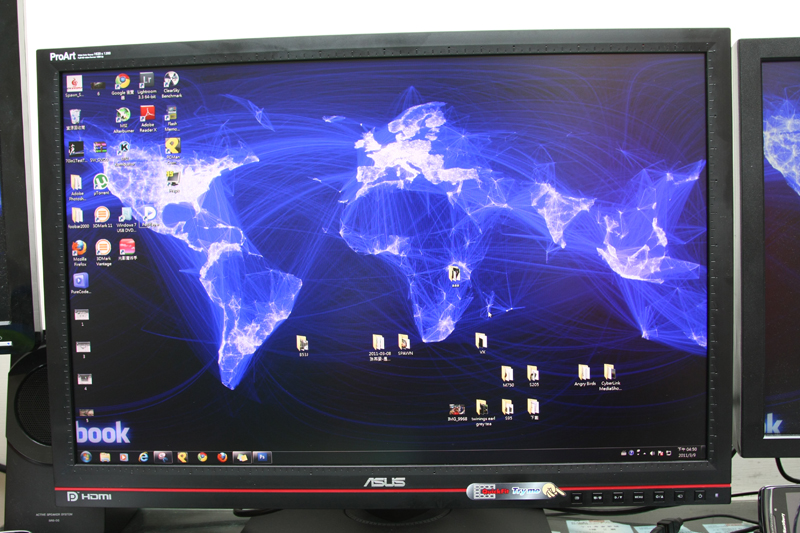
PA的涵義就是ProArt, 要走專業級繪圖、設計專用的LCD路線. 採用16”10的面板, 提供
1920 x 1200的解析度, 同時能夠支援FHD的格式.
http://pic.xfastest.com/pertonas/PA246Q/13.jpg

還是要再強調一次特色…
http://pic.xfastest.com/pertonas/PA246Q/14.jpg
從下往上看, 一整個就感覺很威.
http://pic.xfastest.com/pertonas/PA246Q/15.jpg
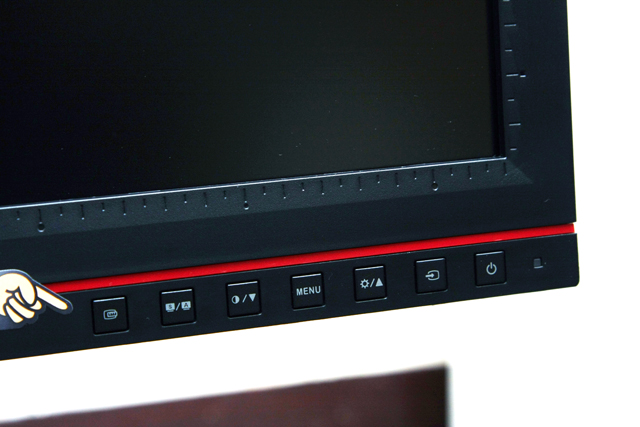
開關部分, 從右到左依序為電源開關、端子切換、亮度、MENU、對比度、模式切換以及
QuickFit.
http://pic.xfastest.com/pertonas/PA246Q/16.jpg
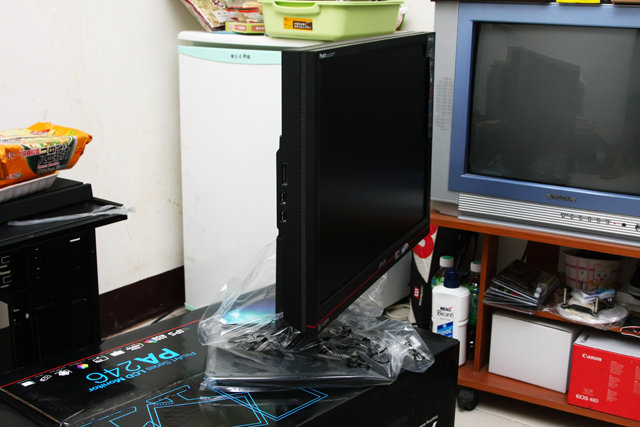
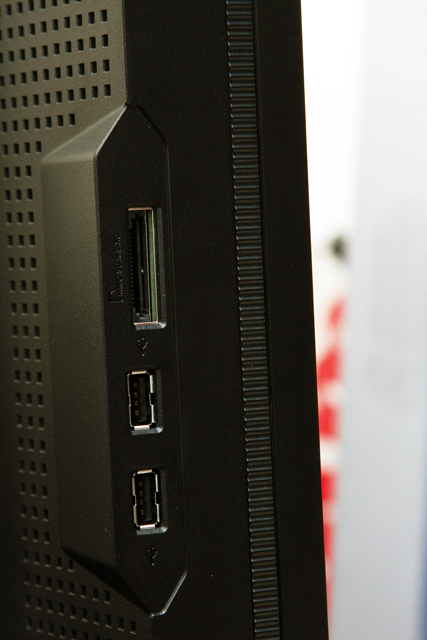
7 in 1讀卡機以及兩組USB 2.0裝置.
http://pic.xfastest.com/pertonas/PA246Q/17.jpg
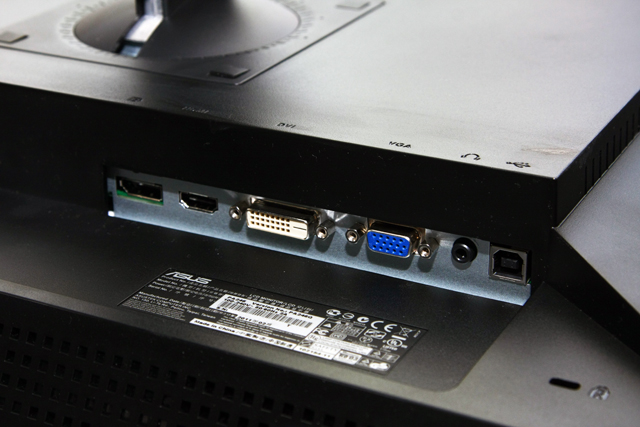
端子部分, 從左到右依序為DP、HDMI、DVI、D-SUB、Jack-in以及USB HUB的接頭, 另外
LCD上也有配置防盜鎖孔.
http://pic.xfastest.com/pertonas/PA246Q/18.jpg
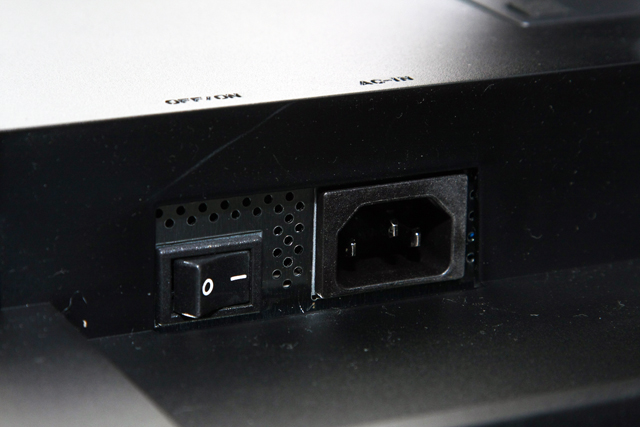
電源孔位部分也有另外設置開關.
http://pic.xfastest.com/pertonas/PA246Q/19.jpg
接著我們來看看腳架的部分, 底部有防滑墊避免在桌面上任意的滑動.
http://pic.xfastest.com/pertonas/PA246Q/20.jpg
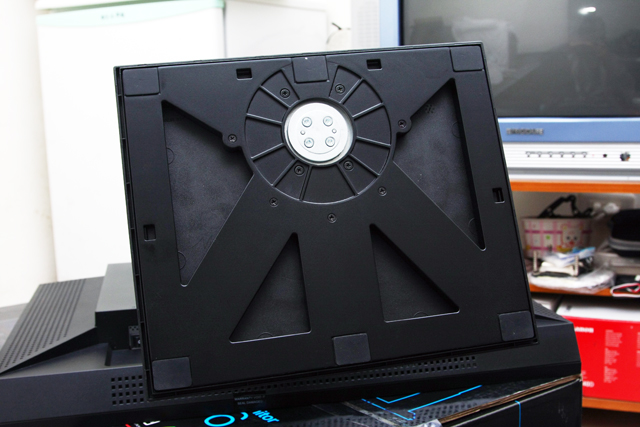
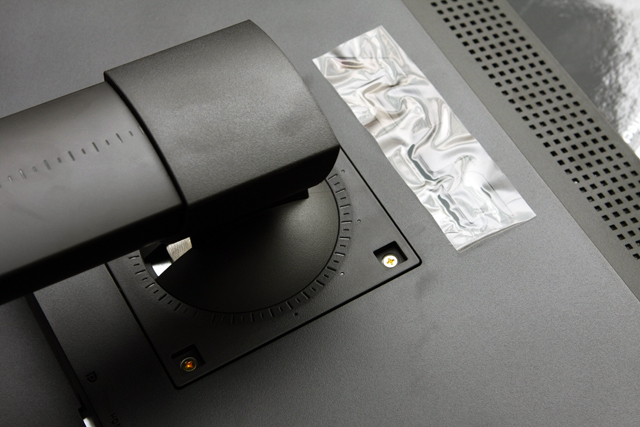
VESA孔位, 使用螺絲來固定腳架, 要拆裝的話似乎比較麻煩一些.
http://pic.xfastest.com/pertonas/PA246Q/21.jpg
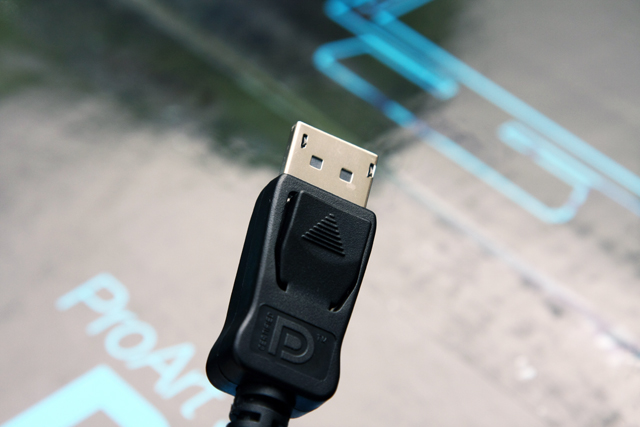
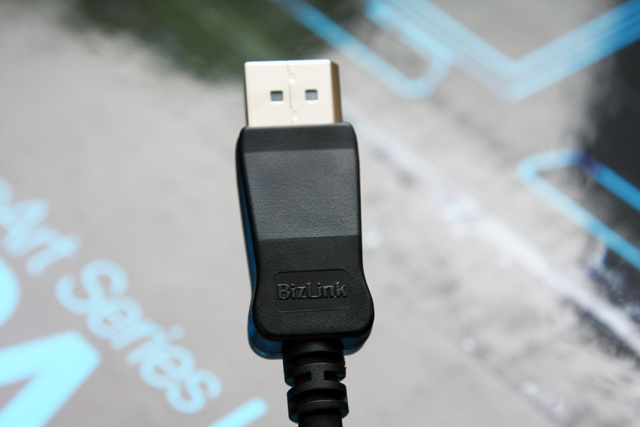
就使用Display Port輸出吧, 線材的部分是由Bizlink所生產. 是否感覺跟HDMI有點相似
呢? 但也不用怕接錯, 因為HDMI孔位容納不下它…
http://pic.xfastest.com/pertonas/PA246Q/22.jpg
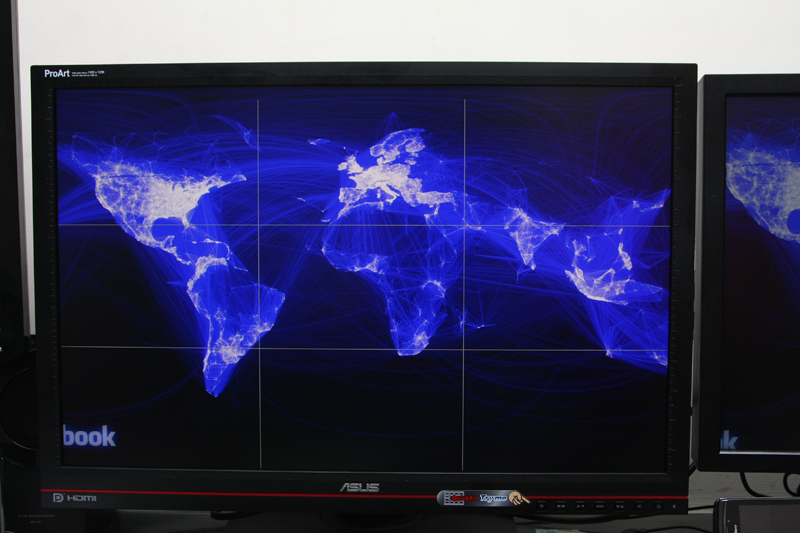
PA246Q的QuickFit是一個很有趣的功能, 先看看圖片.
1. Centimeters
http://pic.xfastest.com/pertonas/PA246Q/24.jpg
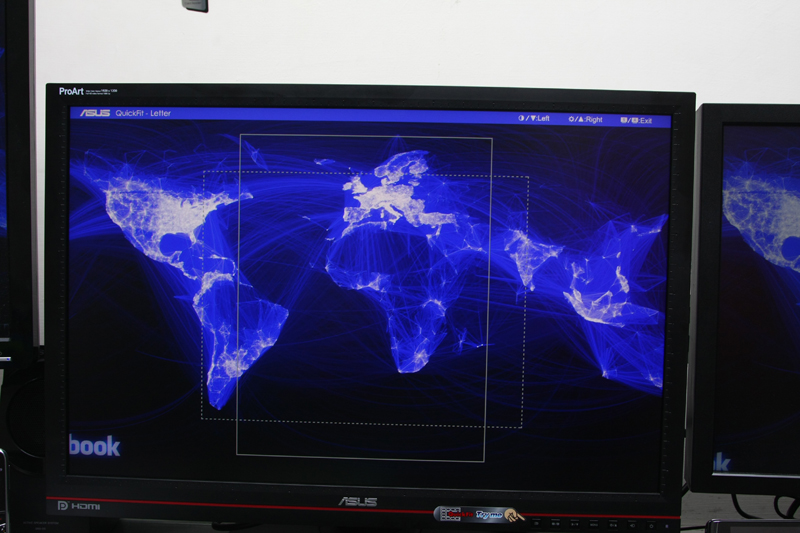
3. Alignments
http://pic.xfastest.com/pertonas/PA246Q/26.jpg

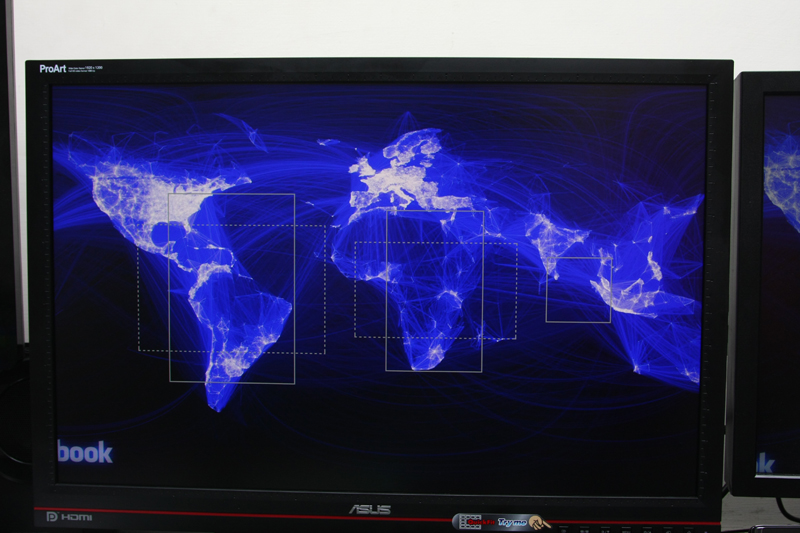
6. 4 x 6、3 x 5、2 x 2
http://pic.xfastest.com/pertonas/PA246Q/29.jpg
7. 8 x 10、5 x 7
http://pic.xfastest.com/pertonas/PA246Q/30.jpg
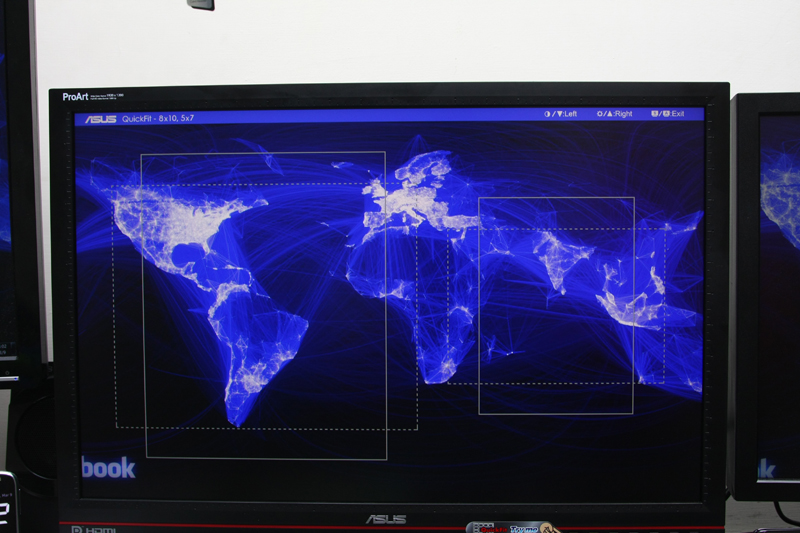
7種尺標, 對於長時間使用編輯、設計軟體的使用者而言, 這是一種貼心的設計.
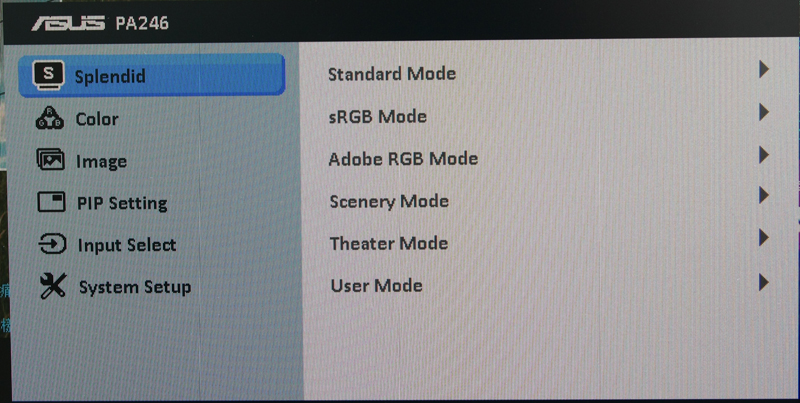
Splendid部分, ASUS提供了5種預設模式 – Standard、sRGB、Adobe RGB、Scenery、
Theater以及使用者自訂模式.
http://pic.xfastest.com/pertonas/PA246Q/m1.jpg
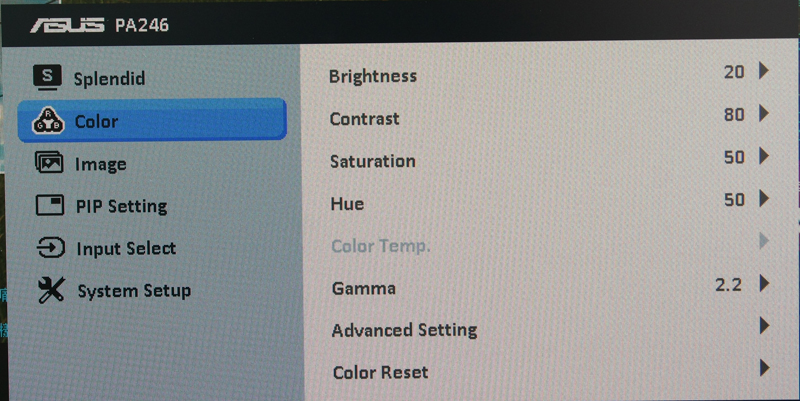
Color部分在使用者自訂模式下, 可以依照自己喜好進行調整, 而在其他預設模式下是無
法進行調整的.
http://pic.xfastest.com/pertonas/PA246Q/m2.jpg
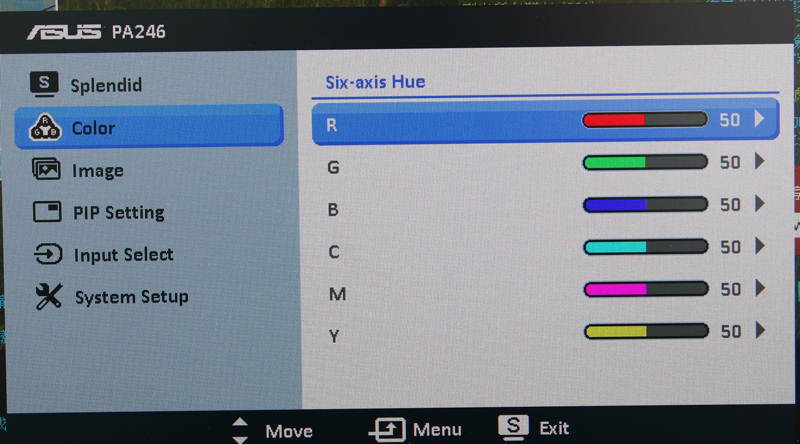
至於色彩部分, 能夠調整的有
1. Six-axis Saturation
http://pic.xfastest.com/pertonas/PA246Q/m7.jpg

2. Six-axis Hue
http://pic.xfastest.com/pertonas/PA246Q/m8.jpg
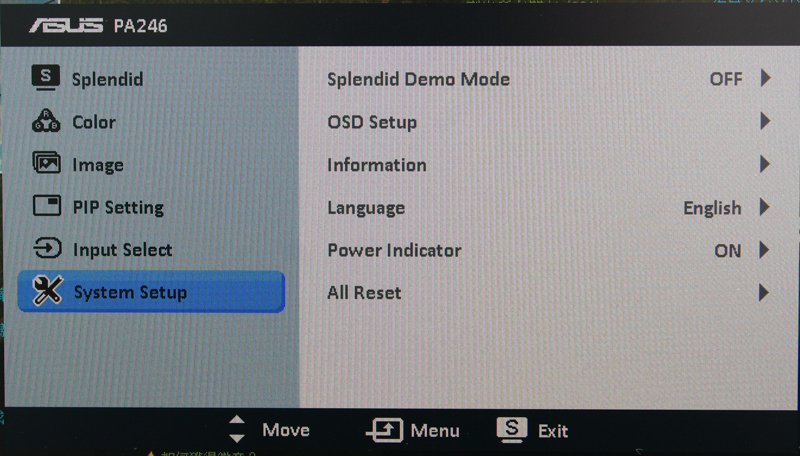
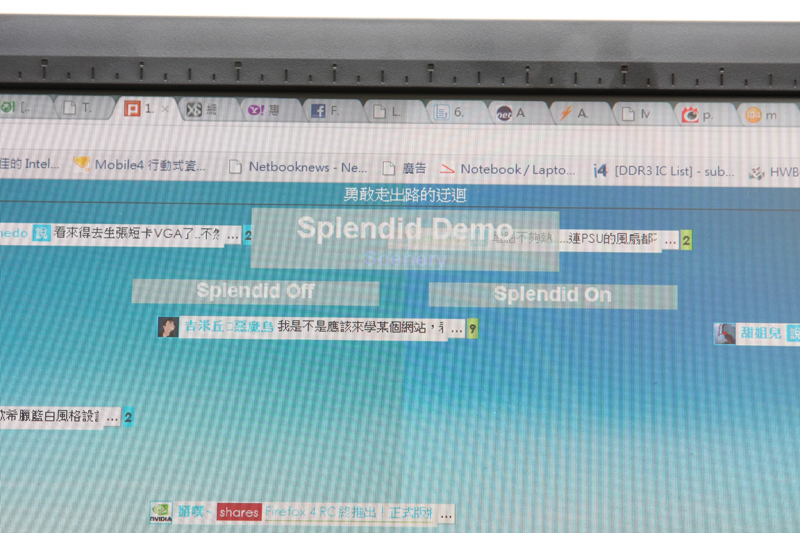
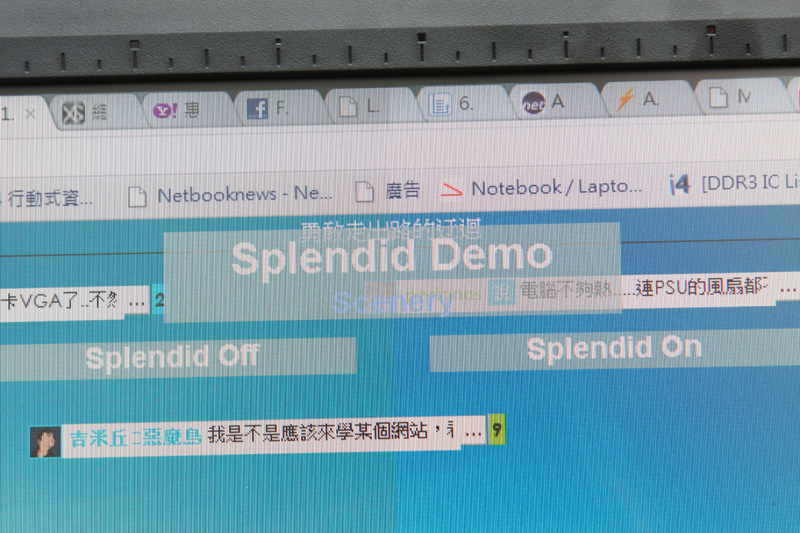
System Setup的部分內含了Splendid Demo, 可以同時比較兩個情境的差異, 看看是否能
夠感覺得到.
http://pic.xfastest.com/pertonas/PA246Q/m6.jpg
User Mode VS Standard
http://pic.xfastest.com/pertonas/PA246Q/m12.jpg
User Mode VS sRGB
http://pic.xfastest.com/pertonas/PA246Q/m13.jpg
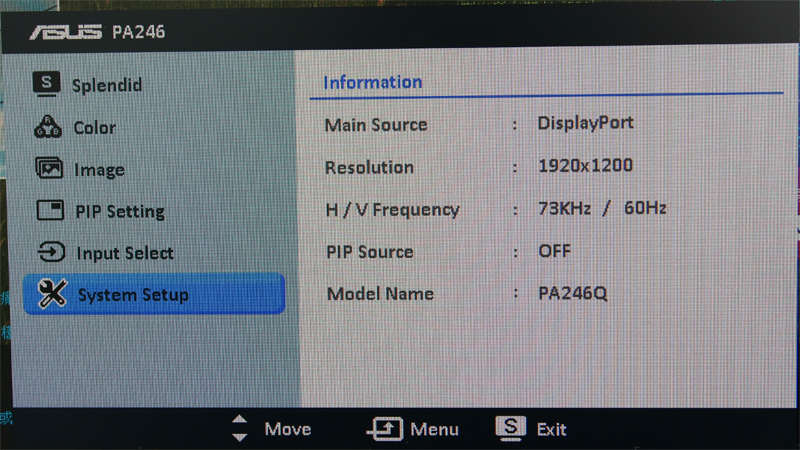
Information部分, 目前使用的接頭是Display Port.
http://pic.xfastest.com/pertonas/PA246Q/m14.jpg
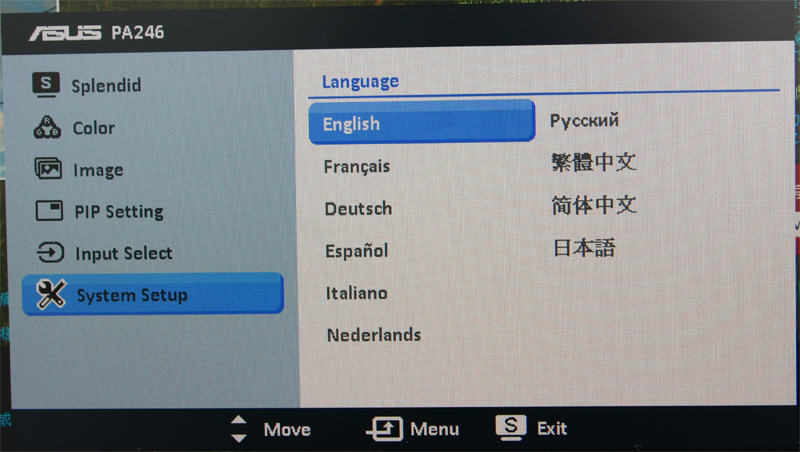
包含了繁體中文, 一共有10種語言提供使用者作選擇.
http://pic.xfastest.com/pertonas/PA246Q/m15.jpg
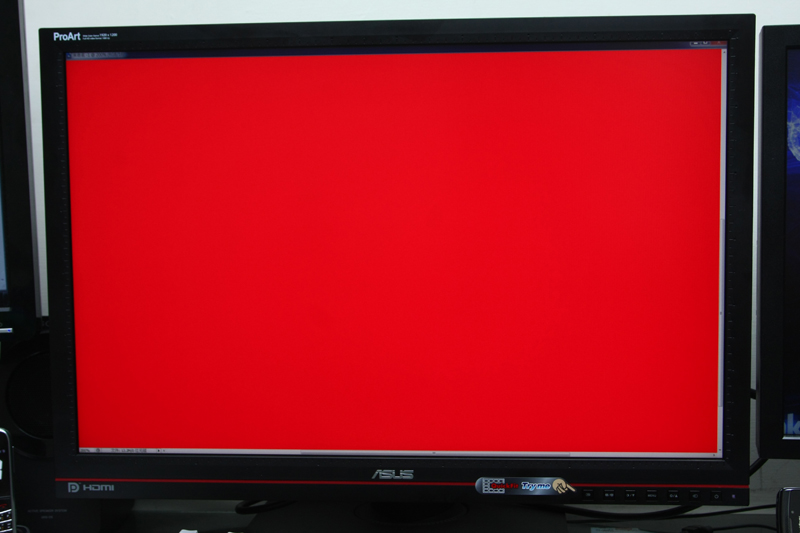
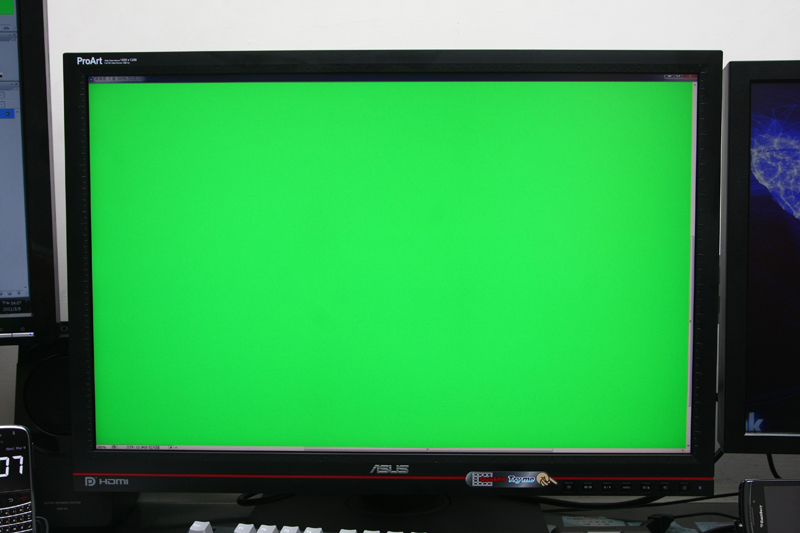
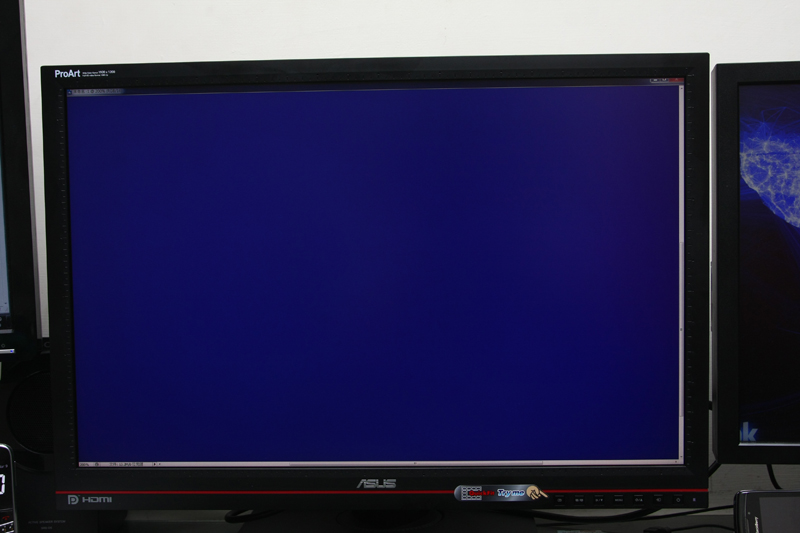
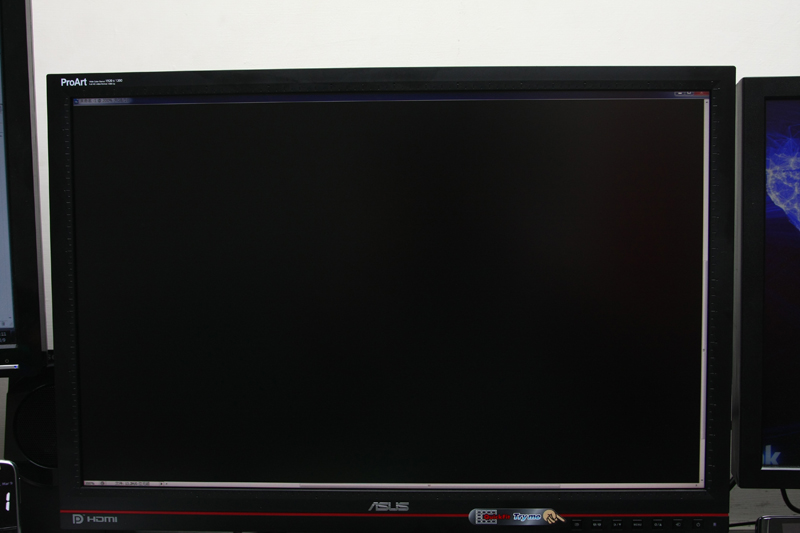
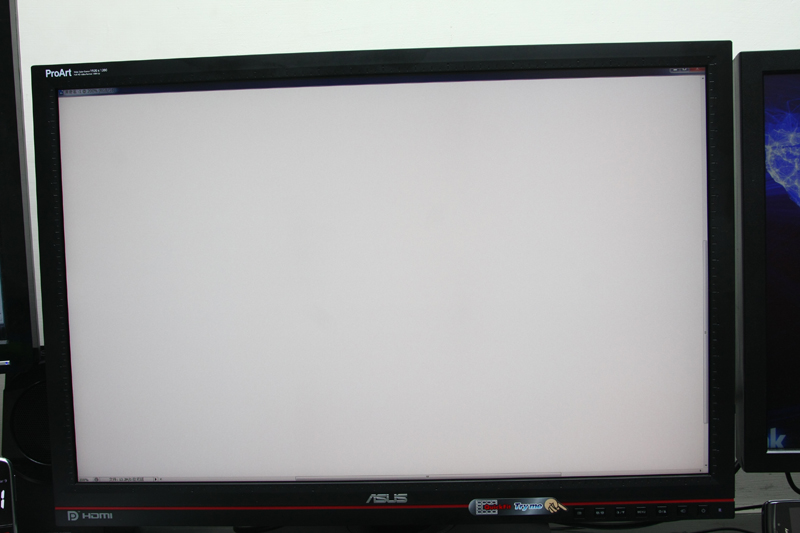
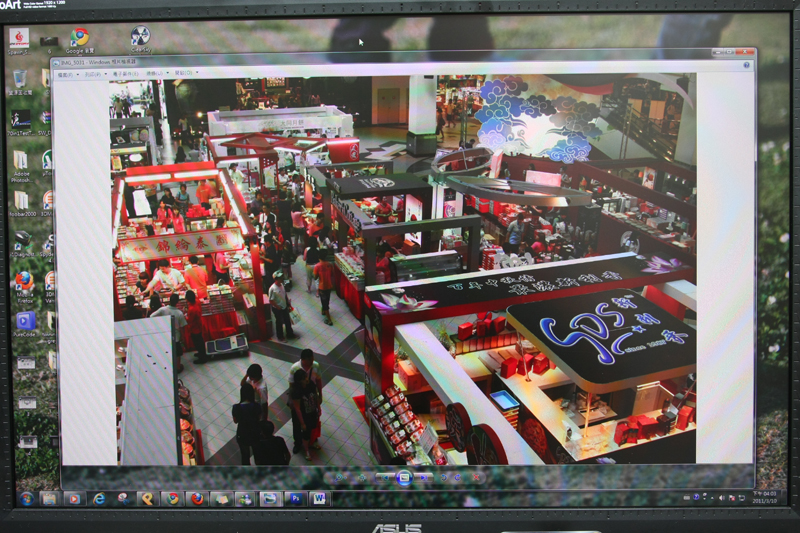
看看PA246Q的實際表現.
三原色加上黑色以及白色的畫面, 並沒有發現任何的亮、暗點.
http://pic.xfastest.com/pertonas/PA246Q/31.jpg
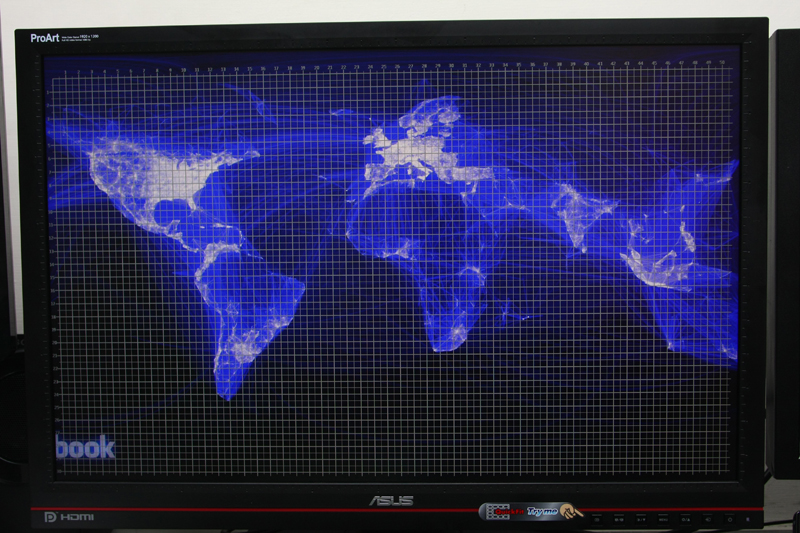
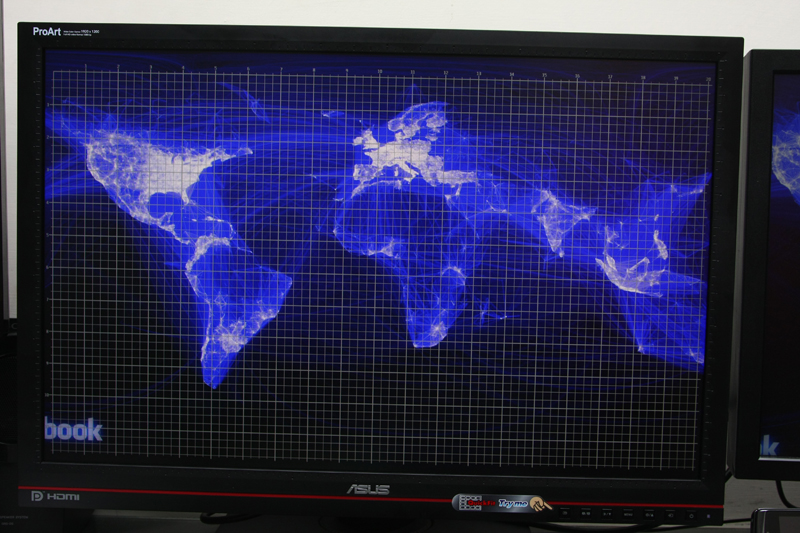
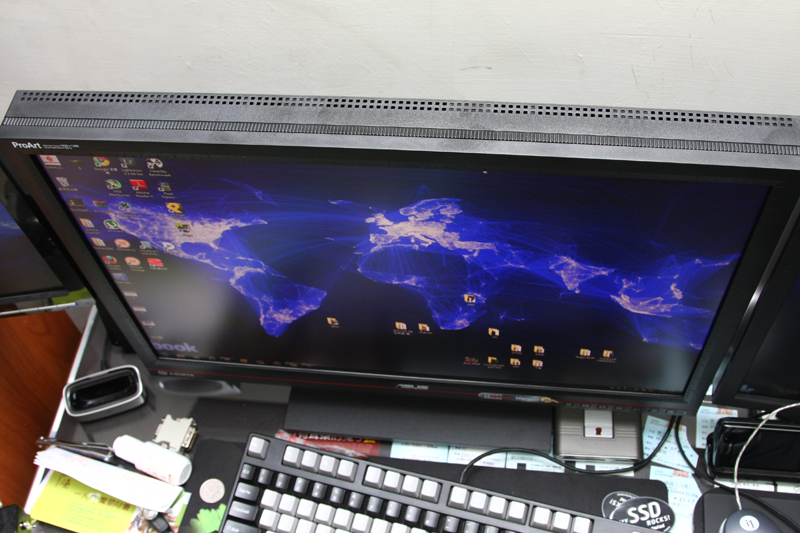
看看IPS的優點 – 可視角度的優勢.
http://pic.xfastest.com/pertonas/PA246Q/39.jpg
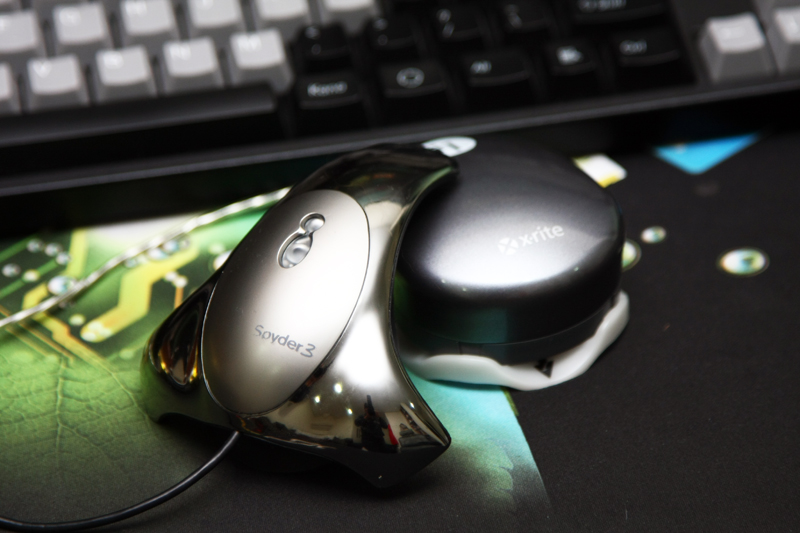
接著當然要出動一下校色器調校之後的表現. Spyder 3 Elite 跟i1D2兩個
校色器一起來玩一下, 但是針對廣色域的部分, 找過很多資料, 也問過不少朋友, 都說支
援並不太佳, 但還是提供資料給各位參考看看.
http://pic.xfastest.com/pertonas/PA246Q/37.jpg
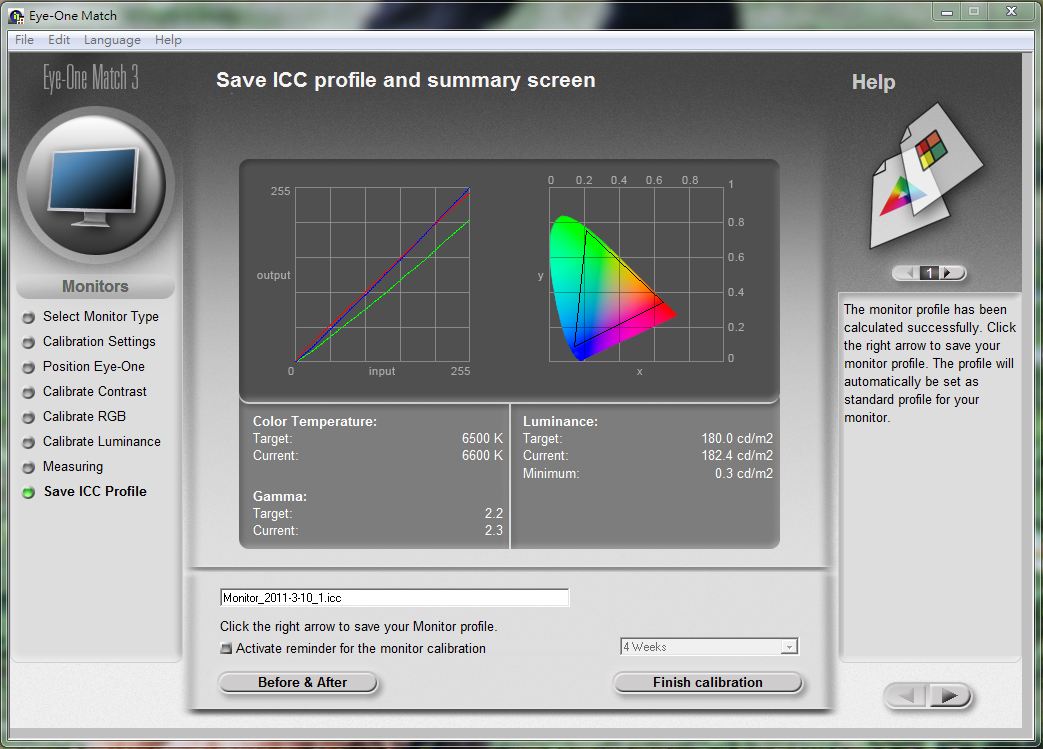
看看i1D2的校色.
User模式下讀出來的數據
http://pic.xfastest.com/pertonas/PA246Q/4i.JPG
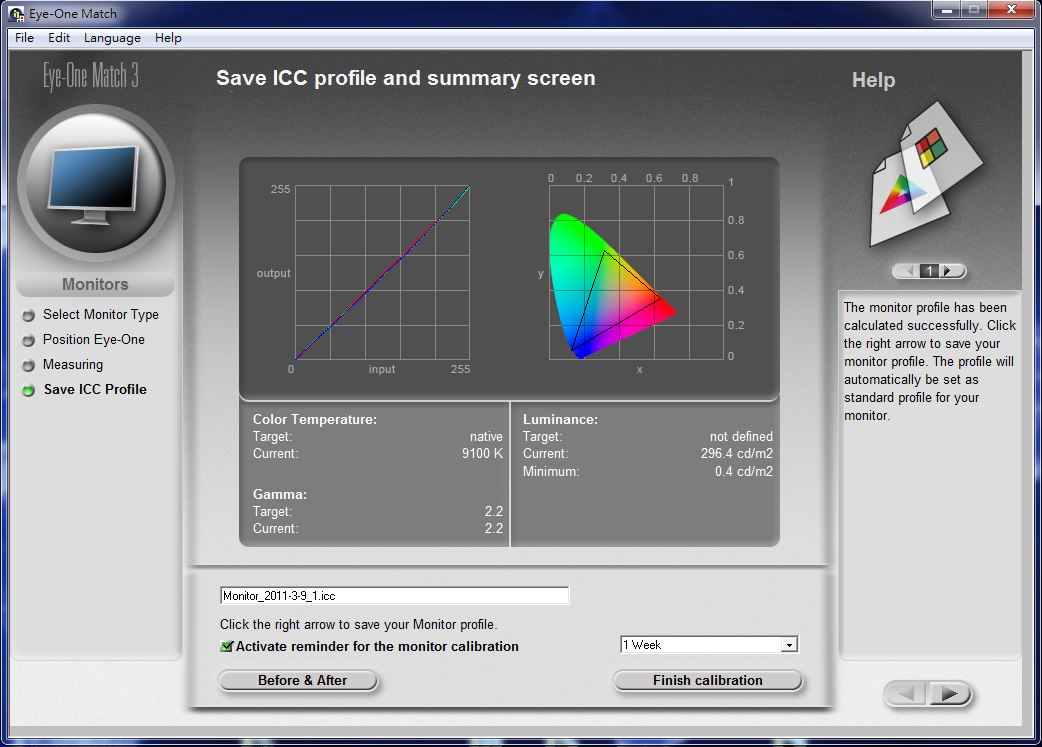
6500K, Gamma2.2, Luminance 180設定下, 校色結果.
http://pic.xfastest.com/pertonas/PA246Q/i1i.JPG
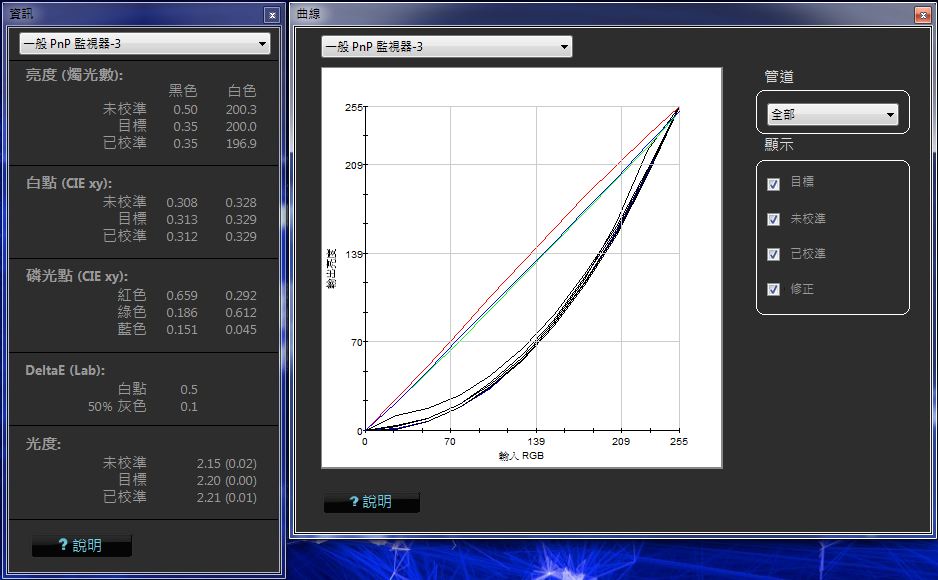
接著我們看看Spyder 3 Elite.
http://pic.xfastest.com/pertonas/PA246Q/s2.JPG
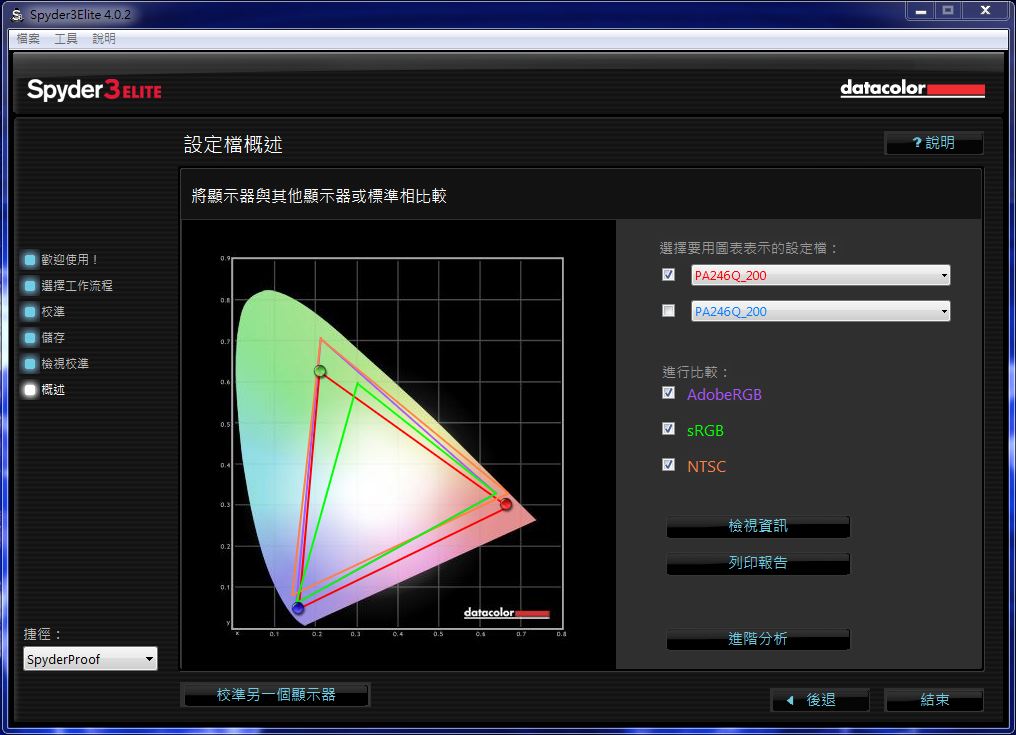
顯示卡使用的是AMD RADEON HD5570, 搭配AMD 11.2驅動版本. K值設在6500K,
Luminance 為200 cd/m2, 而Gamma則為2.2
同張圖片下, 三個icc檔案的差別. (僅縮圖, 未進行任何調整)
Win7 裡面內建的sRGB.
http://pic.xfastest.com/pertonas/PA246Q/43.jpg
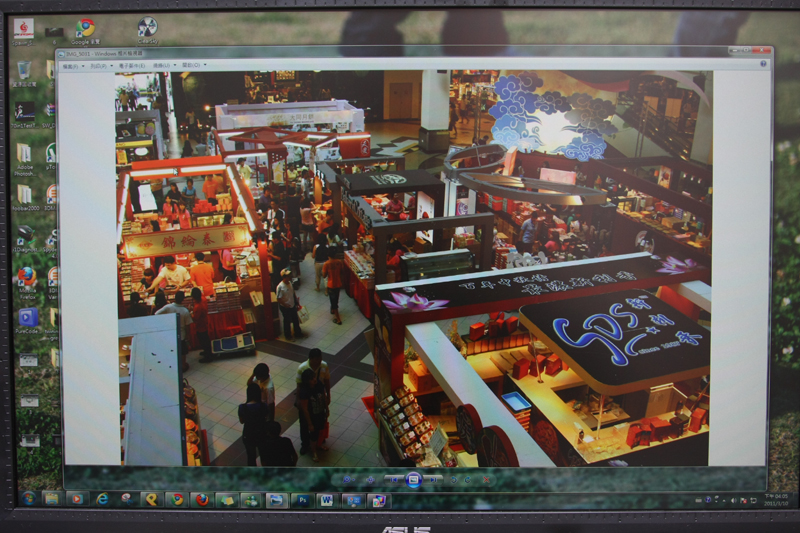
Spyder 3 Elite
http://pic.xfastest.com/pertonas/PA246Q/spider.jpg
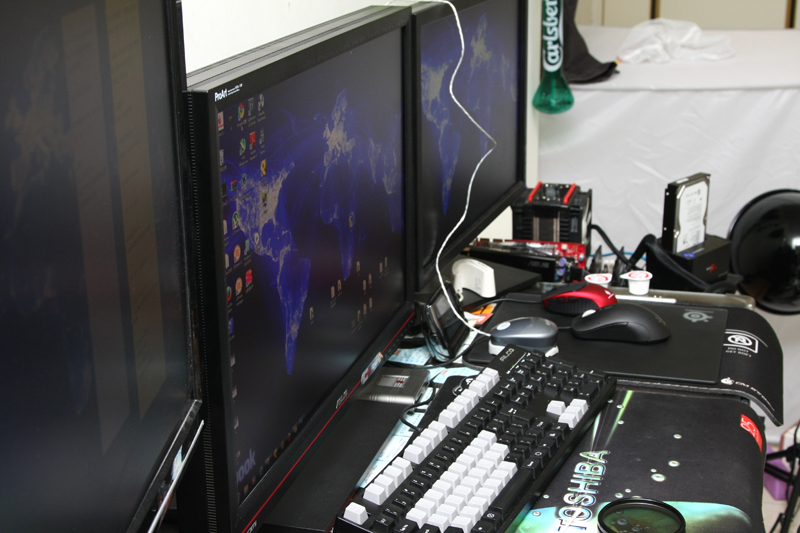
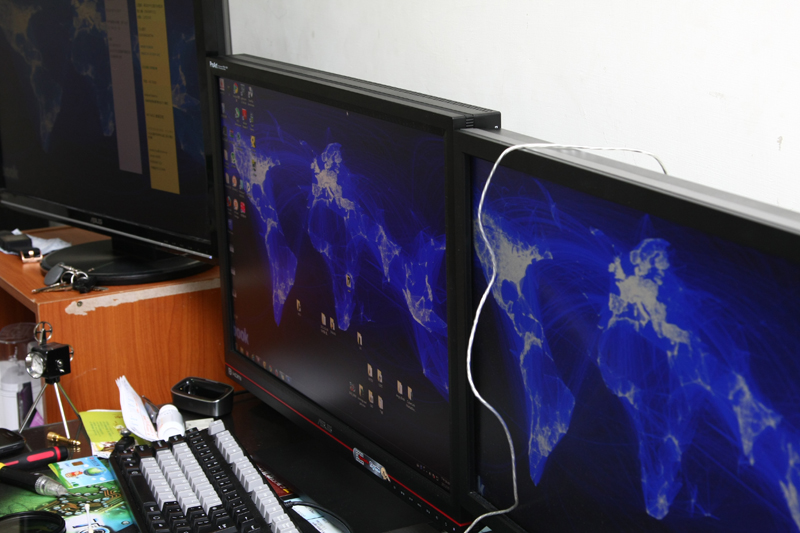
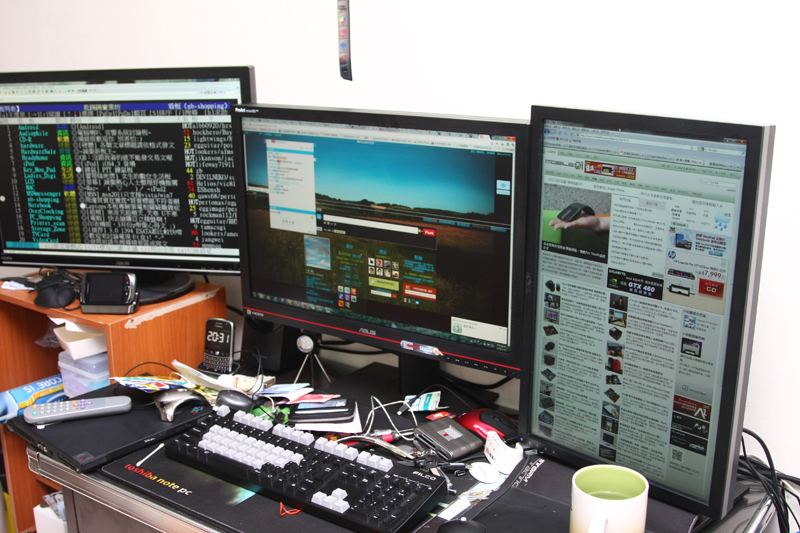
我目前的工作平台完整呈現. VW266H、PA246Q、S2209, 加上出門使用的小黑X61.
http://pic.xfastest.com/pertonas/PA246Q/44.jpg
這個坑相當的大, 看過IPS面板之後, 真的會被吸引.
以ASUS第一台專業的P-IPS PA246Q而言, 國外測試普遍出現的偏紅現象, 其實小P這裡也
有發現到類似的情況, 但偏色似乎都會在IPS面板出現類似的問題, 但是還不至於影響到
整體使用環境.
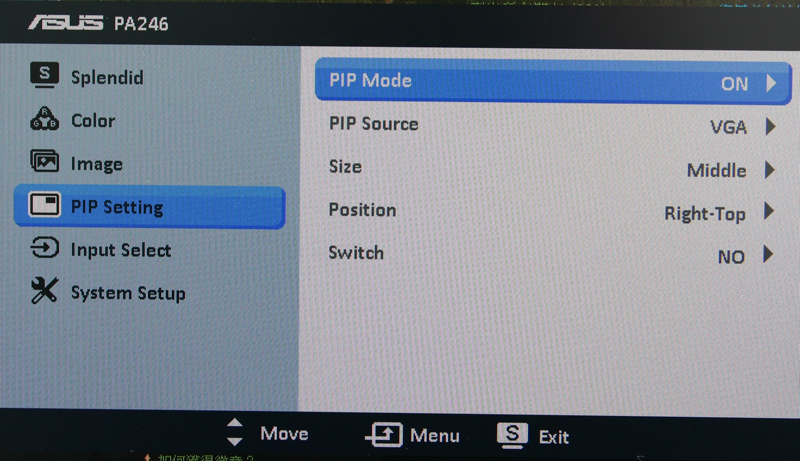
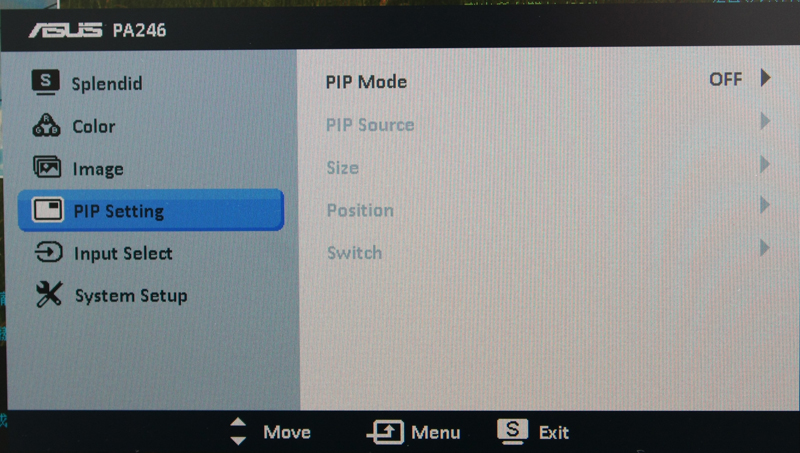
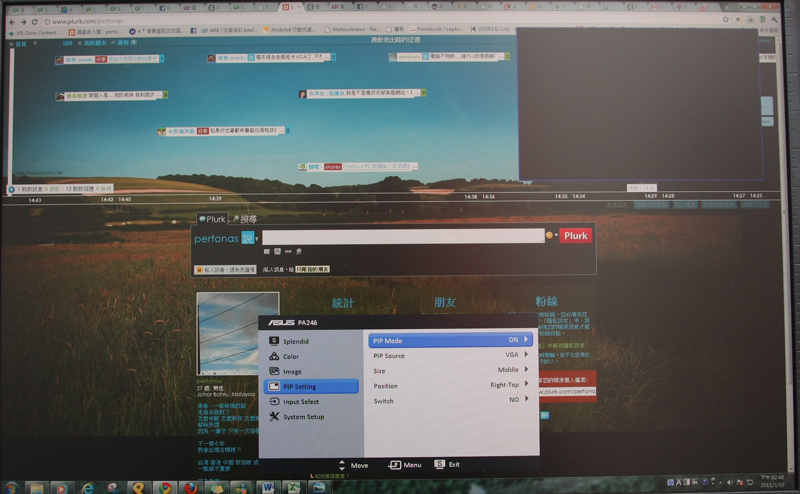
在輸出部分, 目前主流的端子皆有的情況下, 並且搭配PIP功能, 足以應付眾多使用者的
需求. 若是能夠提供兩組DVI, 聽起來相當的不錯.
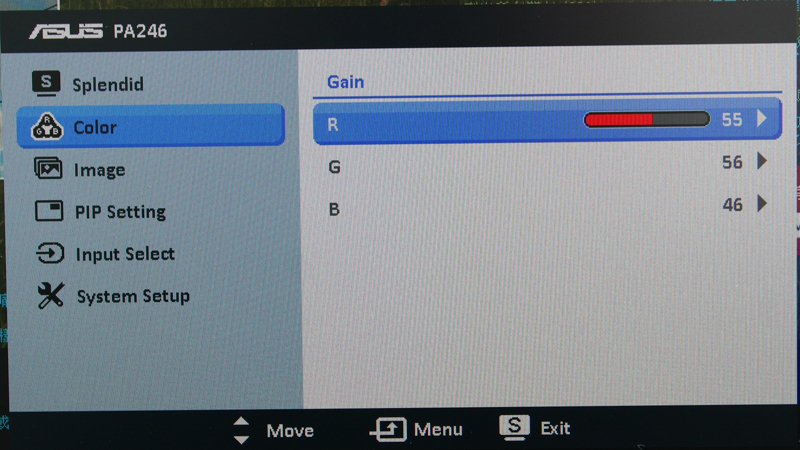
針對RGBCMY六原色分別進行調整, 這一個比較有趣, 但若沒有儀器的話, 還是不建議用眼
睛進行校色. 但是針對廣色域的部分, Spyder 3 Elite 跟i1D2似乎無法勝任…
至於價格部分, 就不討論了.
除了PA246Q之外, ASUS似乎針對IPS跟VA部分都有所動作, 不知道接下來的COMPUTEX是否
能夠看到後續的產品, 或是更早就推出市場呢?
簡單的跟各位分享了ASUS PA246Q 採用P-IPS面板的LCD, 謝謝大家收看.
--
※ 發信站: 批踢踢實業坊(ptt.cc)
◆ From: 220.136.181.1
※ pertonas:轉錄至看板 LCD 03/11 21:50
推
03/11 21:52, , 1F
03/11 21:52, 1F
→
03/11 21:53, , 2F
03/11 21:53, 2F
→
03/11 21:55, , 3F
03/11 21:55, 3F
→
03/11 21:58, , 4F
03/11 21:58, 4F
推
03/11 22:03, , 5F
03/11 22:03, 5F
推
03/11 22:04, , 6F
03/11 22:04, 6F
→
03/11 22:05, , 7F
03/11 22:05, 7F
→
03/11 22:06, , 8F
03/11 22:06, 8F
→
03/11 22:07, , 9F
03/11 22:07, 9F
→
03/11 22:11, , 10F
03/11 22:11, 10F
→
03/11 22:13, , 11F
03/11 22:13, 11F
推
03/11 22:13, , 12F
03/11 22:13, 12F
→
03/11 22:16, , 13F
03/11 22:16, 13F
推
03/11 22:17, , 14F
03/11 22:17, 14F
→
03/11 22:18, , 15F
03/11 22:18, 15F
→
03/11 22:19, , 16F
03/11 22:19, 16F
→
03/11 22:20, , 17F
03/11 22:20, 17F
→
03/11 22:21, , 18F
03/11 22:21, 18F
→
03/11 23:20, , 19F
03/11 23:20, 19F
推
03/12 05:46, , 20F
03/12 05:46, 20F
推
03/12 10:54, , 21F
03/12 10:54, 21F
PC_Shopping 近期熱門文章


PTT數位生活區 即時熱門文章
