[開箱] ASUS ROG Rampage IV Extreme - Battlefied3限定包
迎龍年的自我犒賞好讀版
http://www.xfastest.com/viewthread.php?tid=71074&fromuid=38227
==============================================================================
過新年總是要犒賞自己一下,
剛好Intel在2011年末發表了Sandy Bridge-E搭配X79的旗艦平台,
想當然主機板也要選購頂級的ROG主機板!
這次包括Rampage IV Extreme和Rampage IV Formula都搭配
超夯的FPS遊戲Battlefied3(戰地風雲3)發行限定包裝,
ASUS沒有忘記要照顧台灣玩家,發售最頂級的R4E-BF3限定版,
我抱持著"限量是殘酷的"這個宗旨趕緊入手囉!
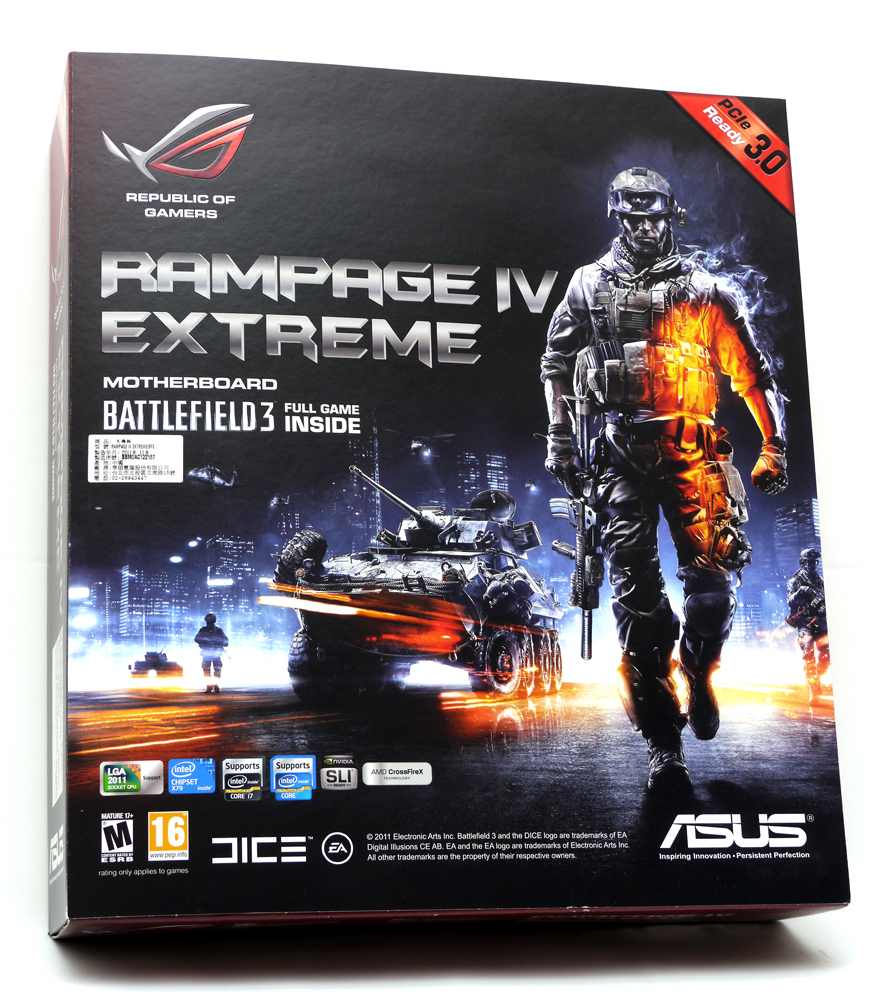
包裝與配件
外盒正面改為BF3的封面
http://picx.xfastest.com/elvis/MB/ASUS/R4E/01.jpg
不過側邊還是ROG主機板的傳統配色
http://picx.xfastest.com/elvis/MB/ASUS/R4E/02.jpg
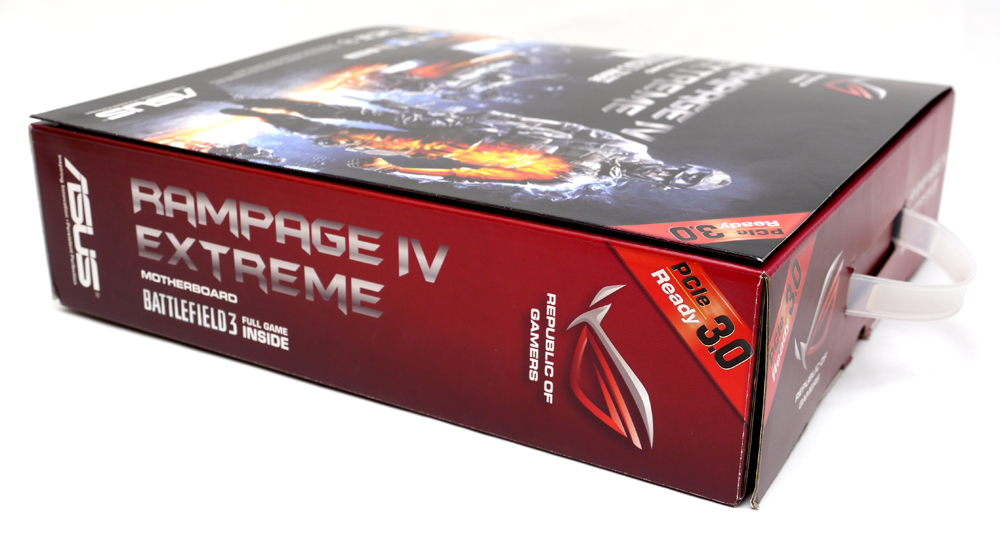
特別標明支援PCI-E 3.0
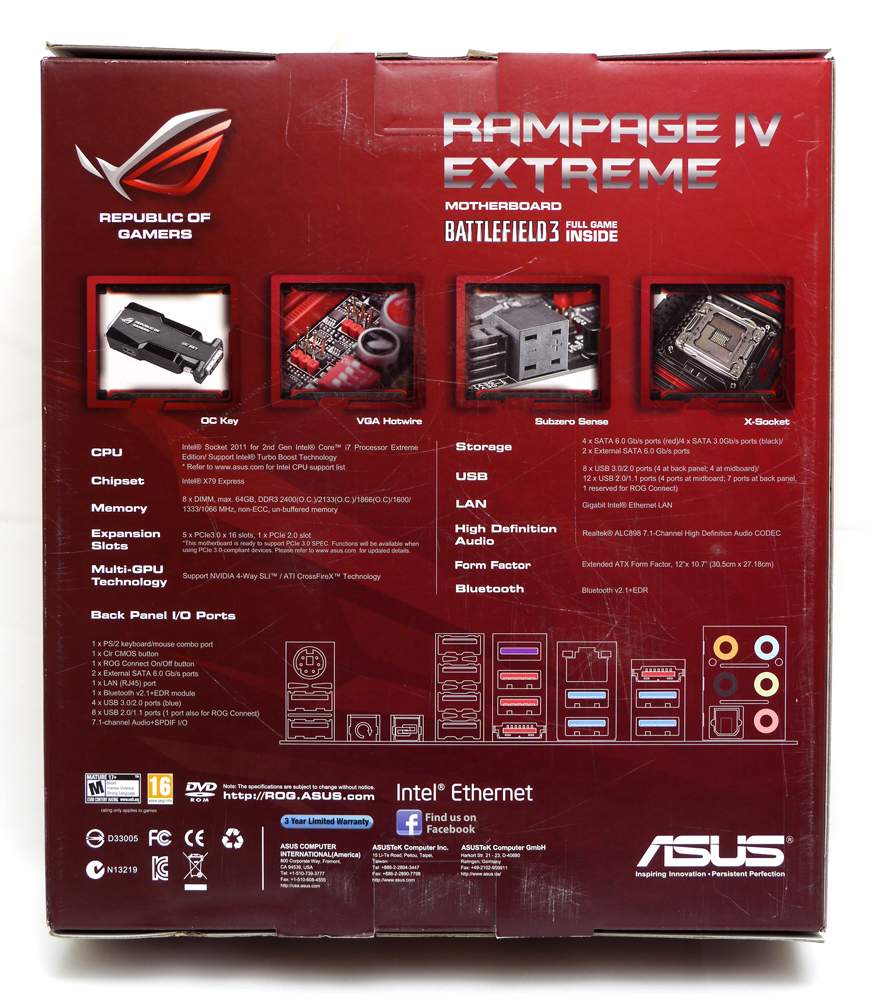
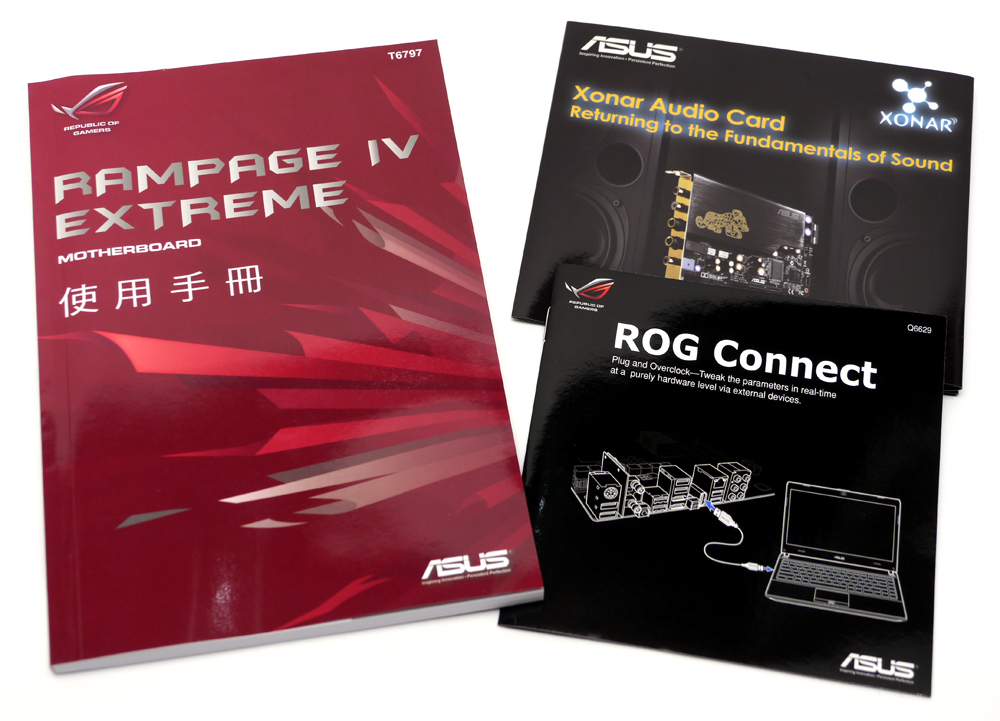
特色與規格
http://picx.xfastest.com/elvis/MB/ASUS/R4E/03.jpg
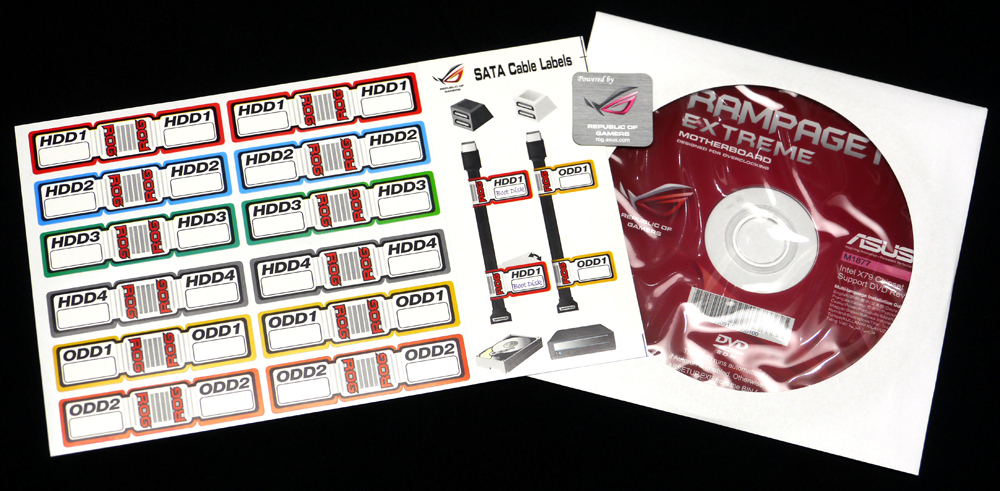
SATA標示貼紙、驅動軟體光碟和ROG敗家之眼Logo貼紙
http://picx.xfastest.com/elvis/MB/ASUS/R4E/06.jpg
SATA 2.0/3.0傳輸線各4條、2條ProbeIt電壓量測接線、I/O檔板、Q-connector、
ROG Connect專用線材
http://picx.xfastest.com/elvis/MB/ASUS/R4E/07.jpg

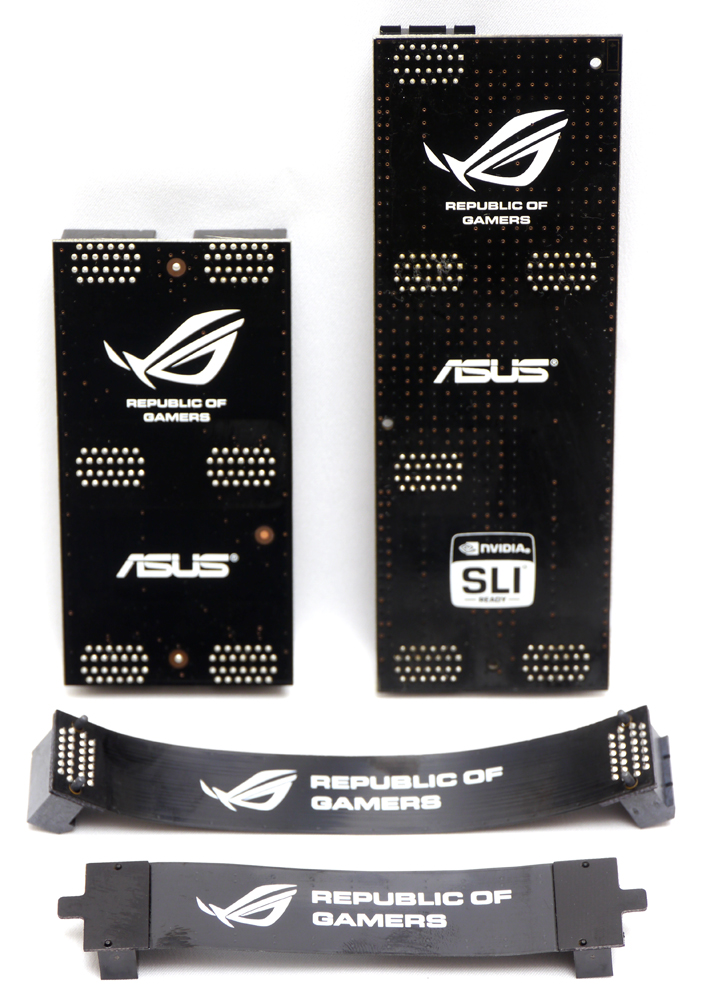
2/3/4-Way SLI和2-Way CrossFireX橋接器
http://picx.xfastest.com/elvis/MB/ASUS/R4E/08.jpg

背面印上ROG敗家之眼Logo就是潮
http://picx.xfastest.com/elvis/MB/ASUS/R4E/09.jpg
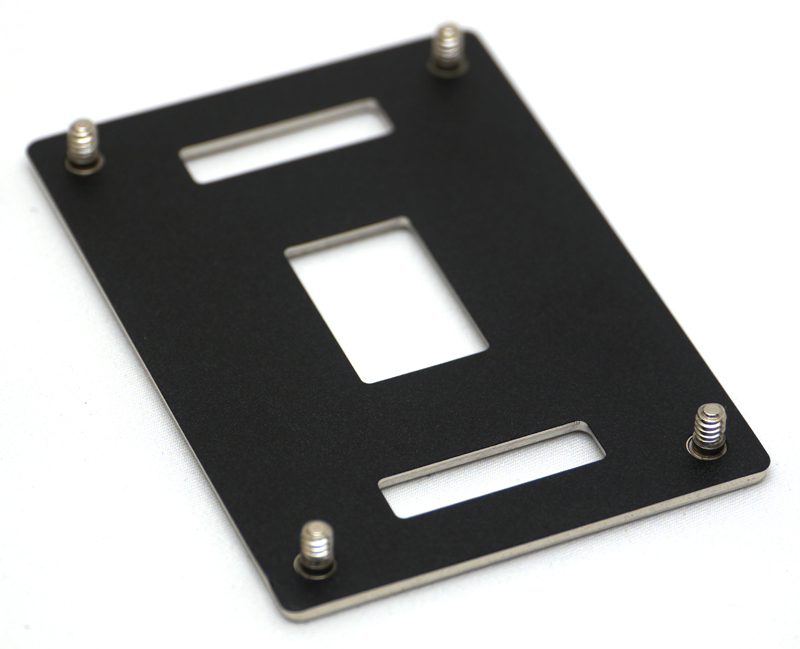
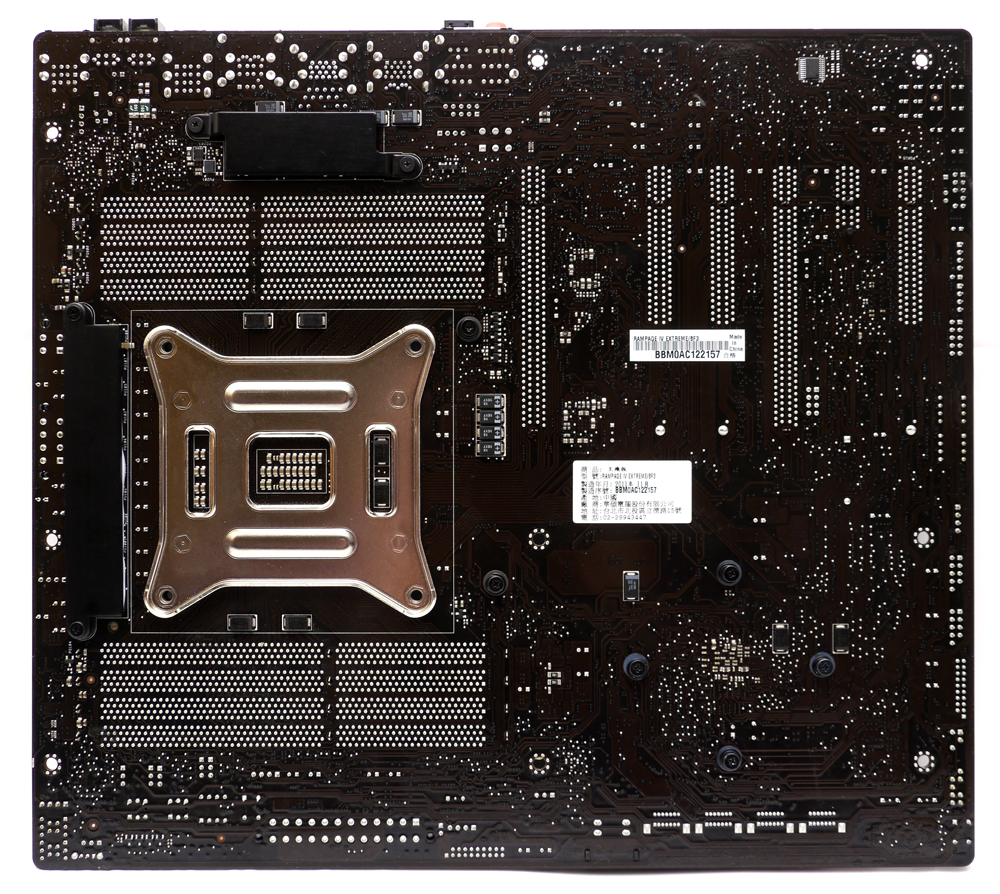
ROG X79主機板獨家功能:X-Socket可以將LGA2011附螺絲鎖點的背板換成LGA1366的背板
http://picx.xfastest.com/elvis/MB/ASUS/R4E/10.jpg

除了可以支援舊款散熱器之外,也方便極限超頻玩家裝設LN2砲管
http://picx.xfastest.com/elvis/MB/ASUS/R4E/11.jpg
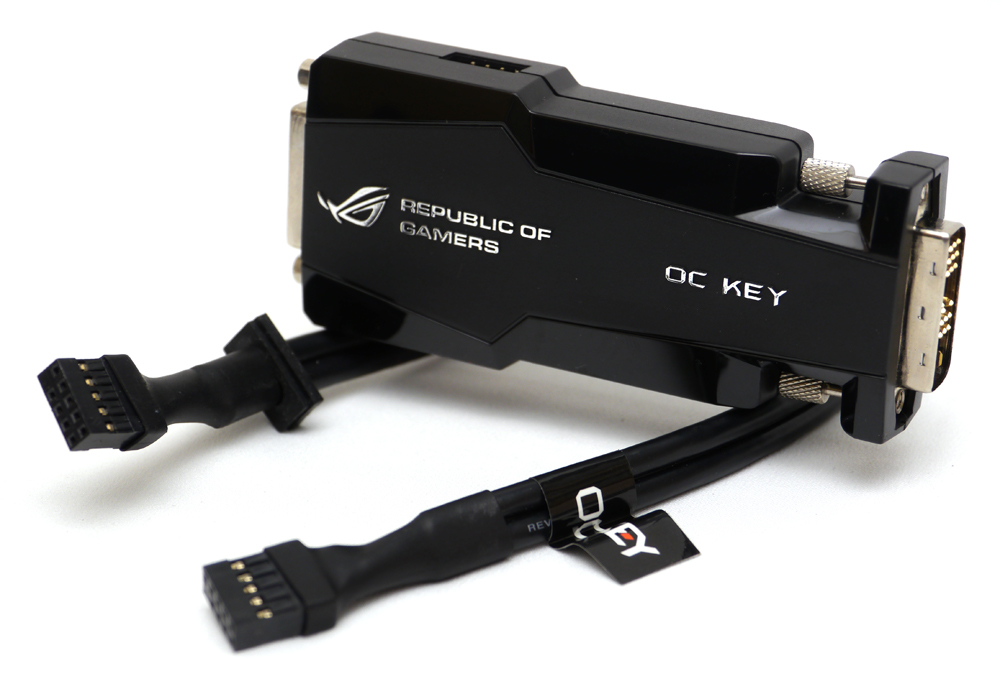
只用一個顯示器一樣可以開啟OSD即時監控電壓、頻率、溫度等參數,
而且是純硬體的訊號輸出,不干擾超頻成績
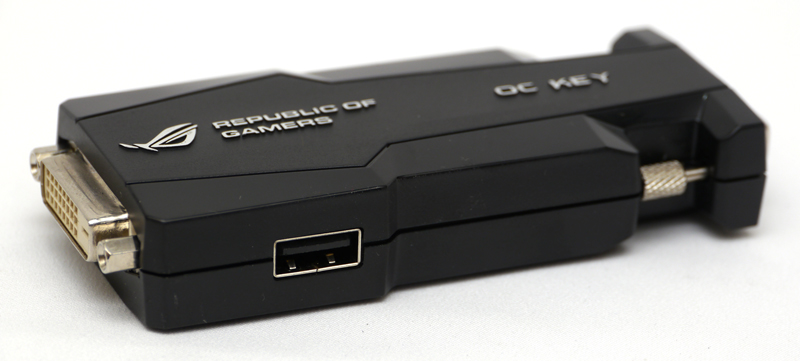
側邊的USB孔是用來更新韌體的
http://picx.xfastest.com/elvis/MB/ASUS/R4E/13.jpg
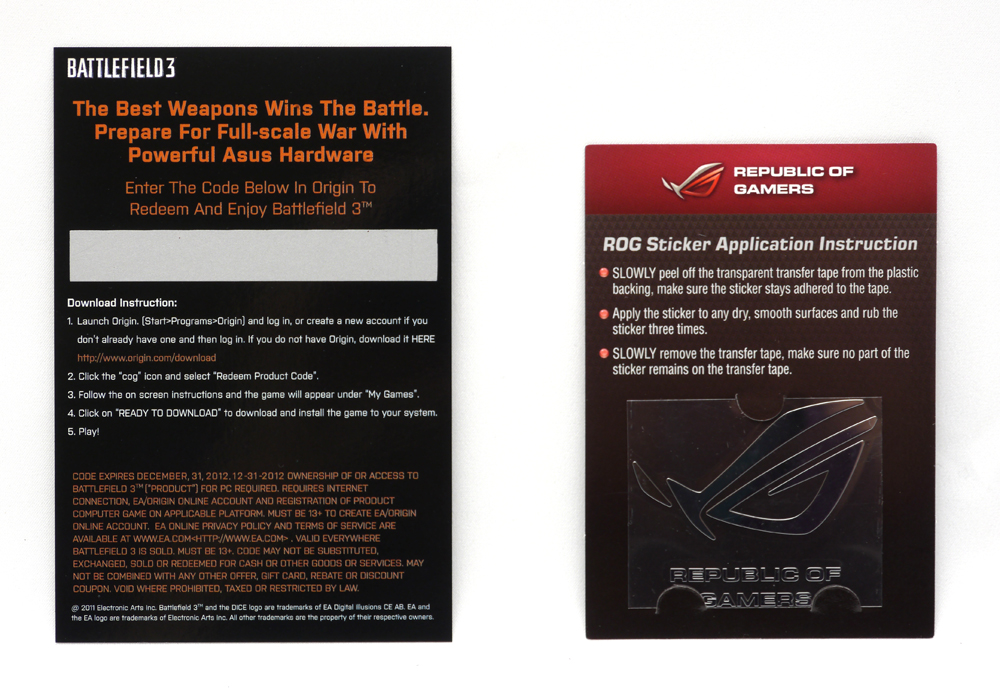
BF3序號卡和ROG Logo銘版貼紙
http://picx.xfastest.com/elvis/MB/ASUS/R4E/14.jpg

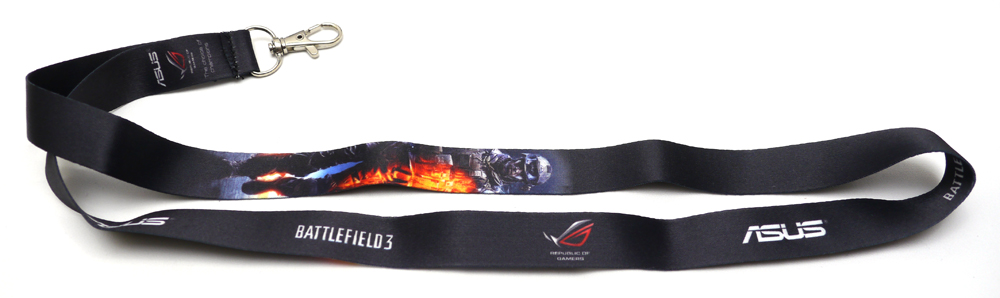
ROG with BF3 吊帶
http://picx.xfastest.com/elvis/MB/ASUS/R4E/16.jpg
部分MOSFET供電元件Lay在背面,也覆上散熱片
http://picx.xfastest.com/elvis/MB/ASUS/R4E/19.jpg


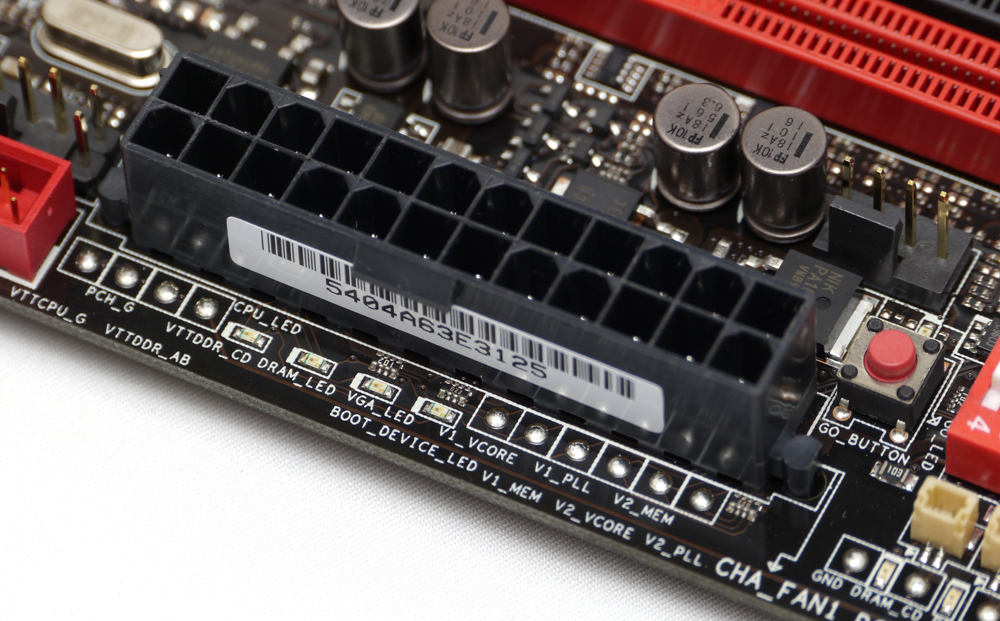
CPU EPS 12V供電為8 pin + 4 pin各一組
http://picx.xfastest.com/elvis/MB/ASUS/R4E/22.jpg
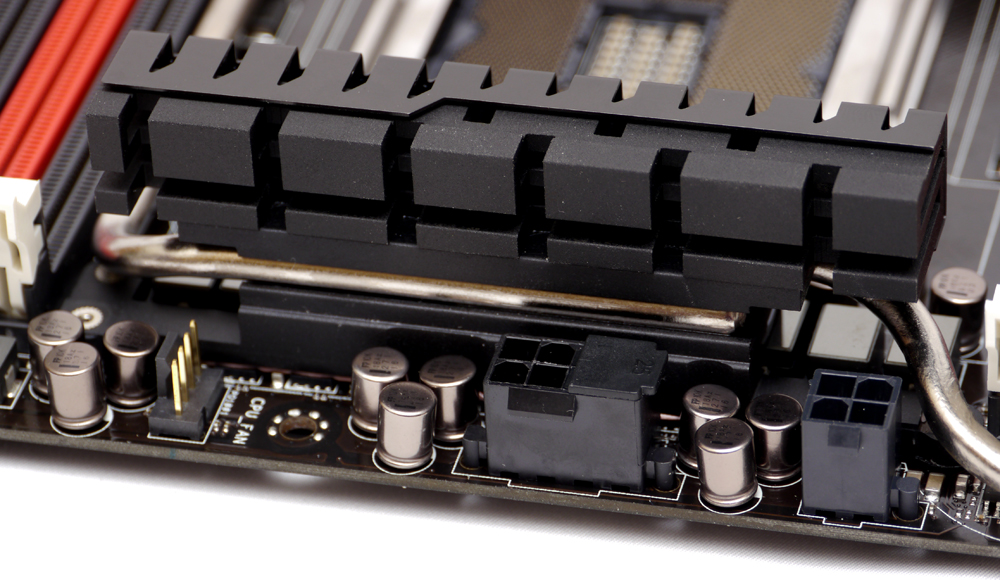
Rampaga IV系列主機板全面導入的全日製Black Metallic黑金電容/電感,
除了高耐久性之外,溫度耐受性也增加20%,以適應極限超頻時的溫度
http://picx.xfastest.com/elvis/MB/ASUS/R4E/23.jpg
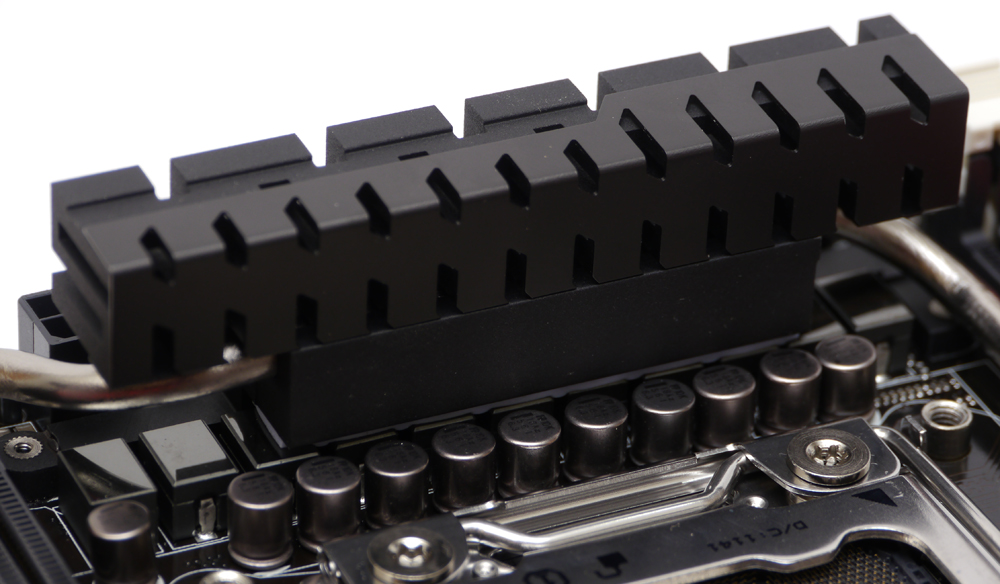
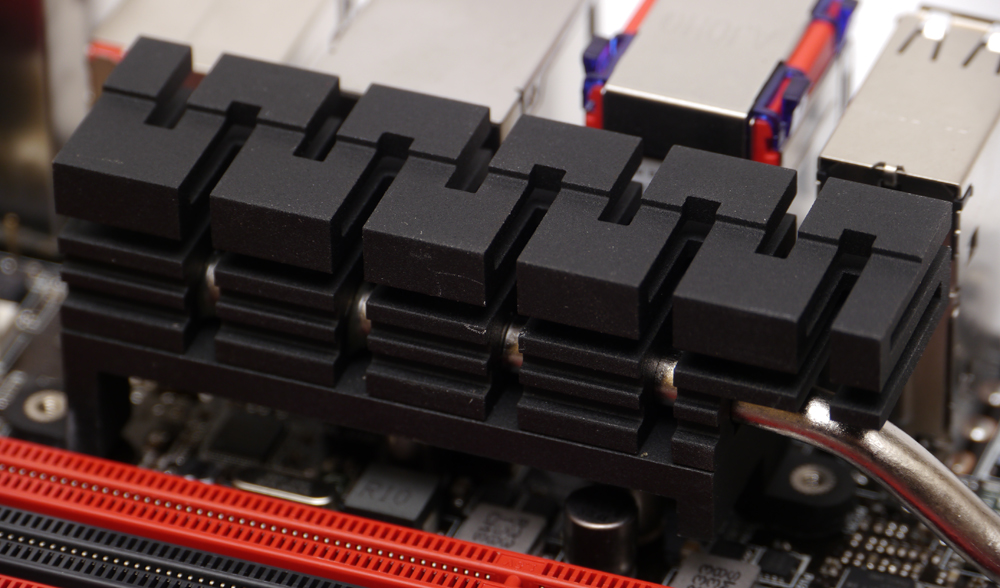
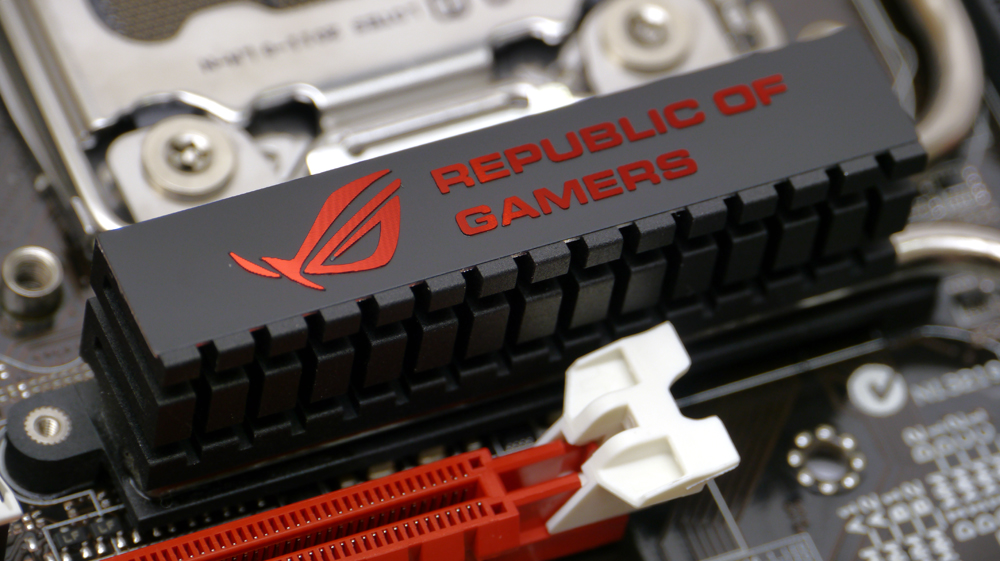
散熱外觀設計則是古老符文般的造型,皆有熱導管強化散熱效率
http://picx.xfastest.com/elvis/MB/ASUS/R4E/24.jpg

PCH晶片上還有加裝風扇加速排熱
OC Zone
http://picx.xfastest.com/elvis/MB/ASUS/R4E/27.jpg

除了基本的Power/Reset鈕和Debug LDE燈號之外,
ROG既有的ProbeIt電壓量測點和PCI-E通道切換器都沒少
R4E新增了VGA Hotwire(位於Power/Reset鈕和記憶體插槽之間)
可透過主機板直接操控顯示卡超頻超壓。
另外在Debug LDE燈旁邊的切換器是Slow Mode開關,
可強迫設定完超頻的系統以1200MHz的時脈進入作業系統,
避免Widows在讀取光棒的那一段Loading太高進不去系統
簡易Debug必備的Q-LED,周圍也有ROG專屬的Go Botton和為數不少的電壓量測點
http://picx.xfastest.com/elvis/MB/ASUS/R4E/28.jpg
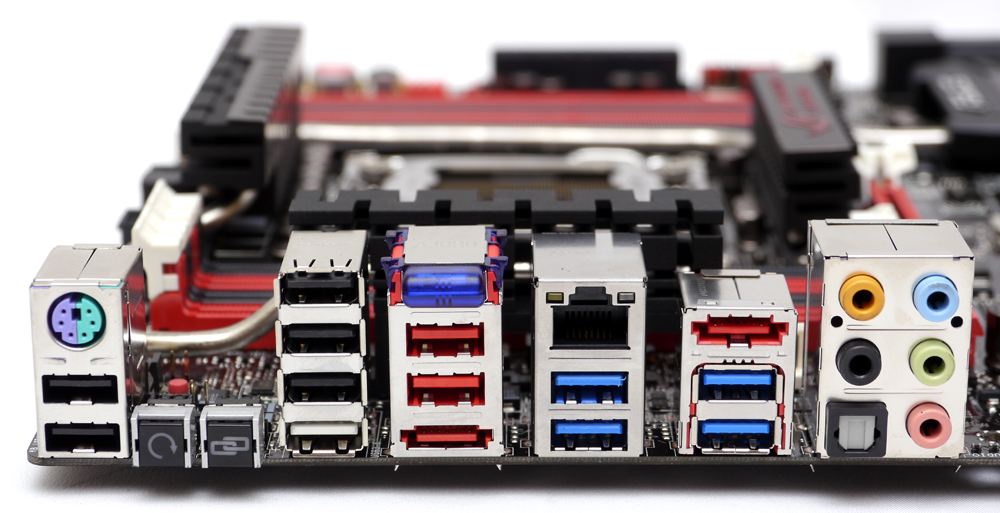
照片SATA Port右側有個假裝它自己也是SATA Port的裝置是R4E新增的Subzero Sense
http://picx.xfastest.com/elvis/MB/ASUS/R4E/29.jpg
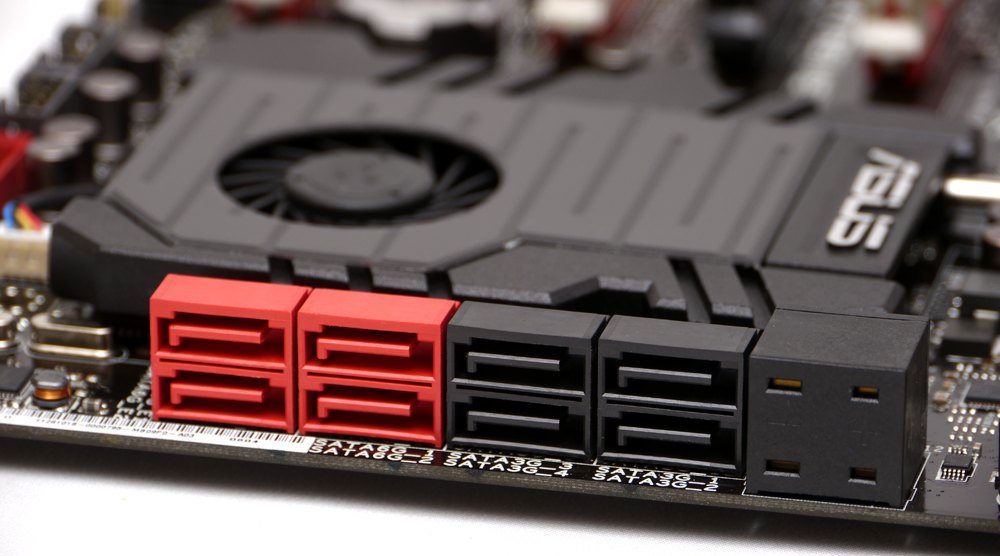
這是內建的兩個數位溫度計,可讓極限超頻玩家省下不少錢
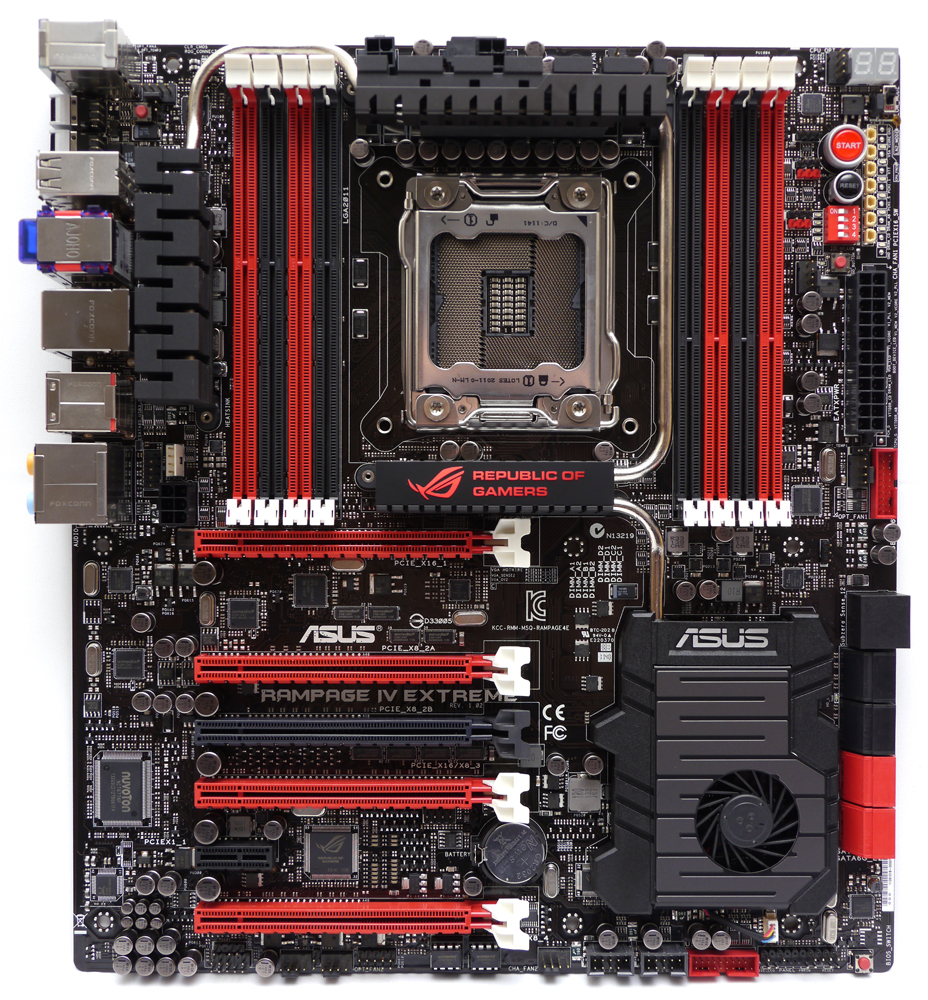
有注意到中央的黑色PCI-E Slot嗎?
http://picx.xfastest.com/elvis/MB/ASUS/R4E/30.jpg

當玩家用上兩張3-Slot的顯卡進行SLI/CrossFireX時,
那條黑色PCI-E Slot即使插上音效卡或RAID卡(最高支援至PCI-E x8頻寬)
也可讓兩張顯卡都維持在PCI-E x16的頻寬
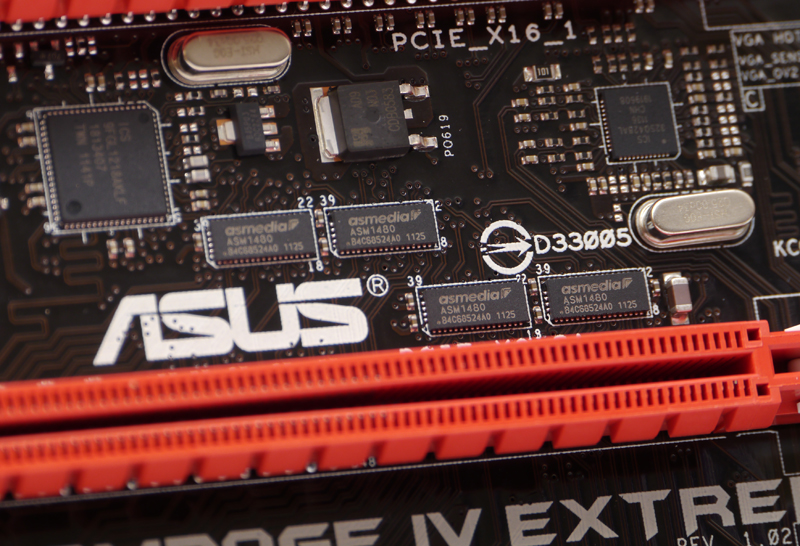
支援PCI-E 3.0的頻寬切換IC
http://picx.xfastest.com/elvis/MB/ASUS/R4E/31.jpg

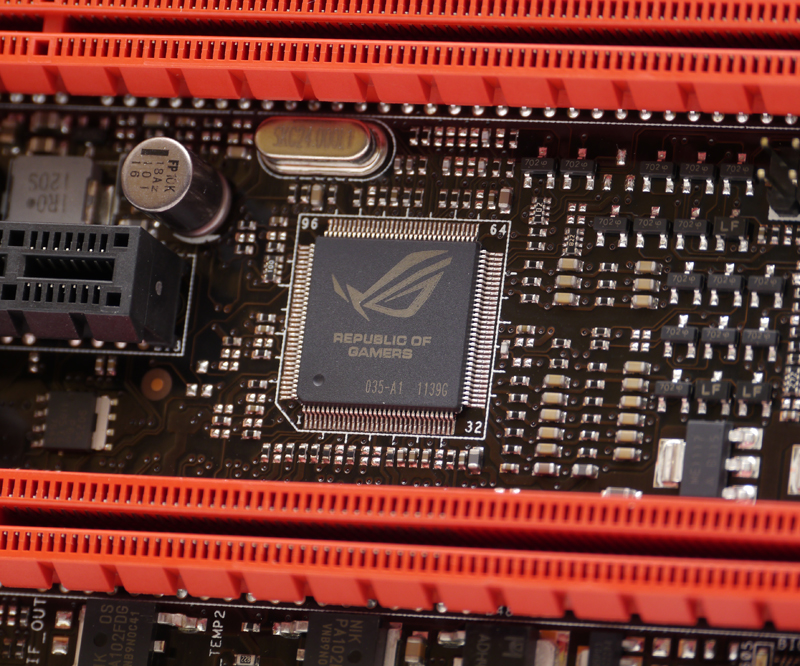
ROG的靈魂~iROG晶片
http://picx.xfastest.com/elvis/MB/ASUS/R4E/33.jpg
OC Key展示
CPU: Intel Core i7-3930K
Cooler: Antec KUHLER H2O 920
Thermal Compound: Antec Formula 7
MB: ASUS ROG Rampage IV Extreme
RAM: Kingston HyperX Genesin DDR3-2400 2GB*4
Graphic: ASUS ENGTX580
Storage: Kingston SSD Now V+100 128GB
PSU: Antec HCP-1200W
Chassis: CoolerMaster Test Bench
Monitor: Dell U2410
http://picx.xfastest.com/elvis/MB/ASUS/R4E/34.jpg
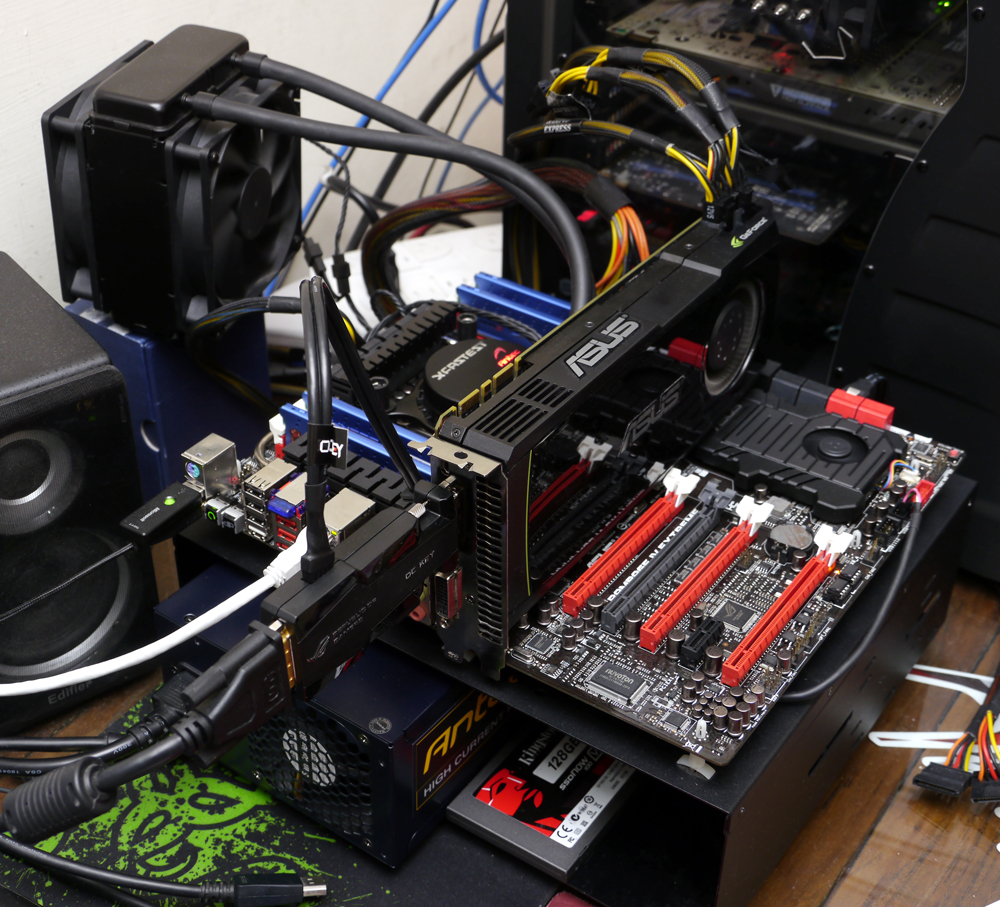
照這樣接好之後,按下背板的ROG Connect鈕3秒鐘即可啟動OC Key功能
這樣講好像很籠統,來看影片吧~
http://www.youtube.com/watch?v=oWyqf7LxPJw&hd=1
之後透過鍵盤就可以操控電壓和頻率,
如果有接上VGA Hotwire也可從OC Key的介面直接調整顯示卡超頻超壓
http://picx.xfastest.com/elvis/MB/ASUS/R4E/35.jpg

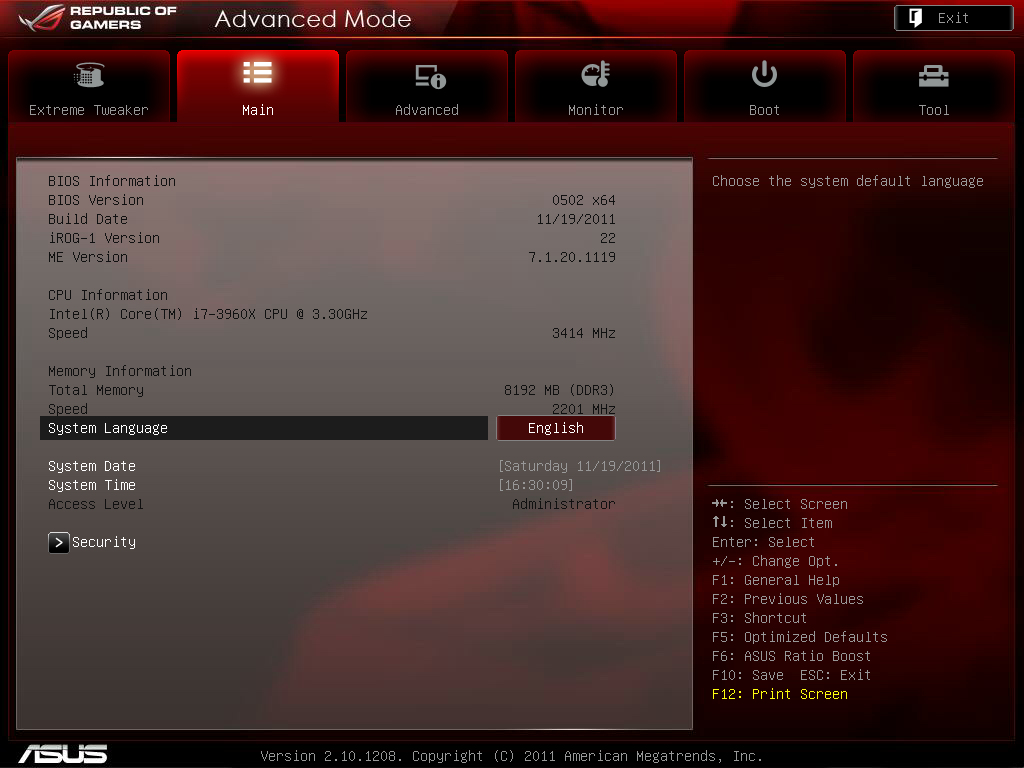
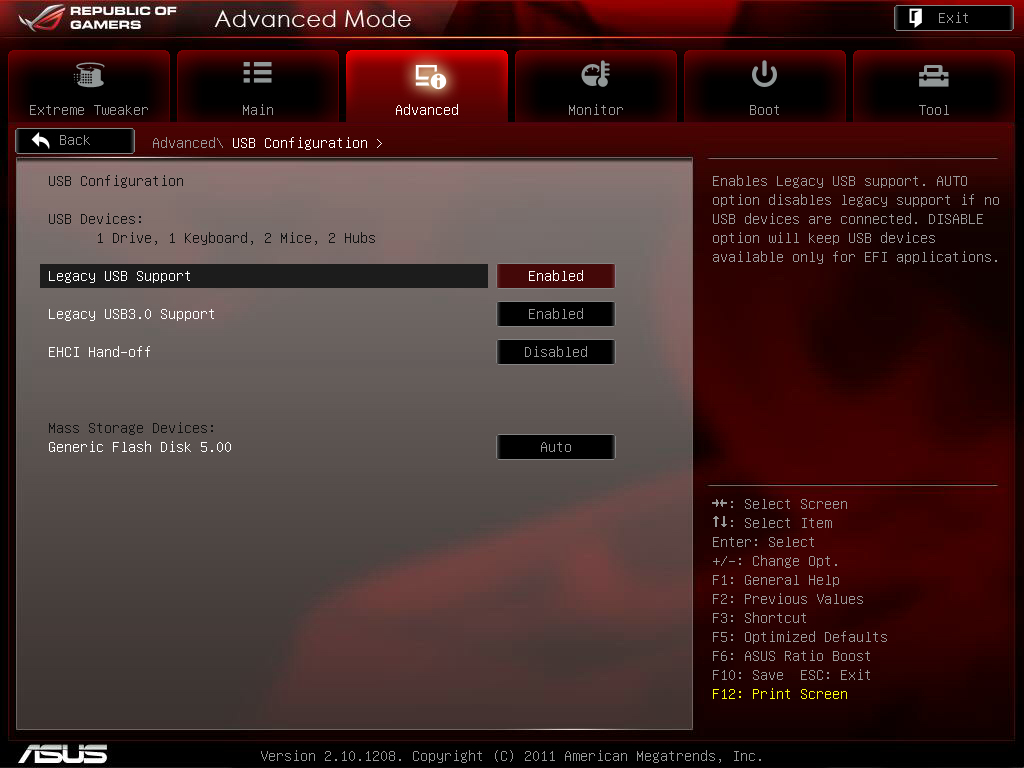
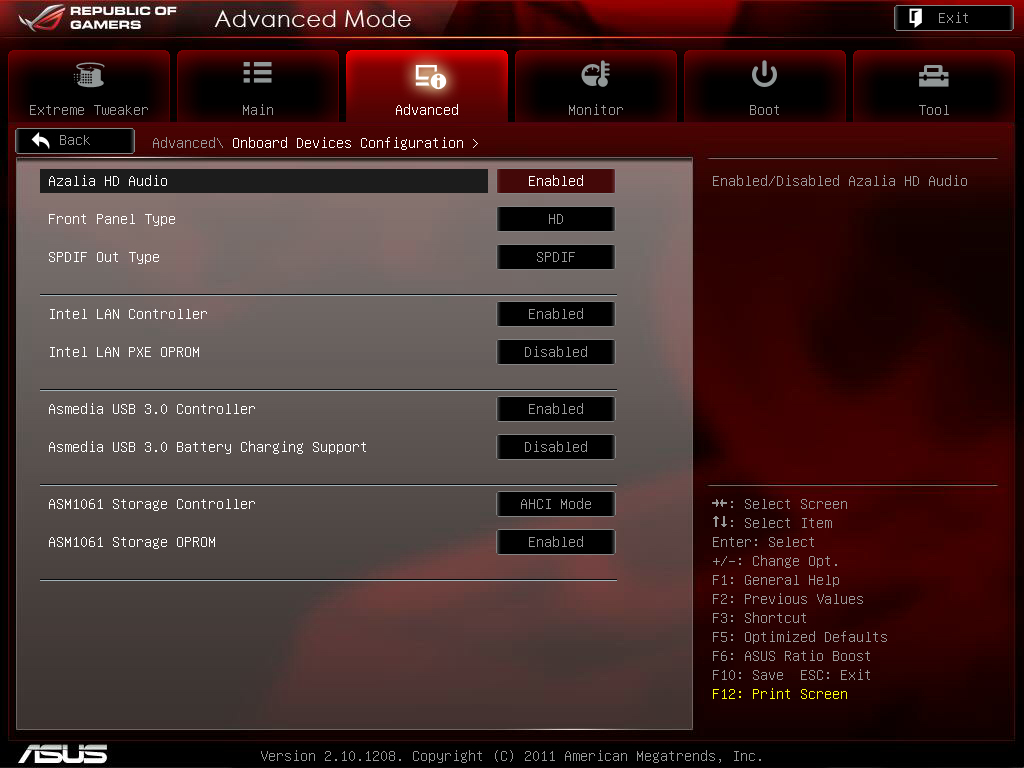
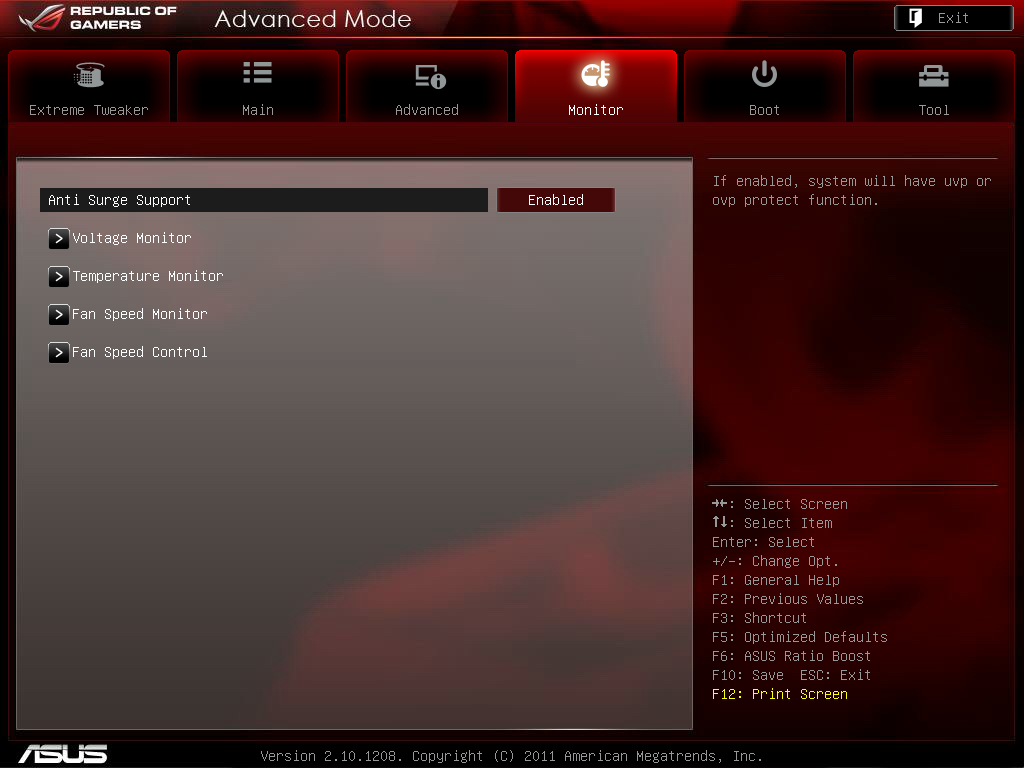
BIOS介紹介面與之前為大家介紹的Rampage IV Formula相同,就直接參考囉~
ROG的板子不用多說,第一個頁面就是超頻選單
http://picx.xfastest.com/elvis/MB/ASUS/R4F/BIOS-01.jpg
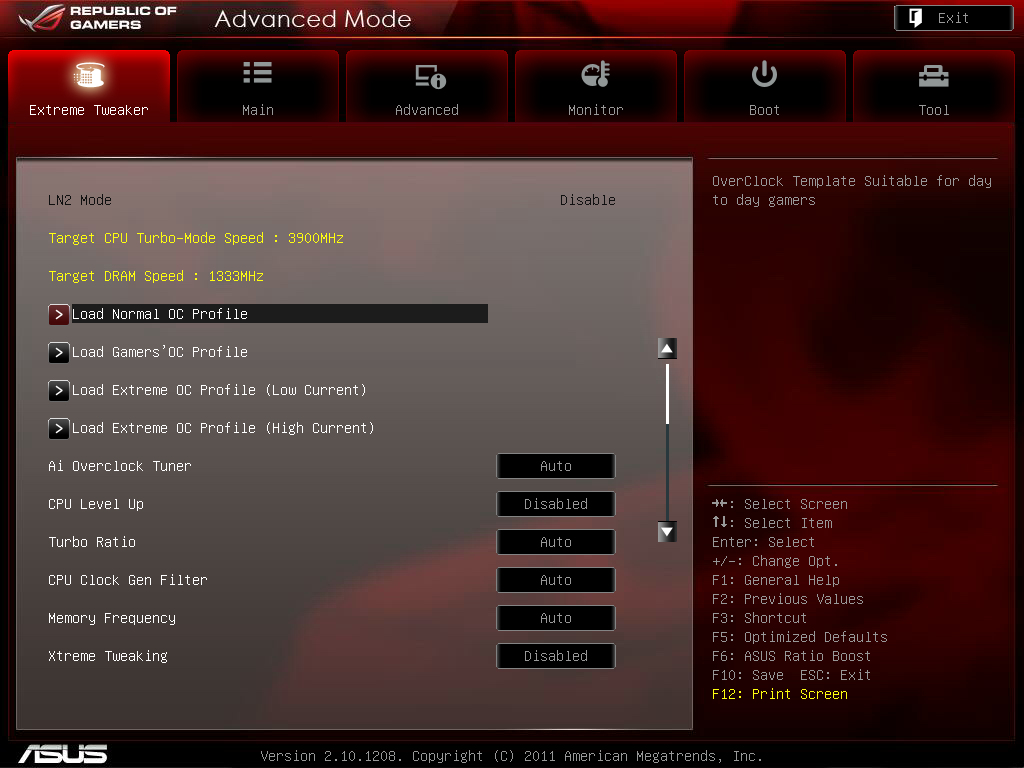
預設也做好幾種超頻設定值供使用者快速帶入
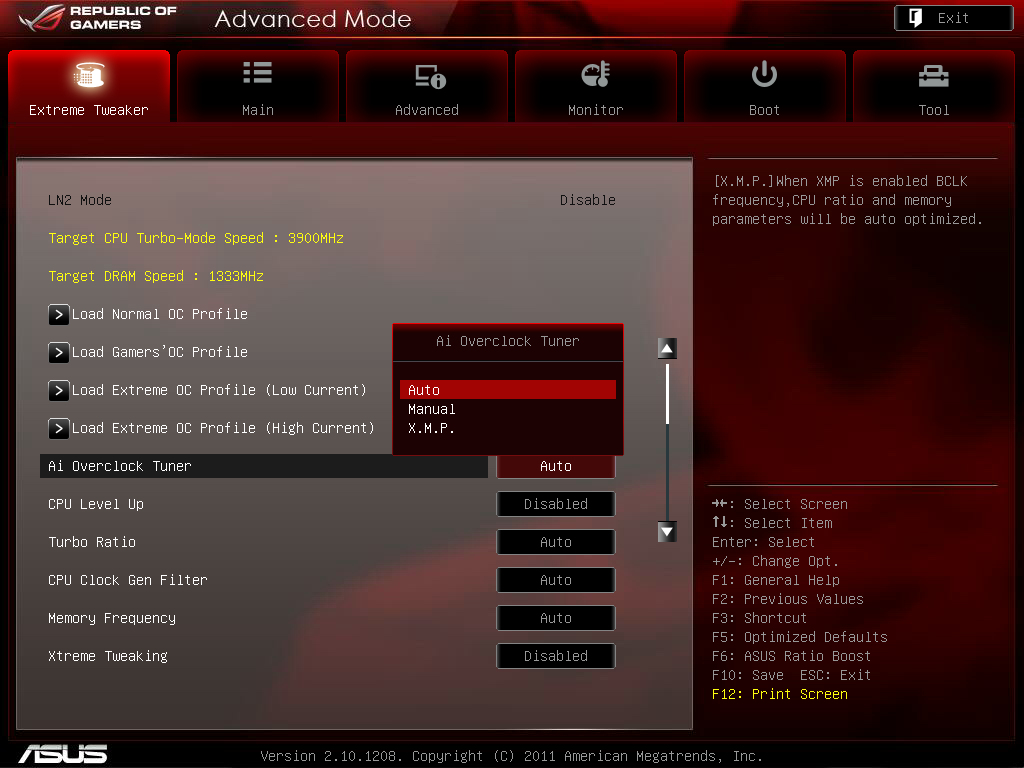
ROG板子的傳統 - CPU Level Up依然保留
http://picx.xfastest.com/elvis/MB/ASUS/R4F/BIOS-02.jpg

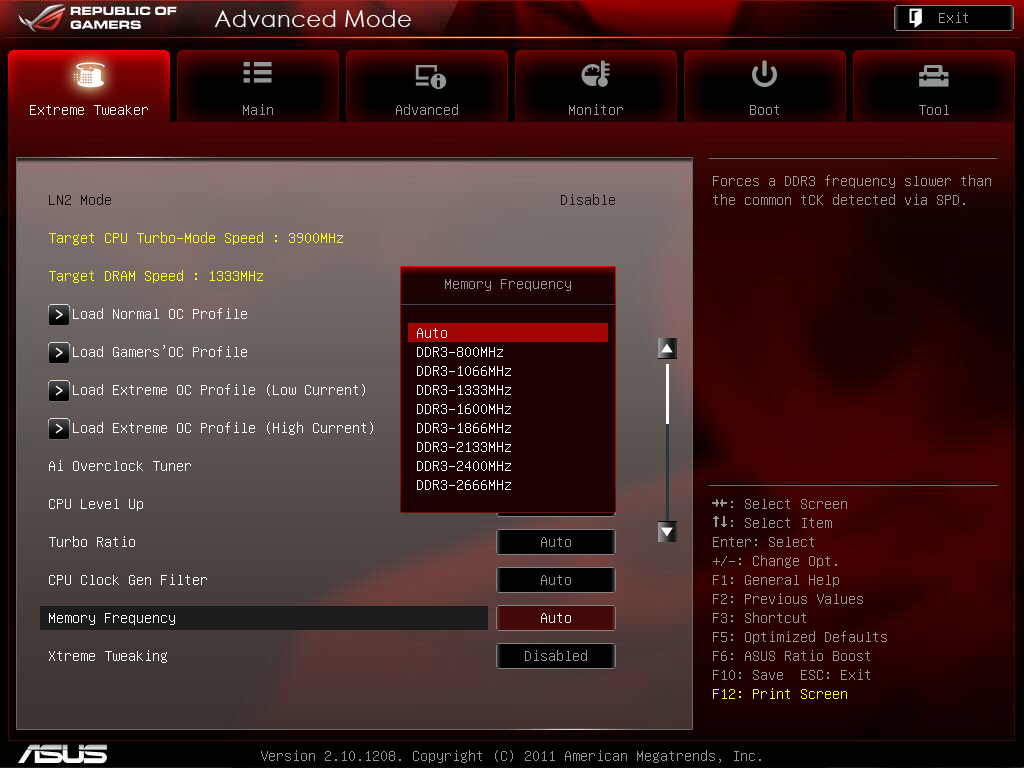
當然還有手動設定和X.M.P.參數導入
http://picx.xfastest.com/elvis/MB/ASUS/R4F/BIOS-03.jpg
Sandy Bridge-E新增可調整的CPU Strap記憶體基礎時脈選項
http://picx.xfastest.com/elvis/MB/ASUS/R4F/BIOS-04.jpg
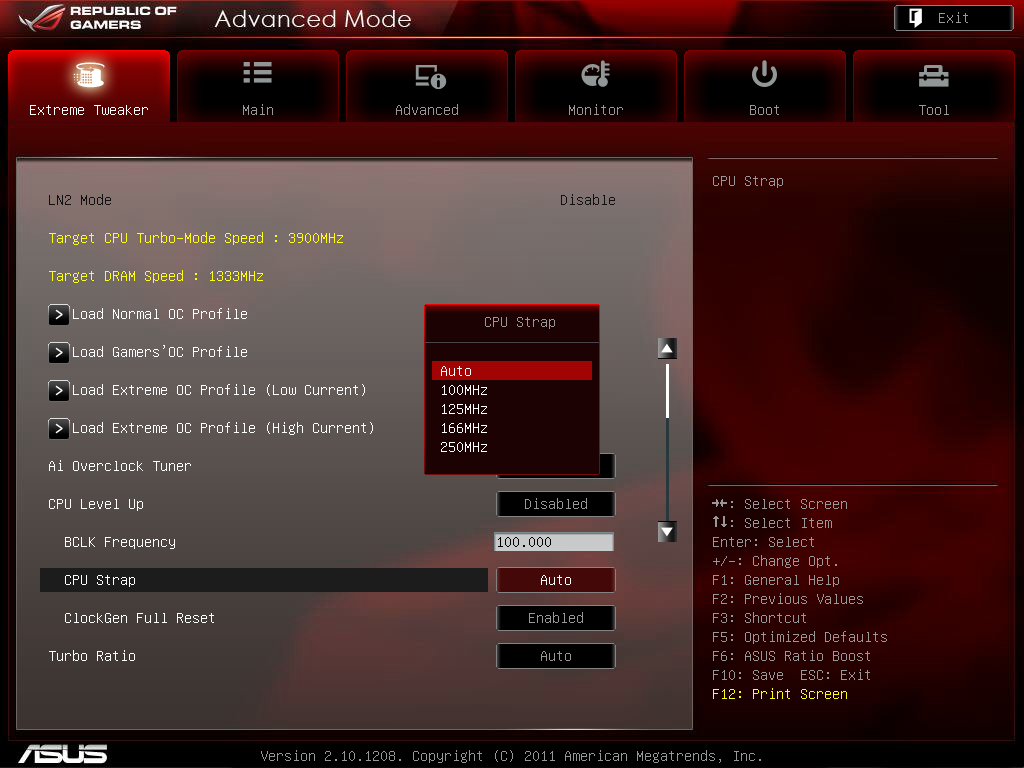

調整CPU Strap之後這個選單也會跟著變動
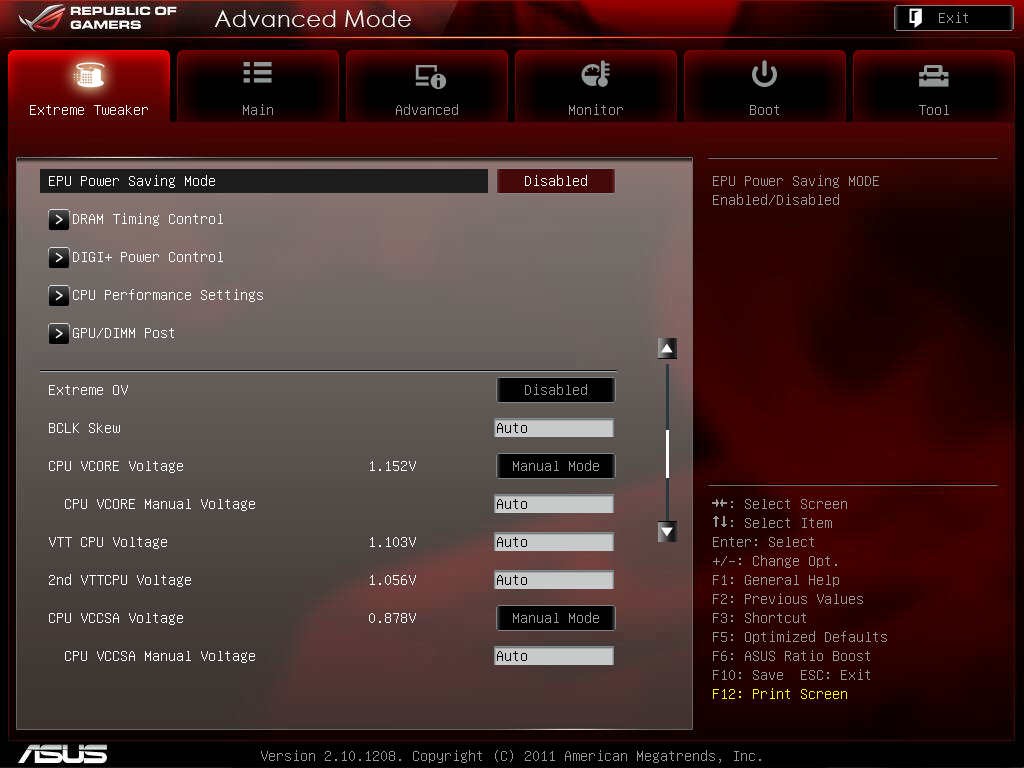
EPU節能在超頻時當然要關掉囉
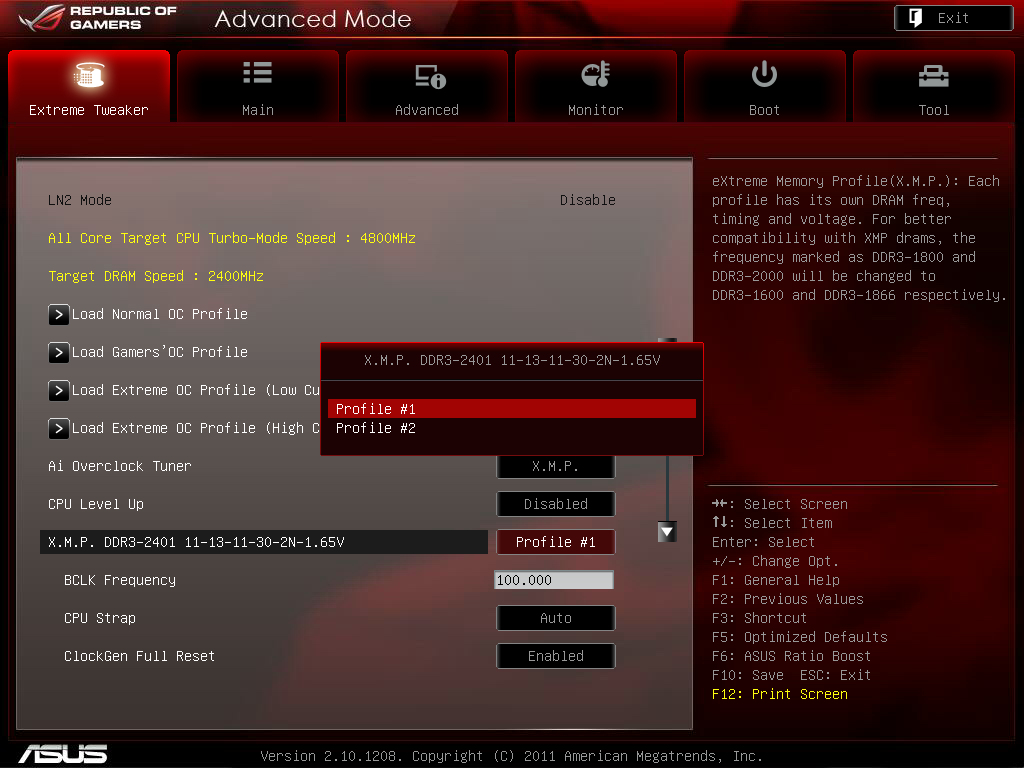
http://picx.xfastest.com/elvis/MB/ASUS/R4F/BIOS-10.jpg
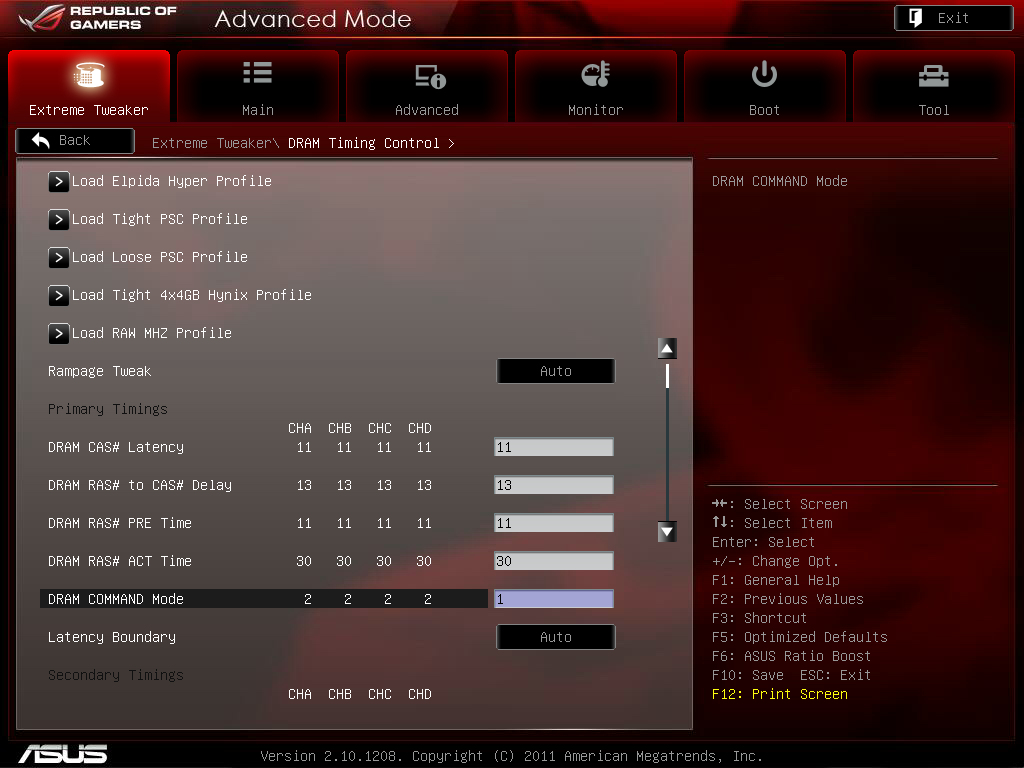
Rampage IV系列的新功能 - 可直接帶入記憶體顆粒相關的特性參數
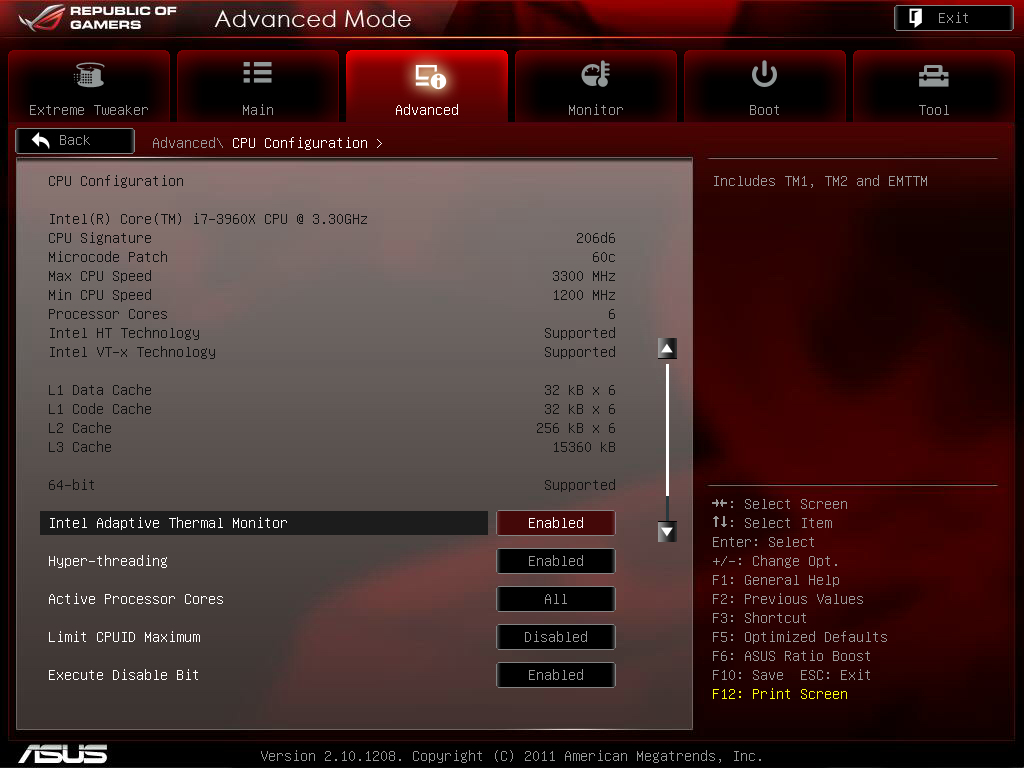
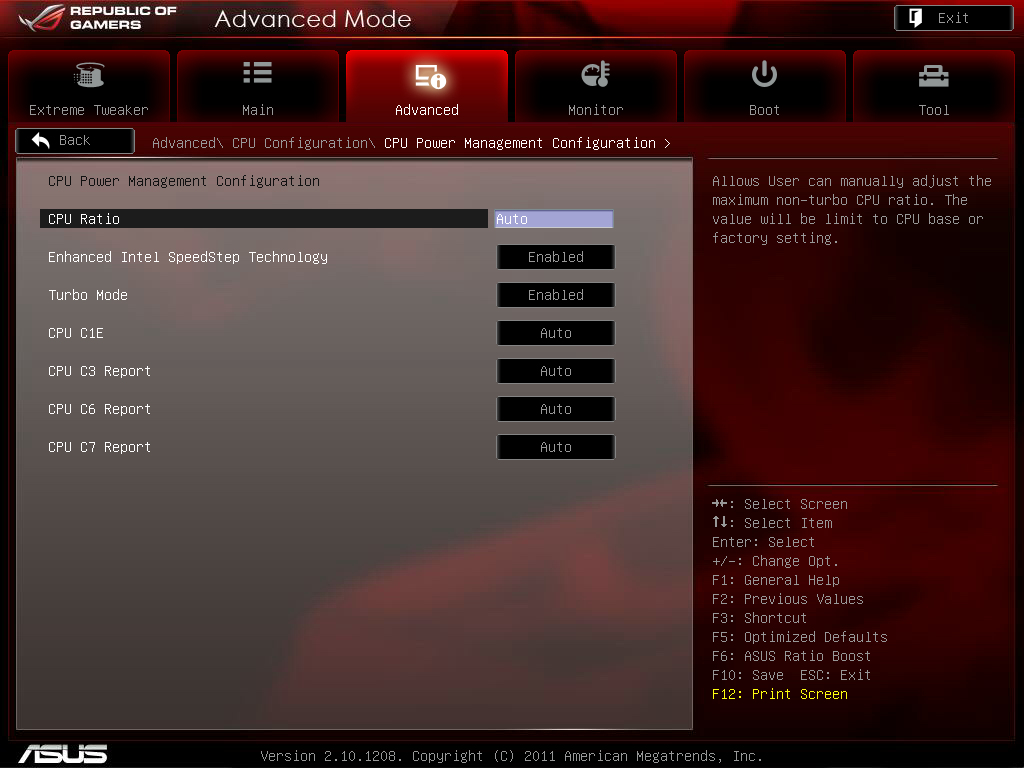
CPU電源模式選單
http://picx.xfastest.com/elvis/MB/ASUS/R4F/BIOS-12.jpg
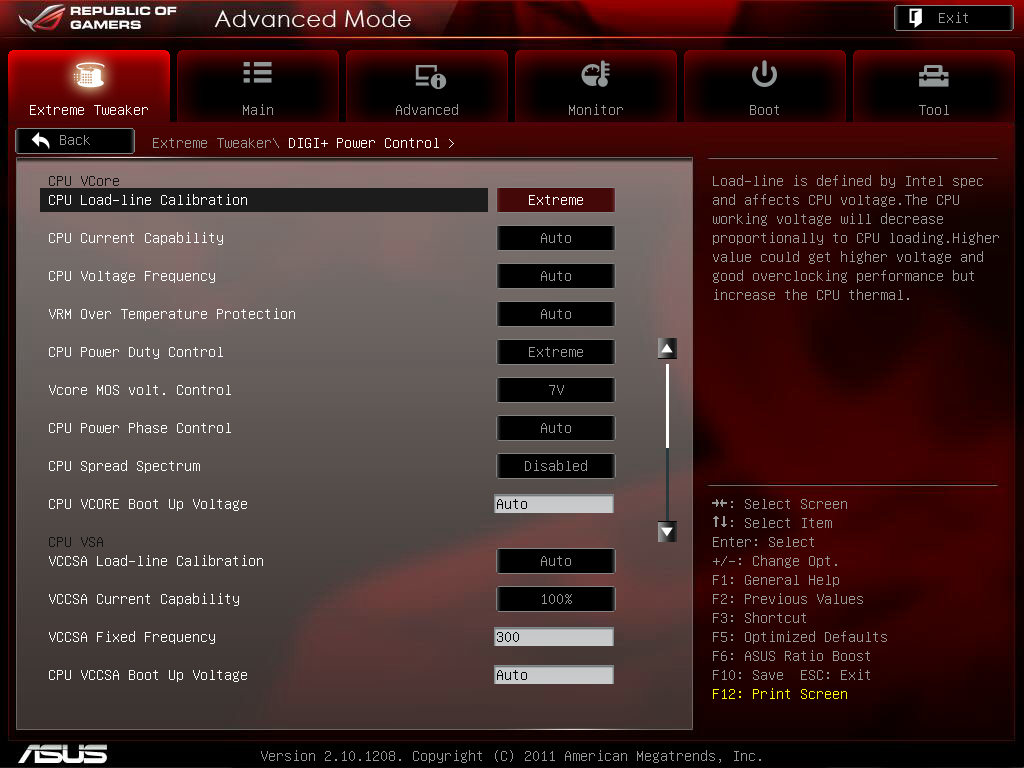
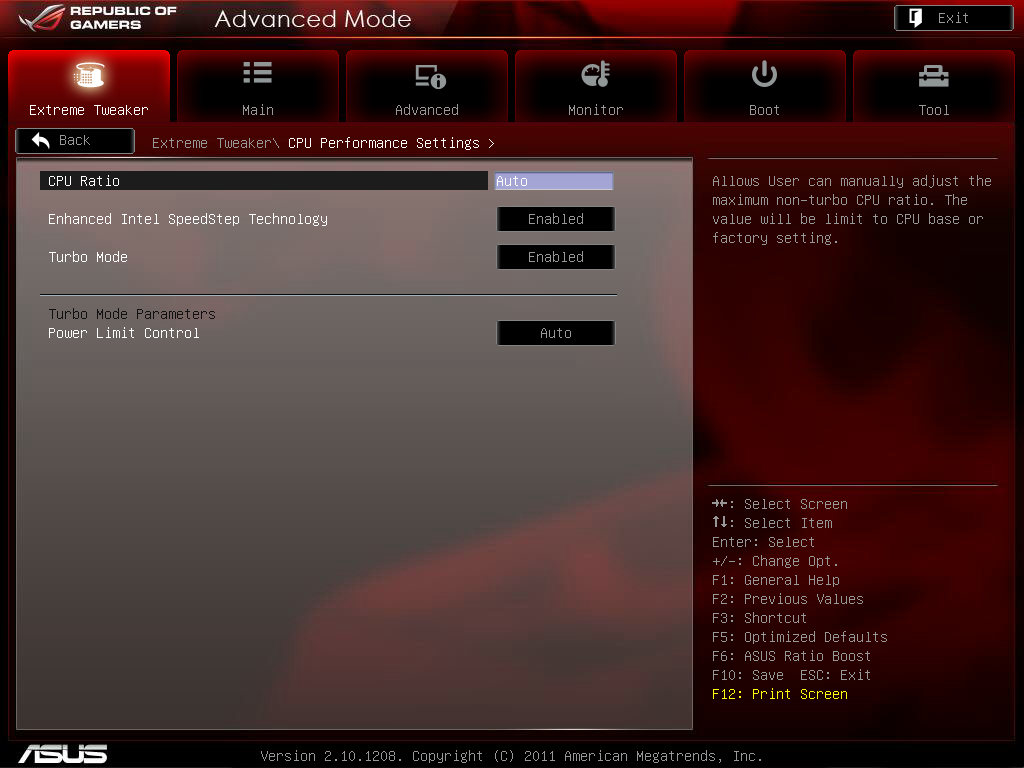
倍頻在這邊調整
元件POST
http://picx.xfastest.com/elvis/MB/ASUS/R4F/BIOS-14.jpg
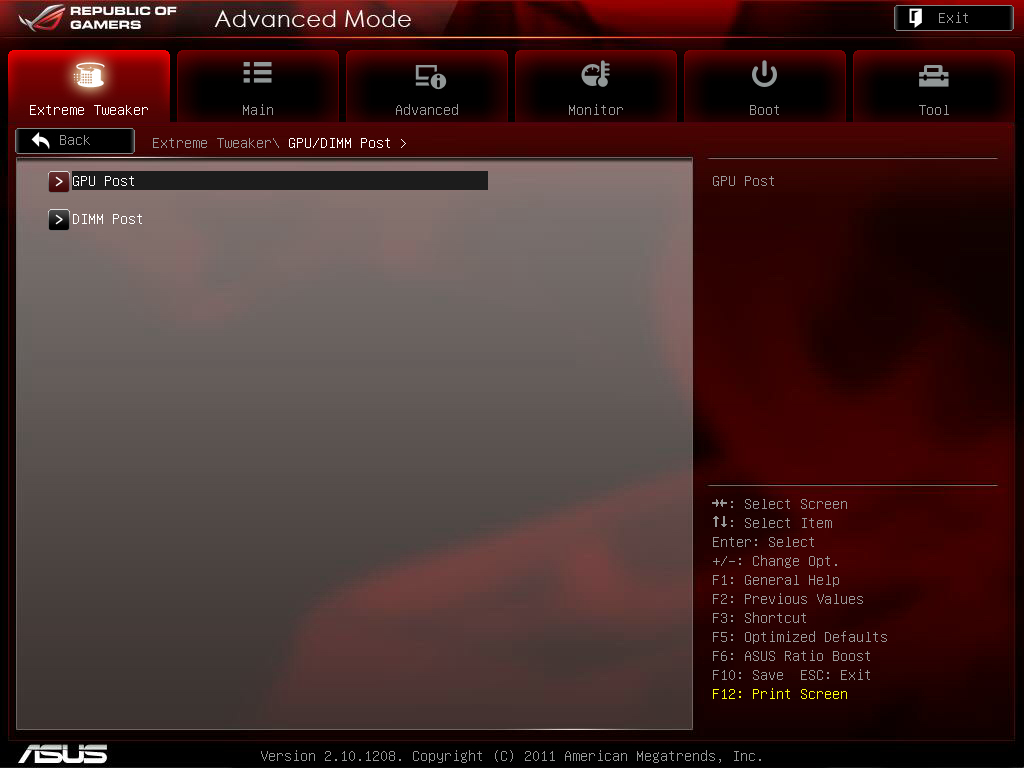

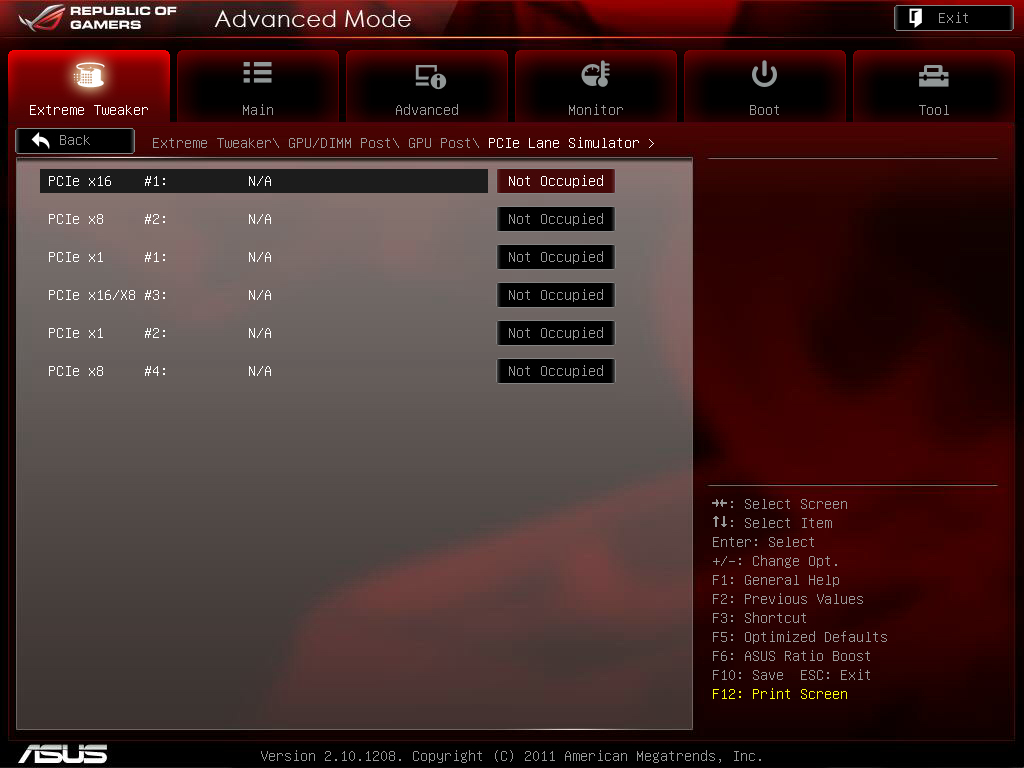
可檢測是否有掉卡或掉頻寬
記憶體POST
http://picx.xfastest.com/elvis/MB/ASUS/R4F/BIOS-17.jpg

可檢測是否有掉DIMM
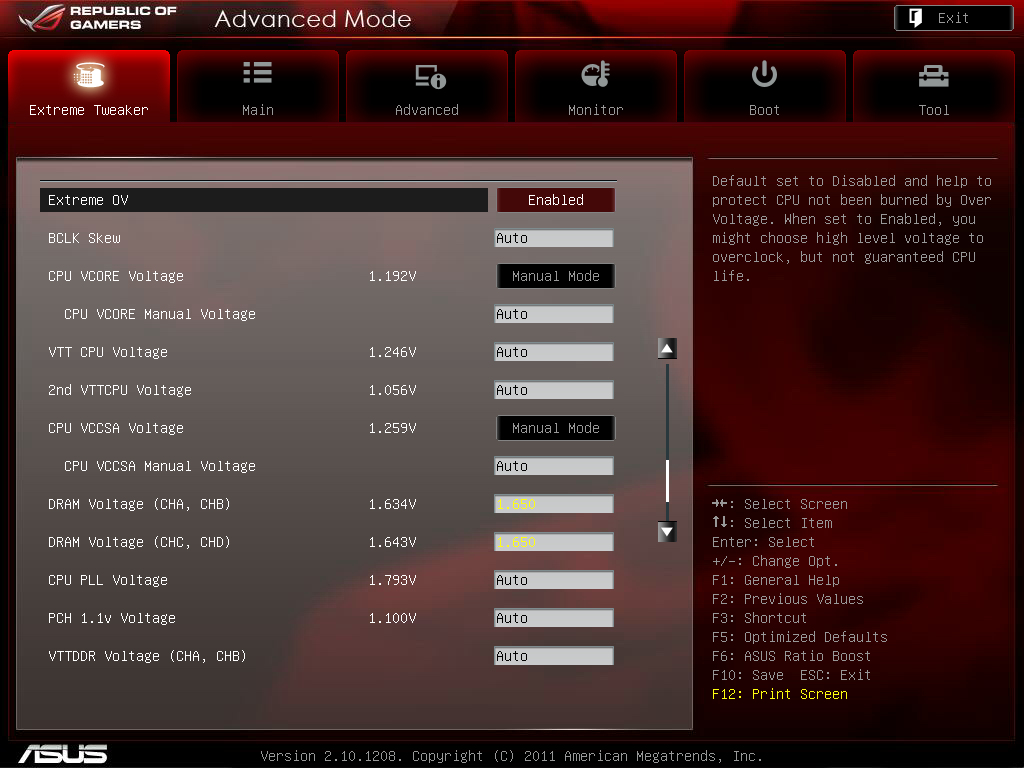
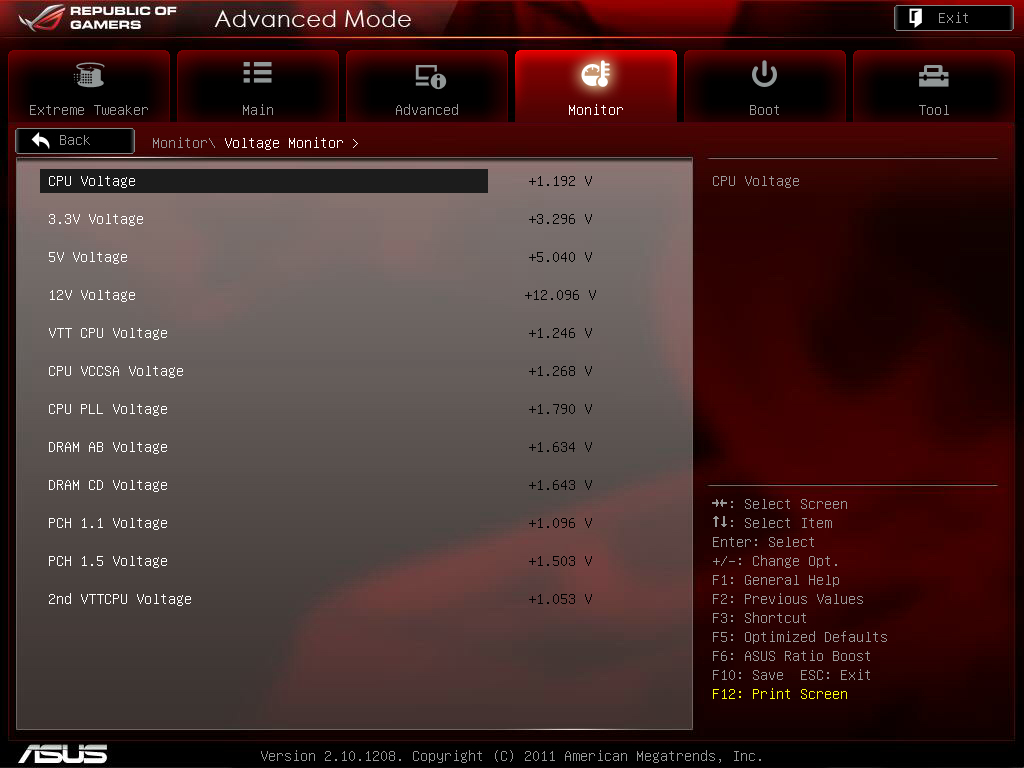
電壓控制選項
http://picx.xfastest.com/elvis/MB/ASUS/R4F/BIOS-18.jpg


EZ Flash 2 BIOS更新模式
http://picx.xfastest.com/elvis/MB/ASUS/R4F/BIOS-36.jpg

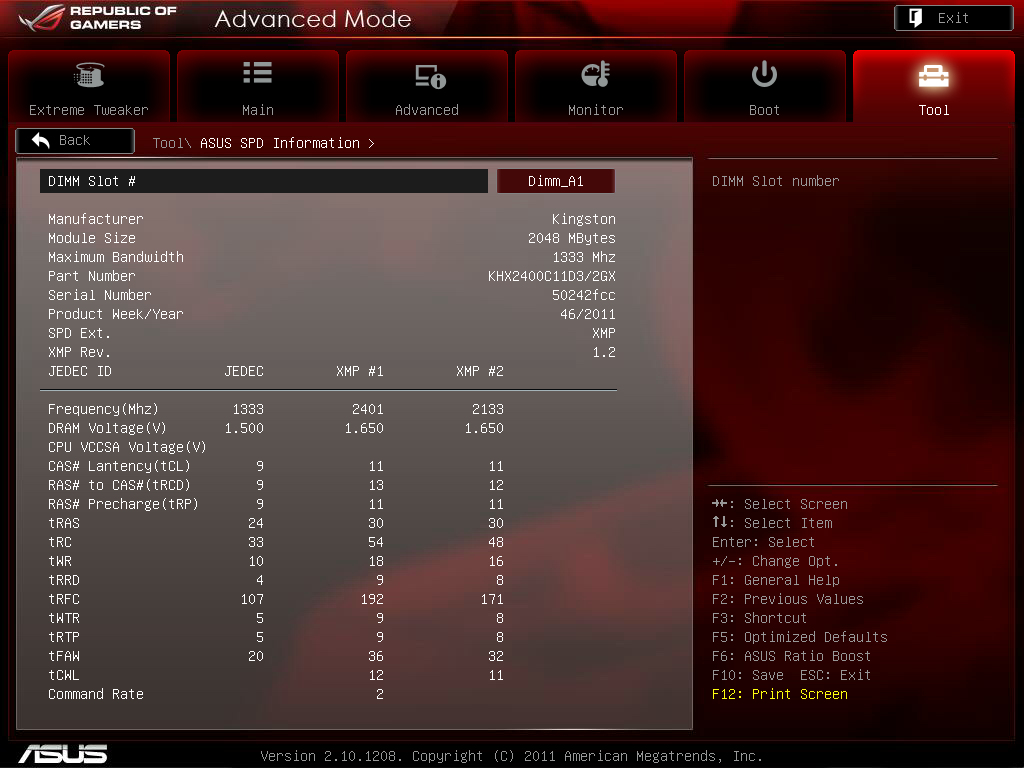
可讀出SPD和X.M.P.的詳細資訊
O.C. Profile可儲存多達8種的BIOS設定值
http://picx.xfastest.com/elvis/MB/ASUS/R4F/BIOS-38.jpg
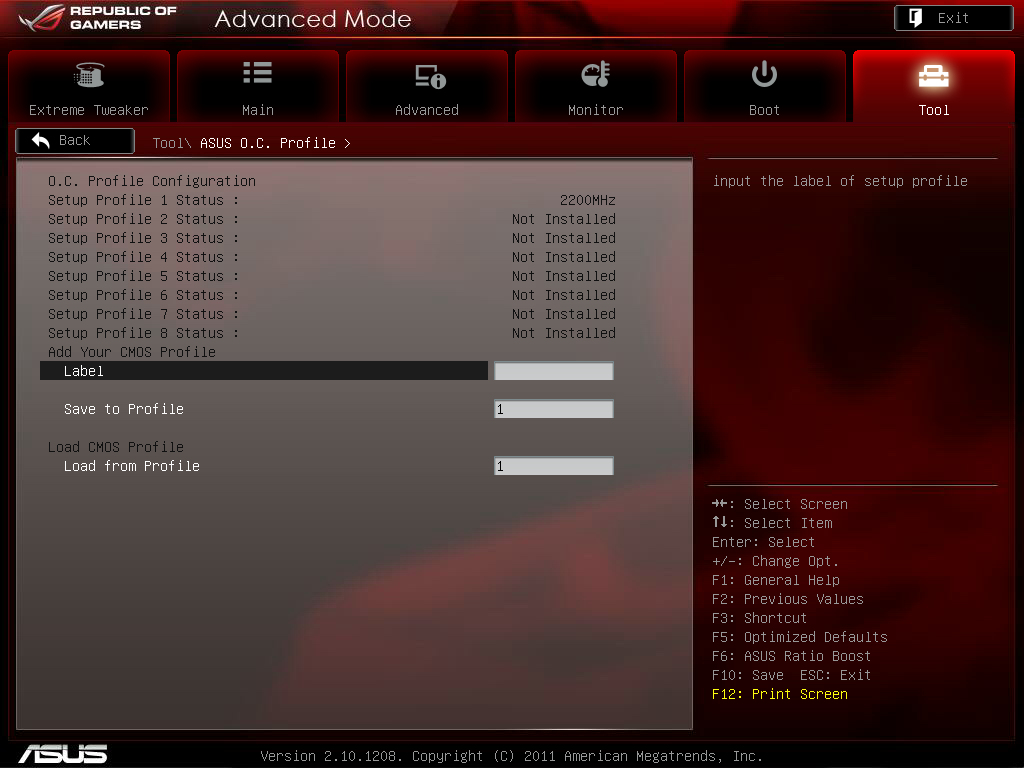
Go Botton快速超頻設定值
http://picx.xfastest.com/elvis/MB/ASUS/R4F/BIOS-40.jpg
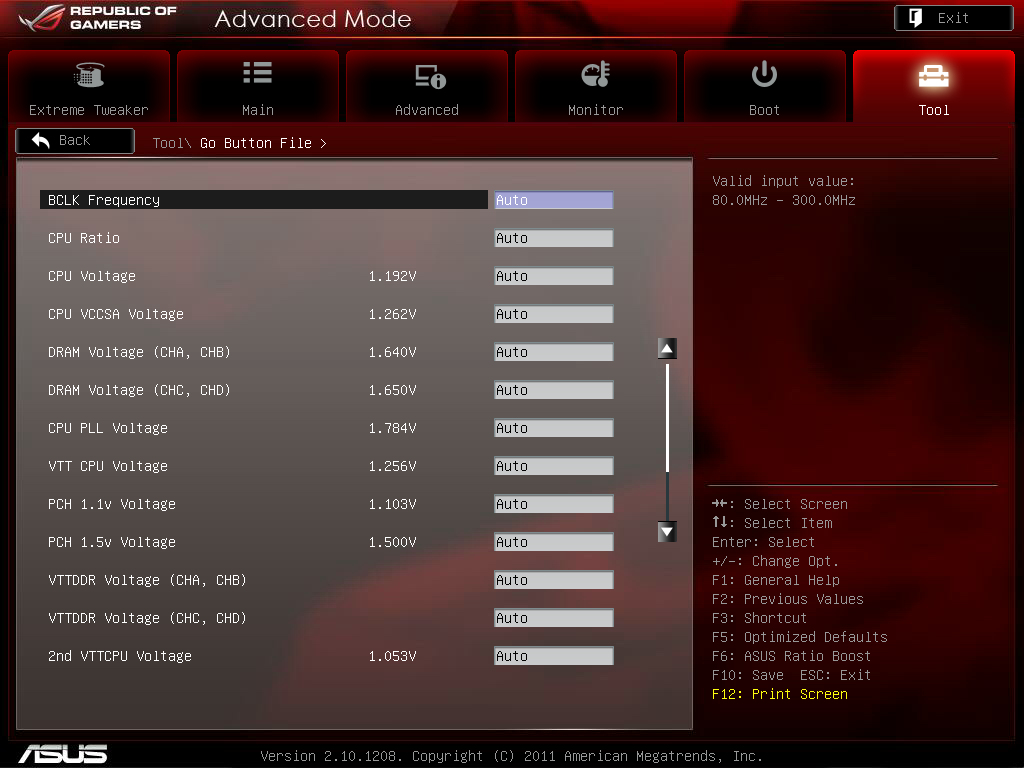
效能實測
由於4通道記憶體要能穩定運作的條件非常嚴苛,為了穩定性
不少廠商在較低價位的X79主機板產品只使用單一組4通道,也就只有4 DIMM的插槽
目前桌上型電腦用的DDR3記憶體單條容量最高為8GB,
在4 DIMM與8 DIMM主機板都插滿的狀況下就會有32GB的容量落差,
想必爽度就會差非常多
直接跑8條DDR3-2133MHz 8GB,總共64GB讓大家見證一下R4E的實力吧
http://picx.xfastest.com/elvis/MB/ASUS/R4E/2133-64GB/01.jpg
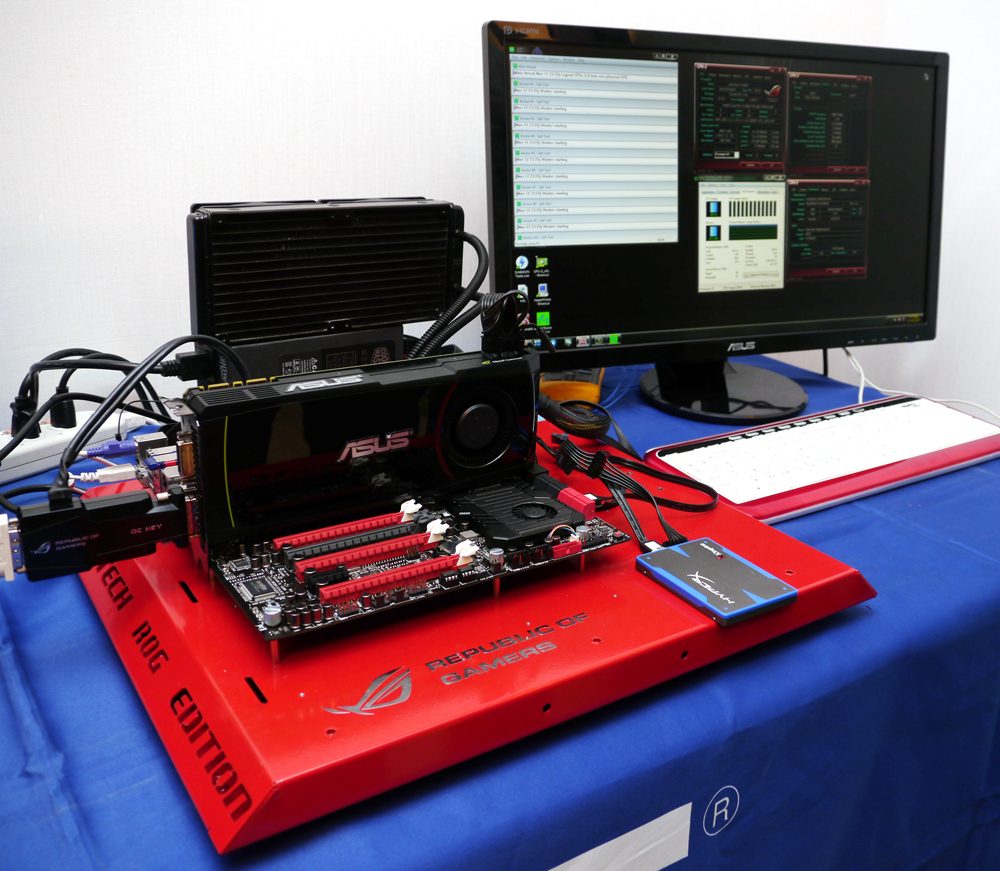
測試平台與環境
CPU: Intel Core i7-3960X
Cooler: Corsair H100
MB: ASUS ROG Rampage IV Extreme
RAM: G.Skill RipjawsZ DDR3-2133 64GB(8GB*8)Kit
Graphic: ASUS ENGTX580
Storage: Kingston HyperX SSD 120GB
PSU: CoolerMaster Silent Pro Hybrid 1300W
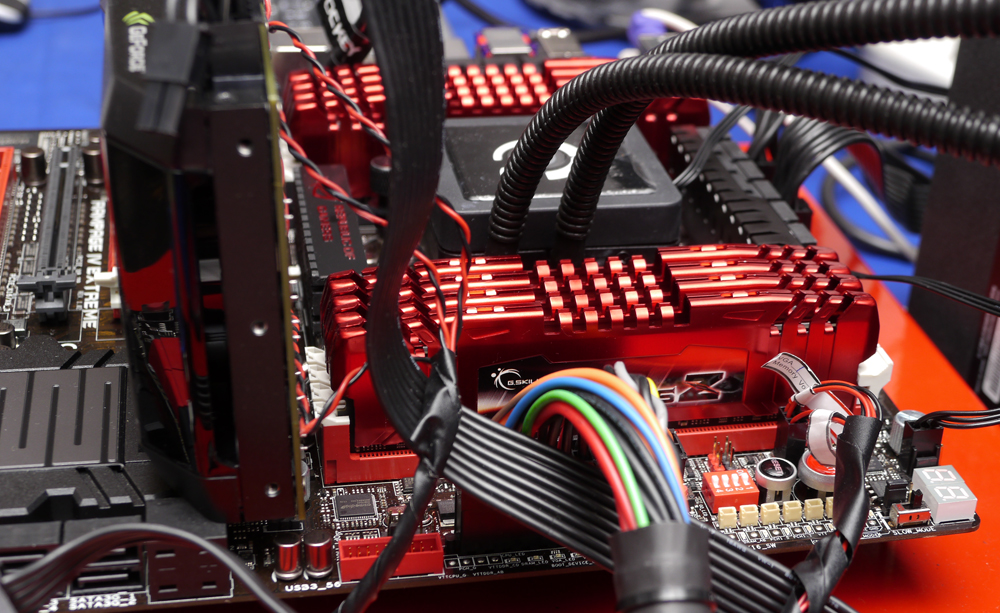
http://picx.xfastest.com/elvis/MB/ASUS/R4E/2133-64GB/02.jpg
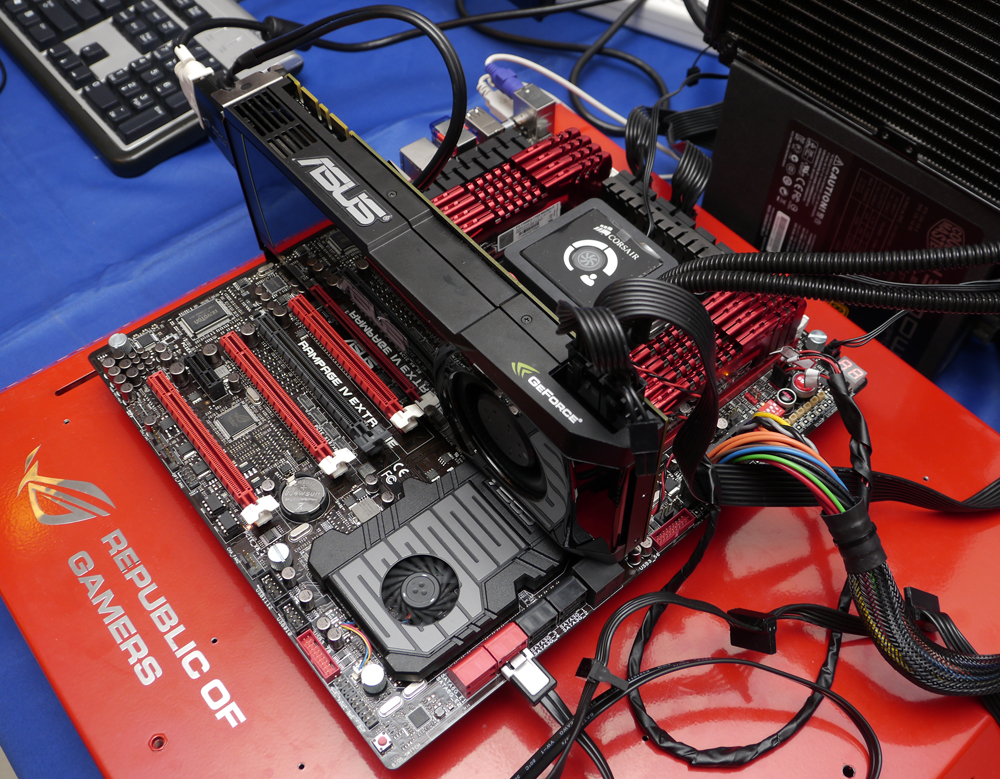
8條8GB全部插滿才叫做霸氣
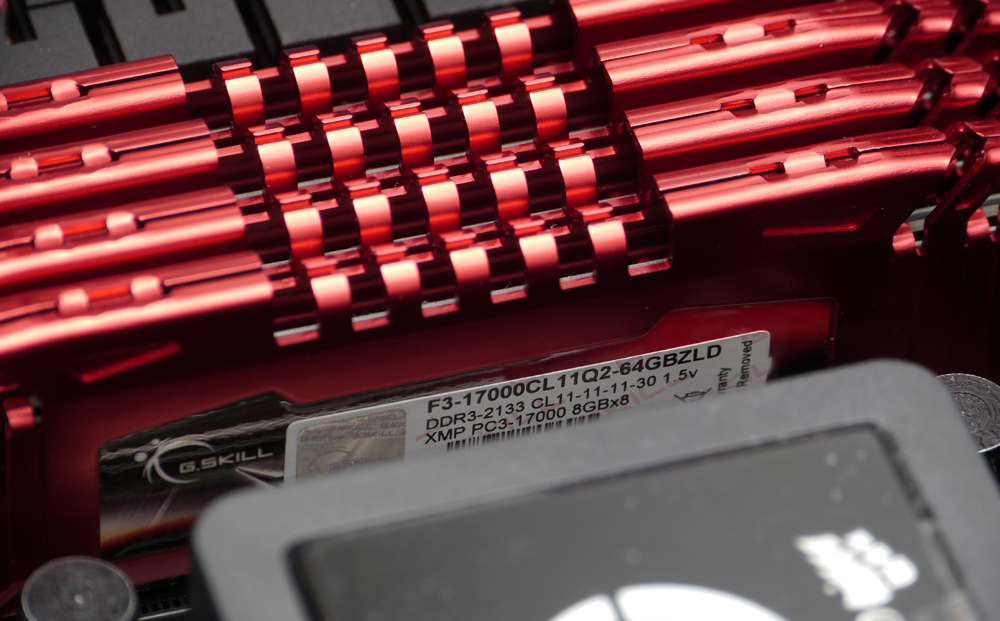
http://picx.xfastest.com/elvis/MB/ASUS/R4E/2133-64GB/03.jpg
這次的記憶體型號G.Skill RipjawsZ F3-17000CL11Q2-64GBZLD,
可運作2133MHz的單條8GB模組
http://picx.xfastest.com/elvis/MB/ASUS/R4E/2133-64GB/04.jpg
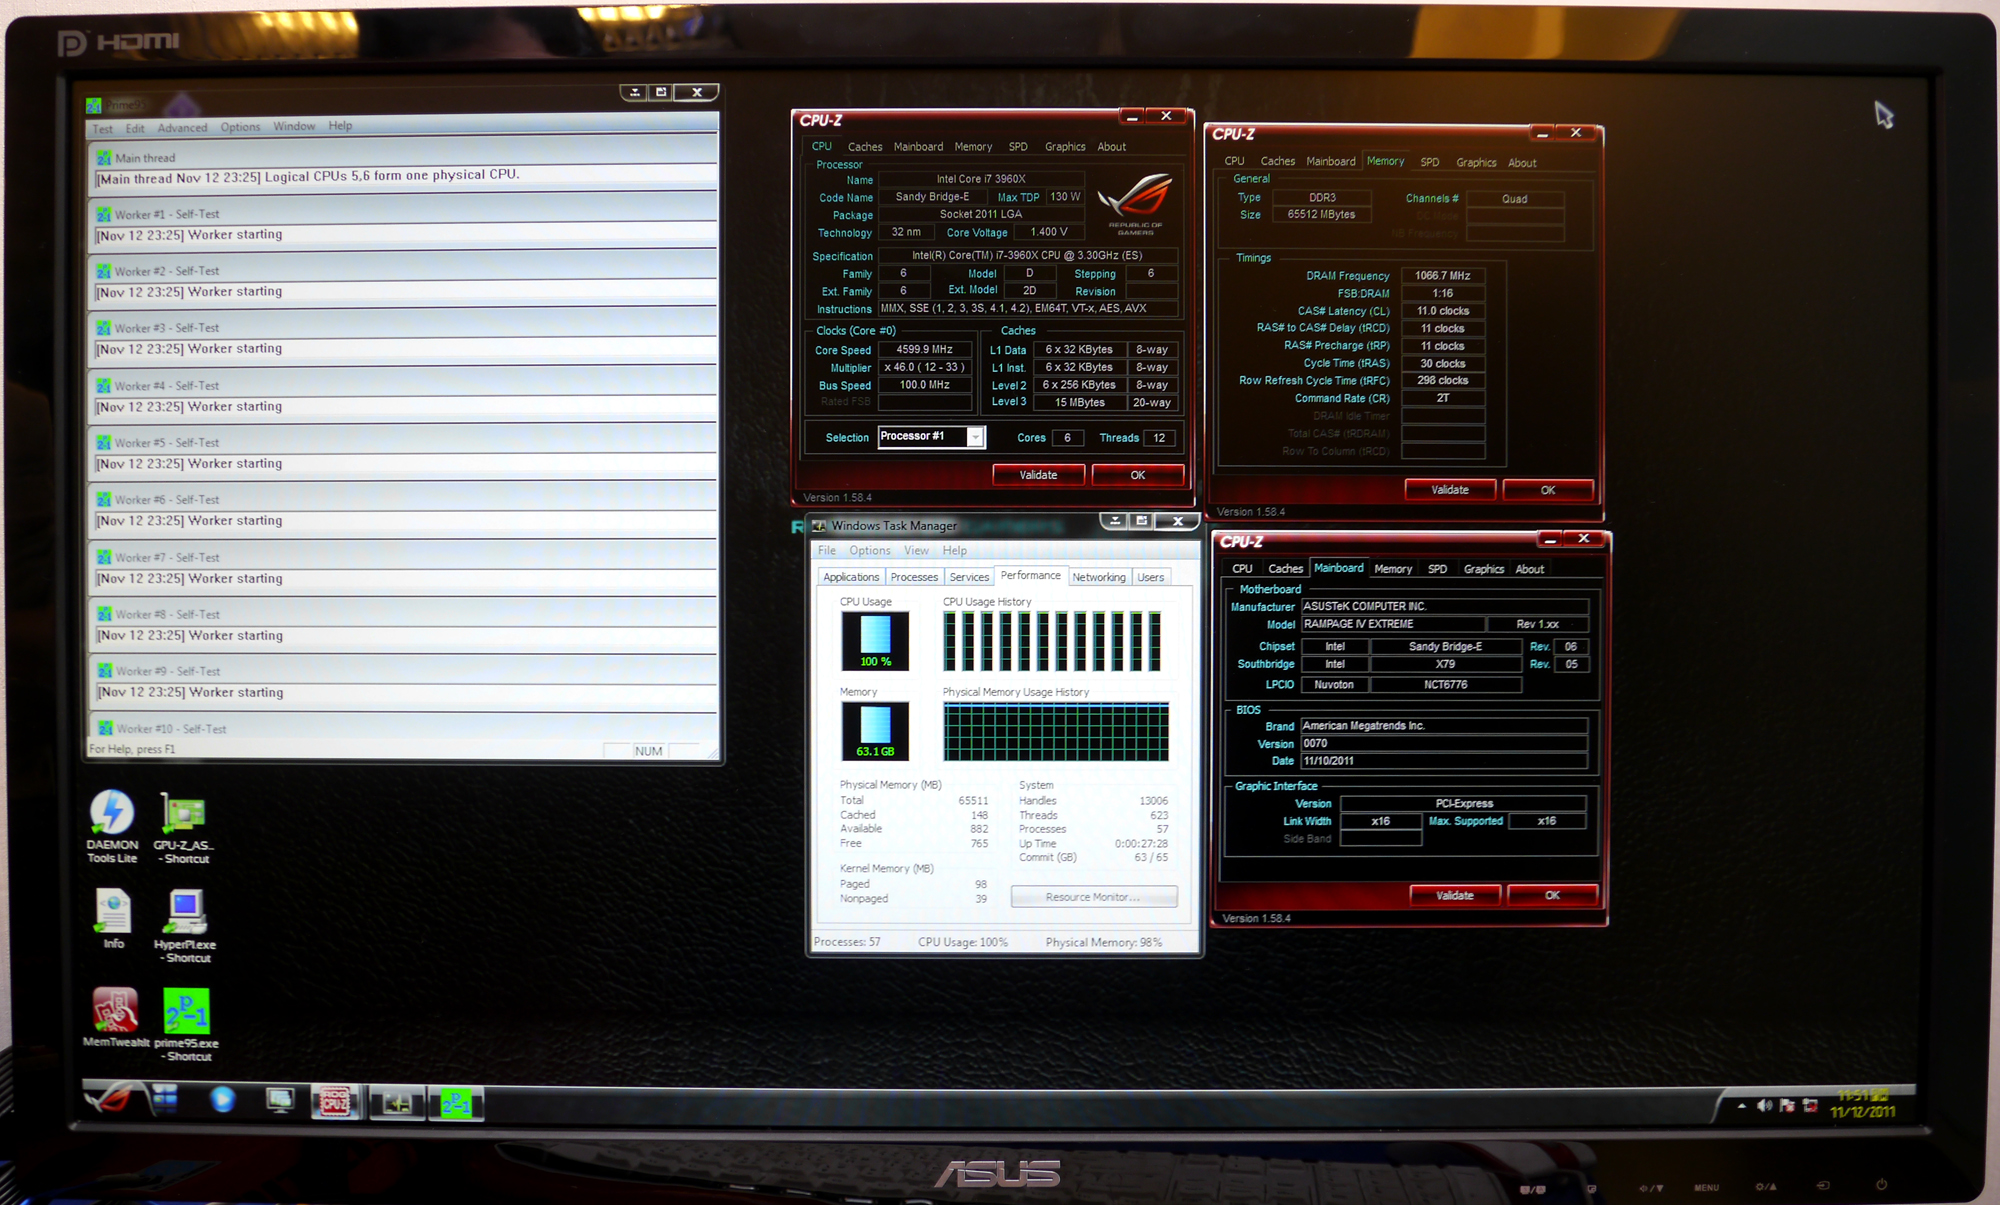
CPU超頻至4.6GHz,配上2133MHz的8條8GB共64GB RAM,Prime95輕鬆燒
http://picx.xfastest.com/elvis/MB/ASUS/R4E/2133-64GB/05.jpg
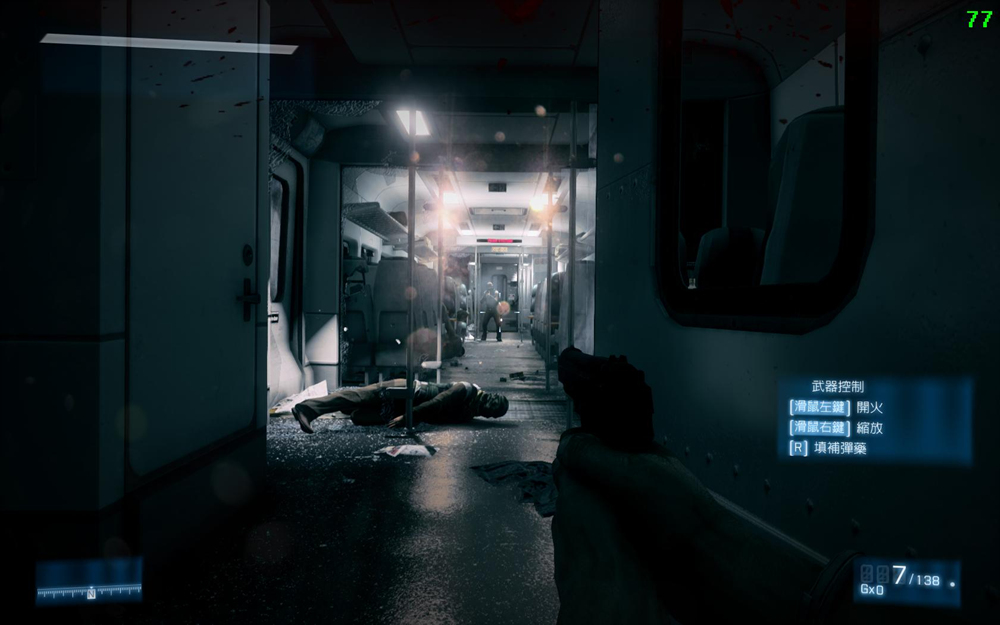
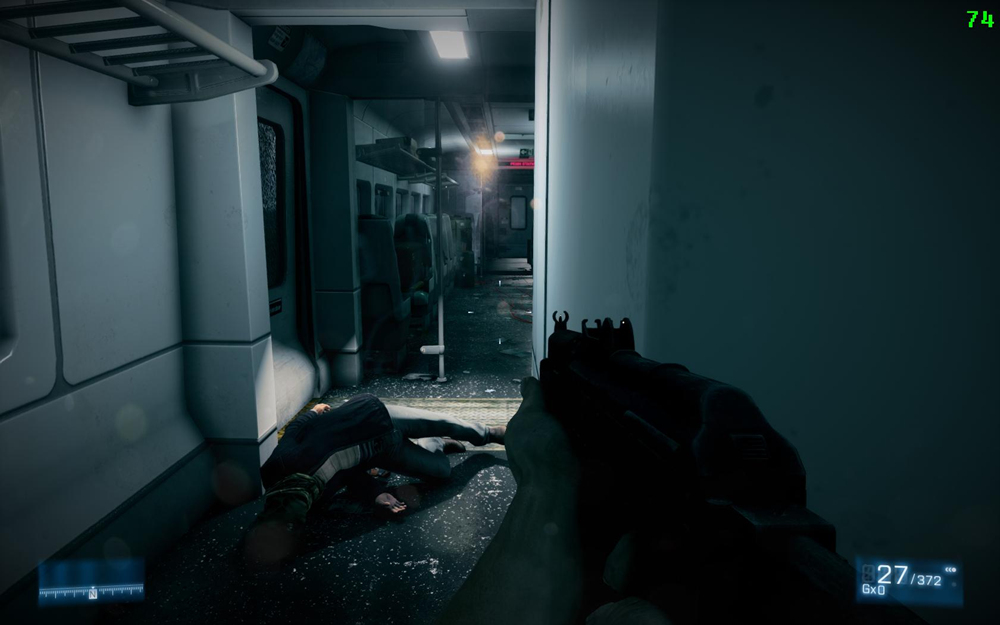
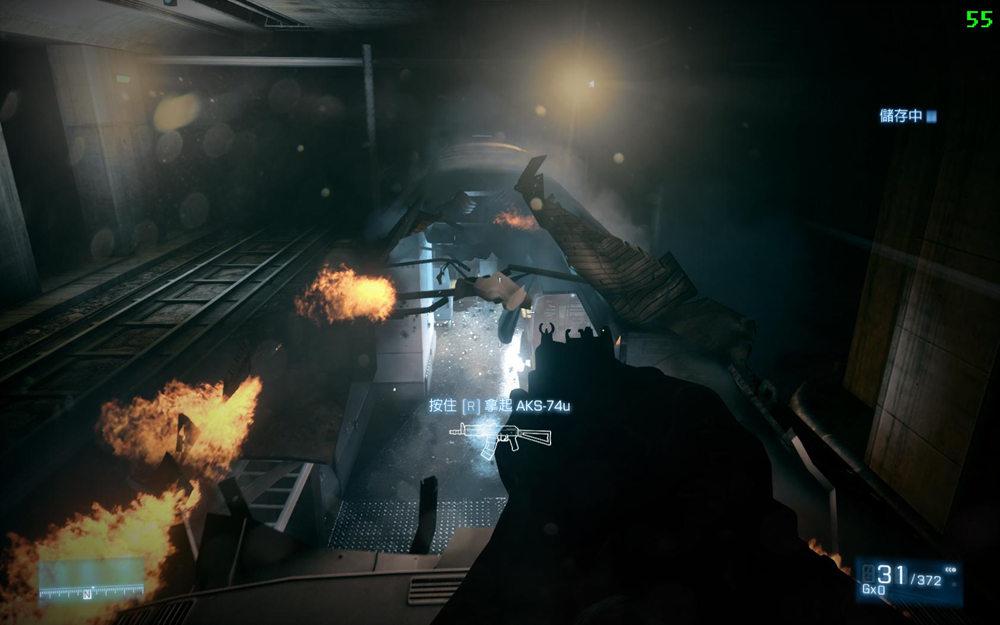
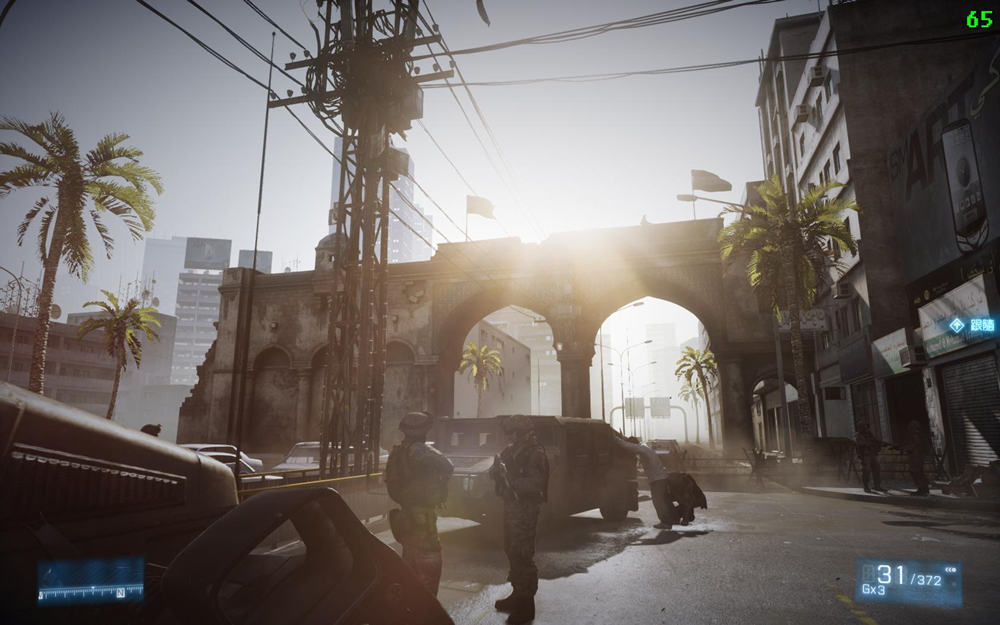
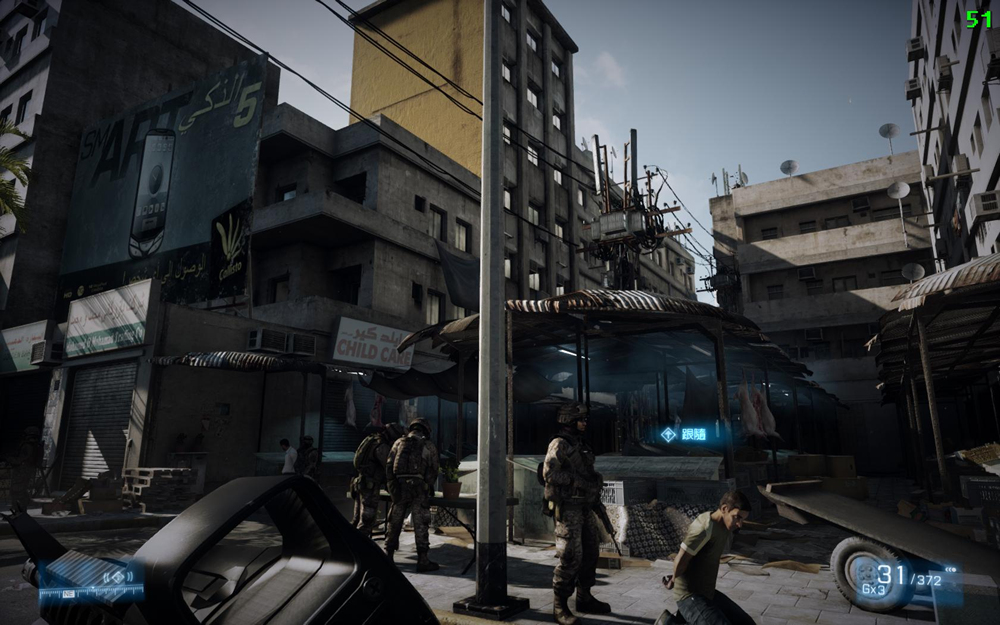
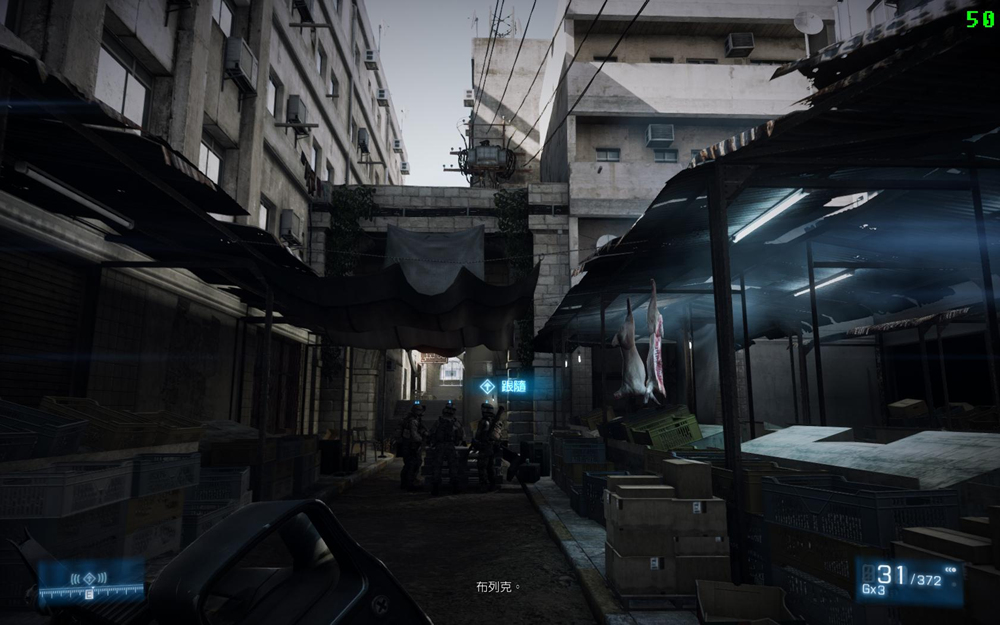
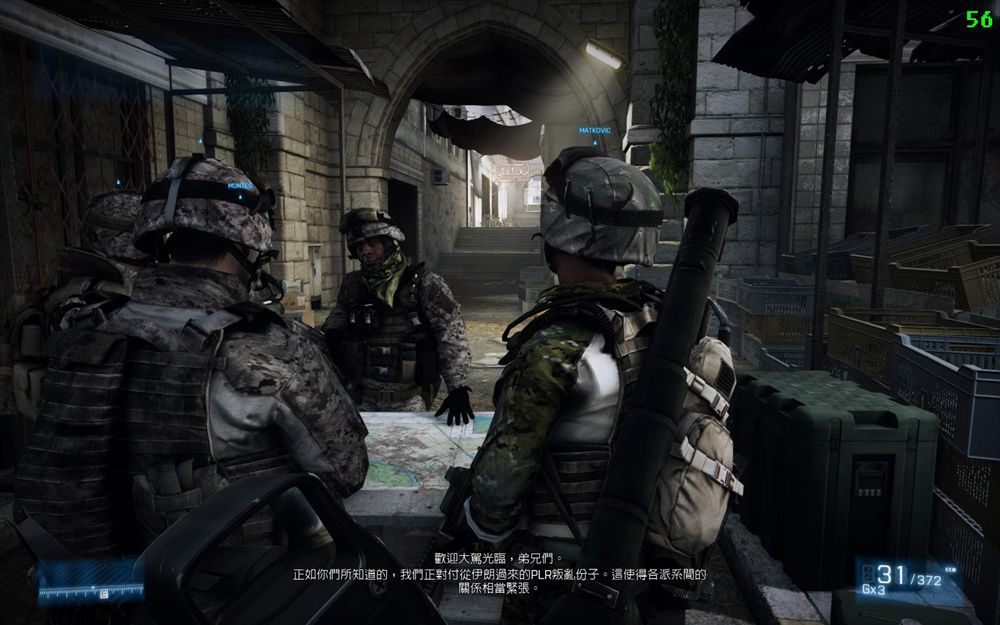
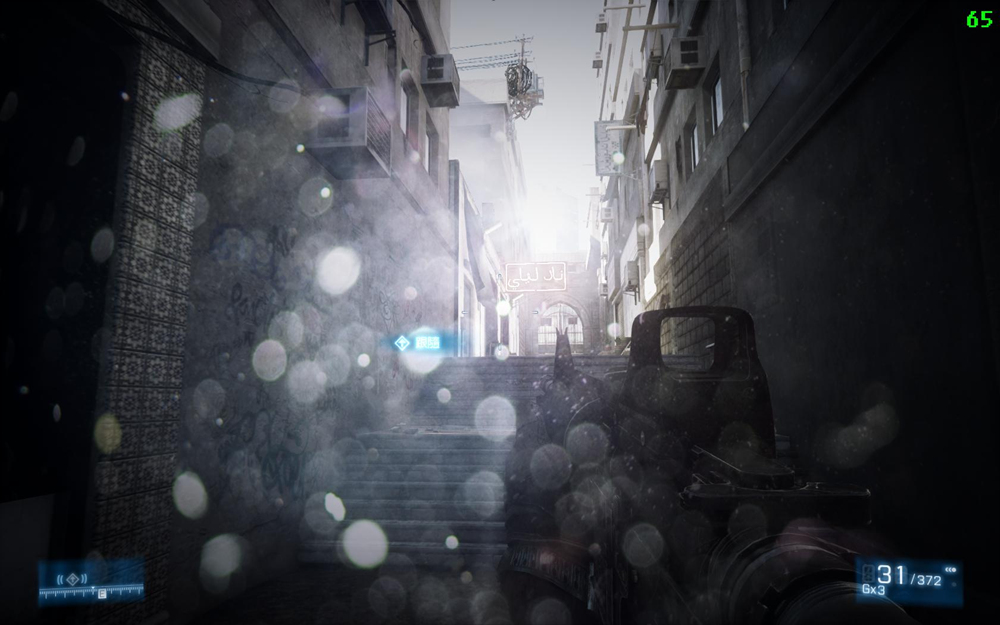
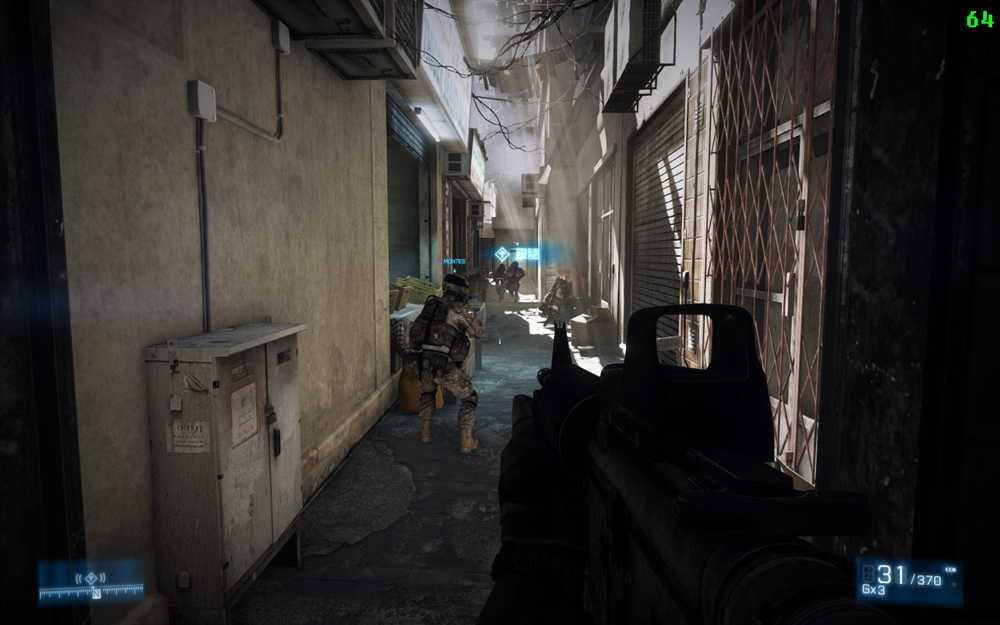
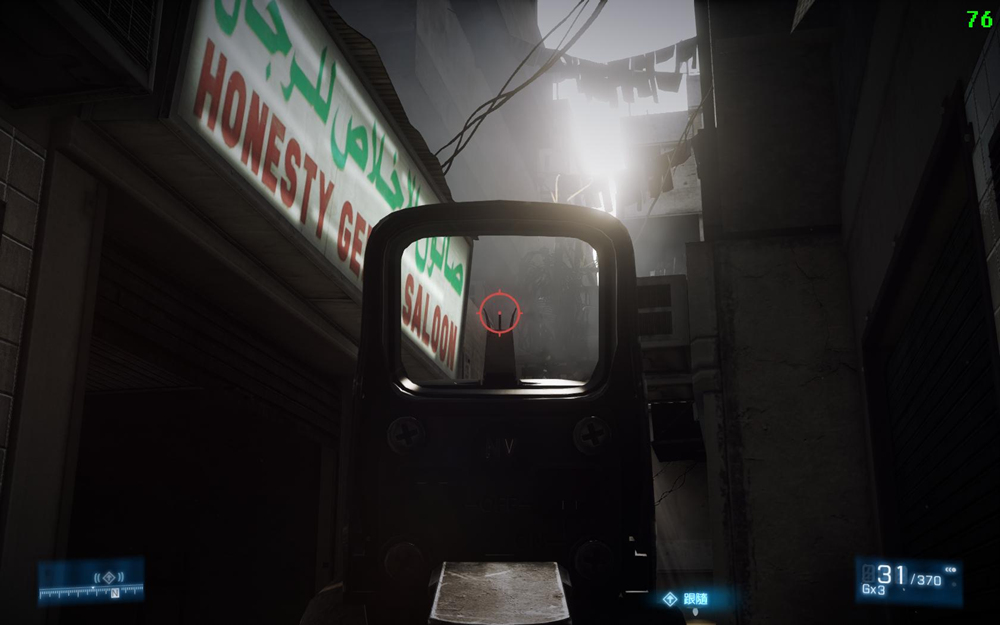
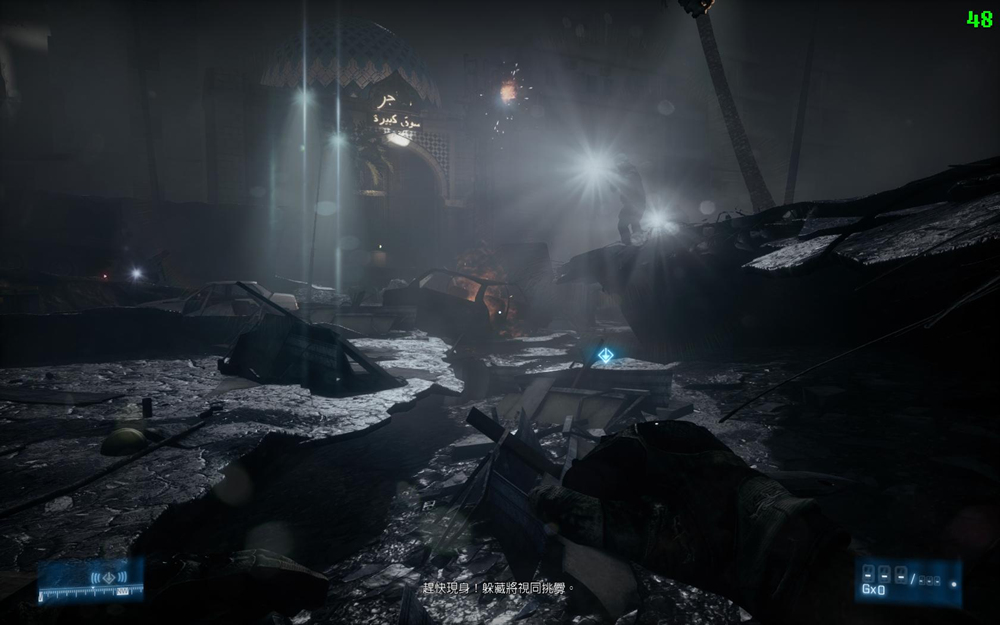
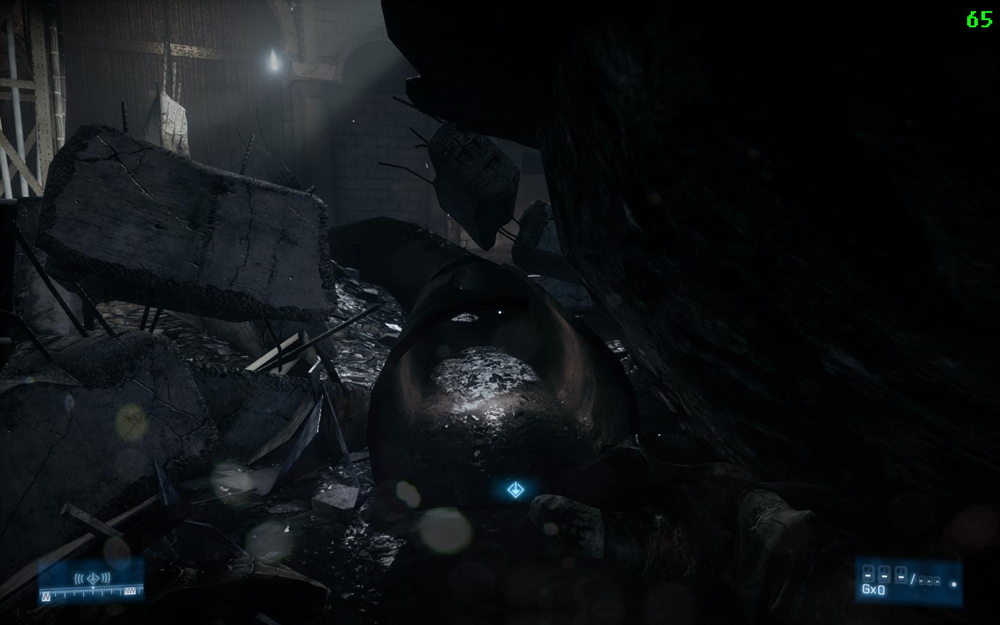
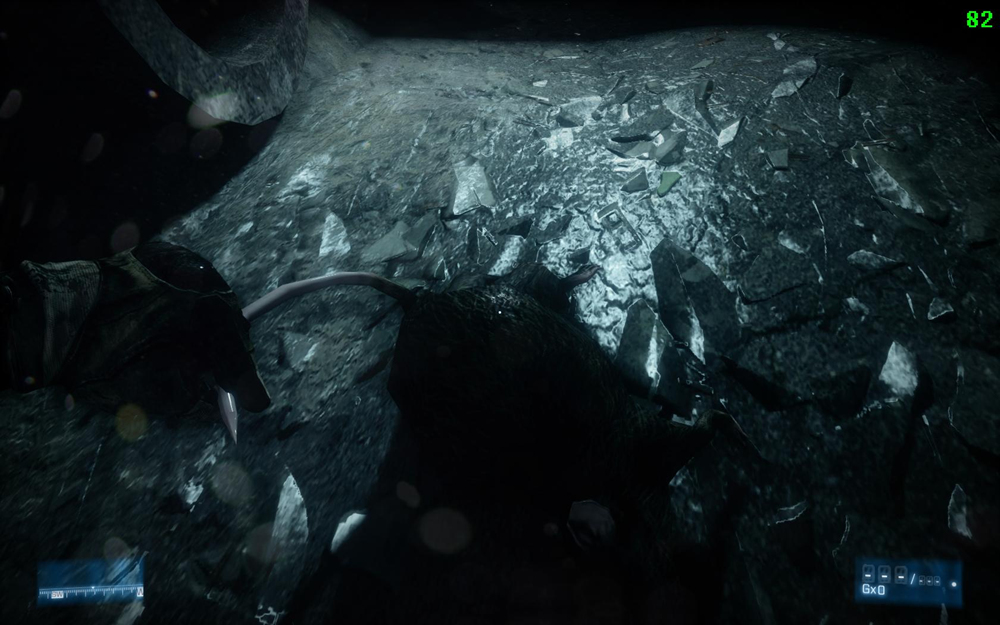
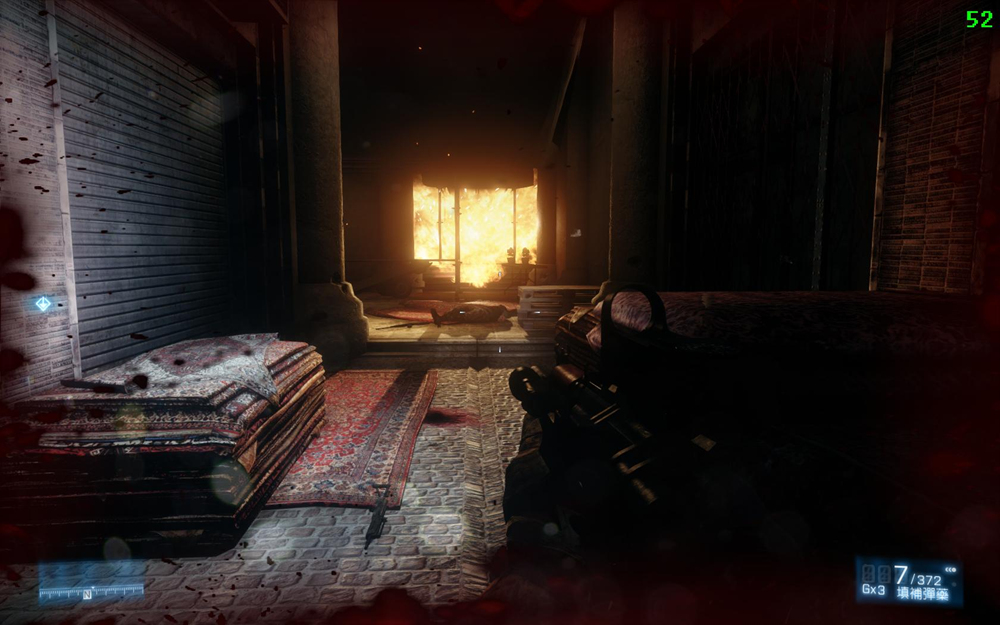
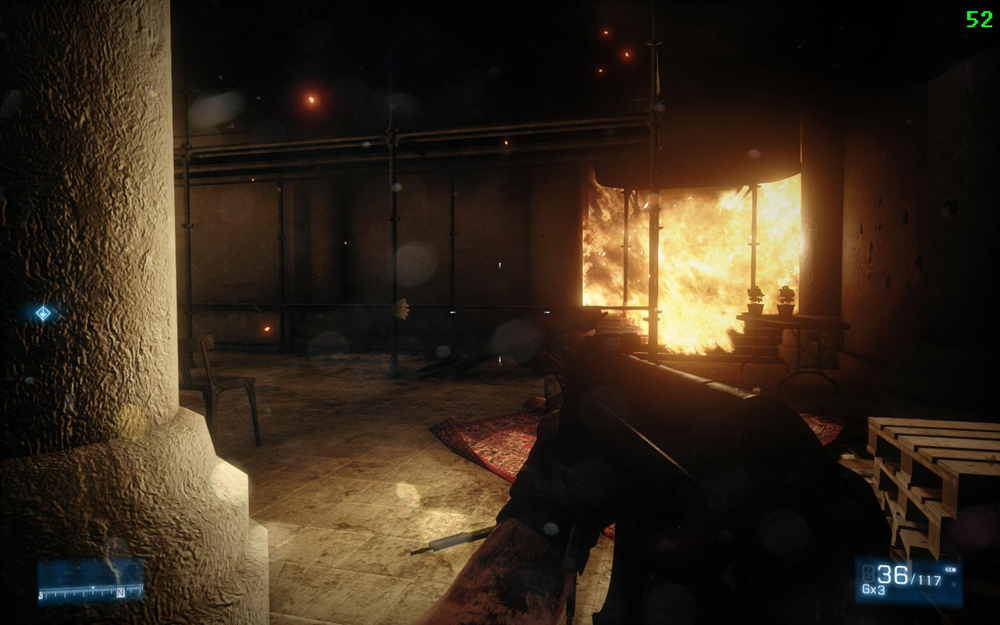
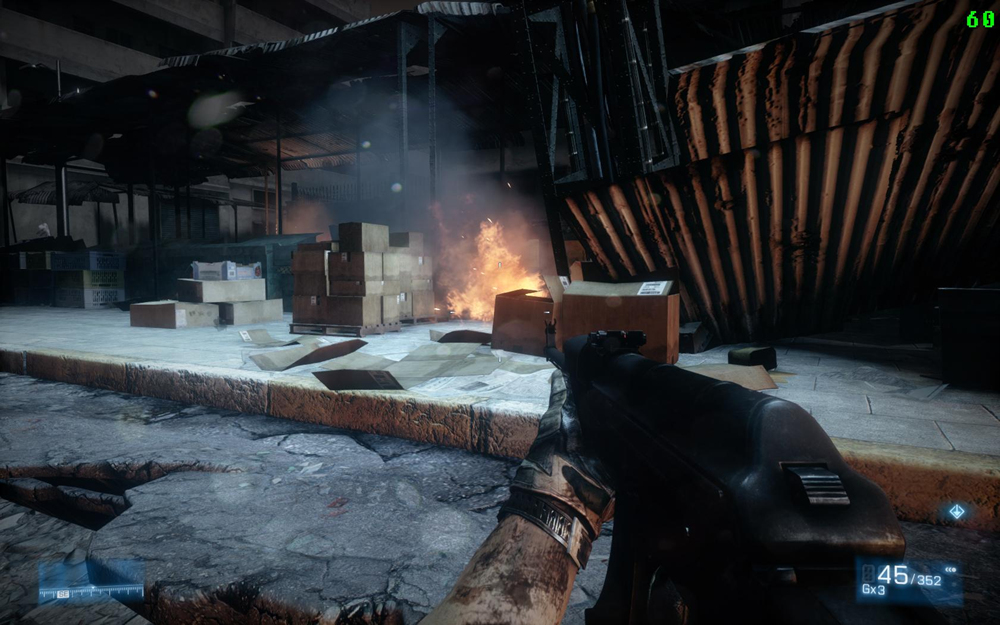
BF3輕鬆玩
既然是Battlefied3限定版,當然要來看一下搭配GeForce GTX 580
在特效開到Ultra的狀況下的畫面與FPS的表現囉~
http://picx.xfastest.com/elvis/MB/ASUS/R4E/BF3/01.jpg


USB 3.0 Boost
華碩在發表X79系列主機板時開始導入USB 3.0加速技術,
運用UASP的模式擴增USB 3.0介面的傳輸效率。
UASP為USB Attached SCSI Protocol的縮寫,
主要利用類似SCSI的多工傳輸方式達到加速效果。
本機與裝置端的硬體/韌體/驅動都支援UASP的情況下,
可讓USB 3.0的超大頻寬被充分利用。
UASP的Driver被包含在AI Suite II套件下,要記得安裝XD
http://picx.xfastest.com/elvis/MB/ASUS/R4E/U3-Boost/00.png
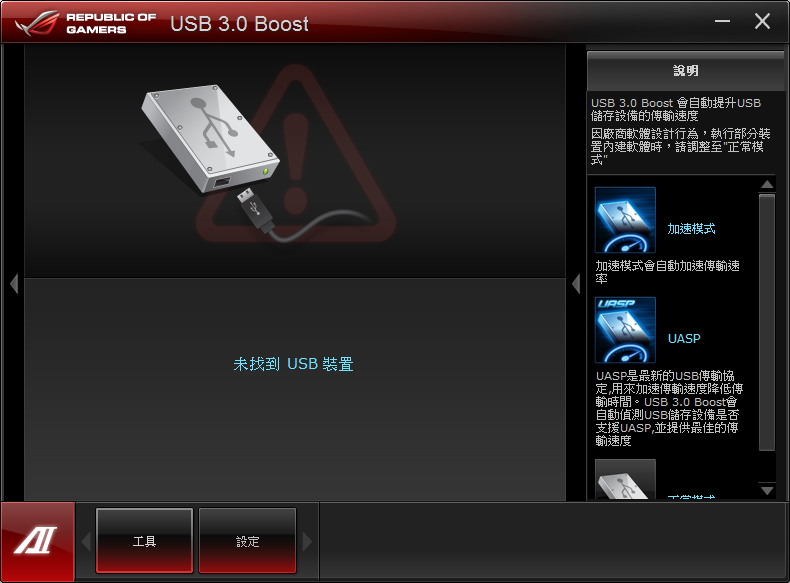
先來看不支援UASP模式的Sharkoon Flexi-Drive Ultimate USB 3.0 128GB隨身碟的情況
標準模式下
http://picx.xfastest.com/elvis/MB/ASUS/R4E/U3-Boost/01.png
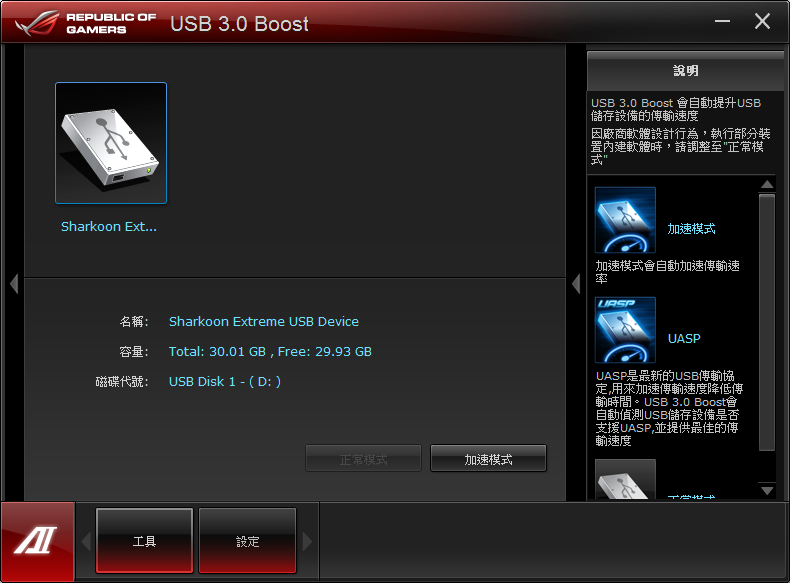
只能開啟一般的Turbo加速模式
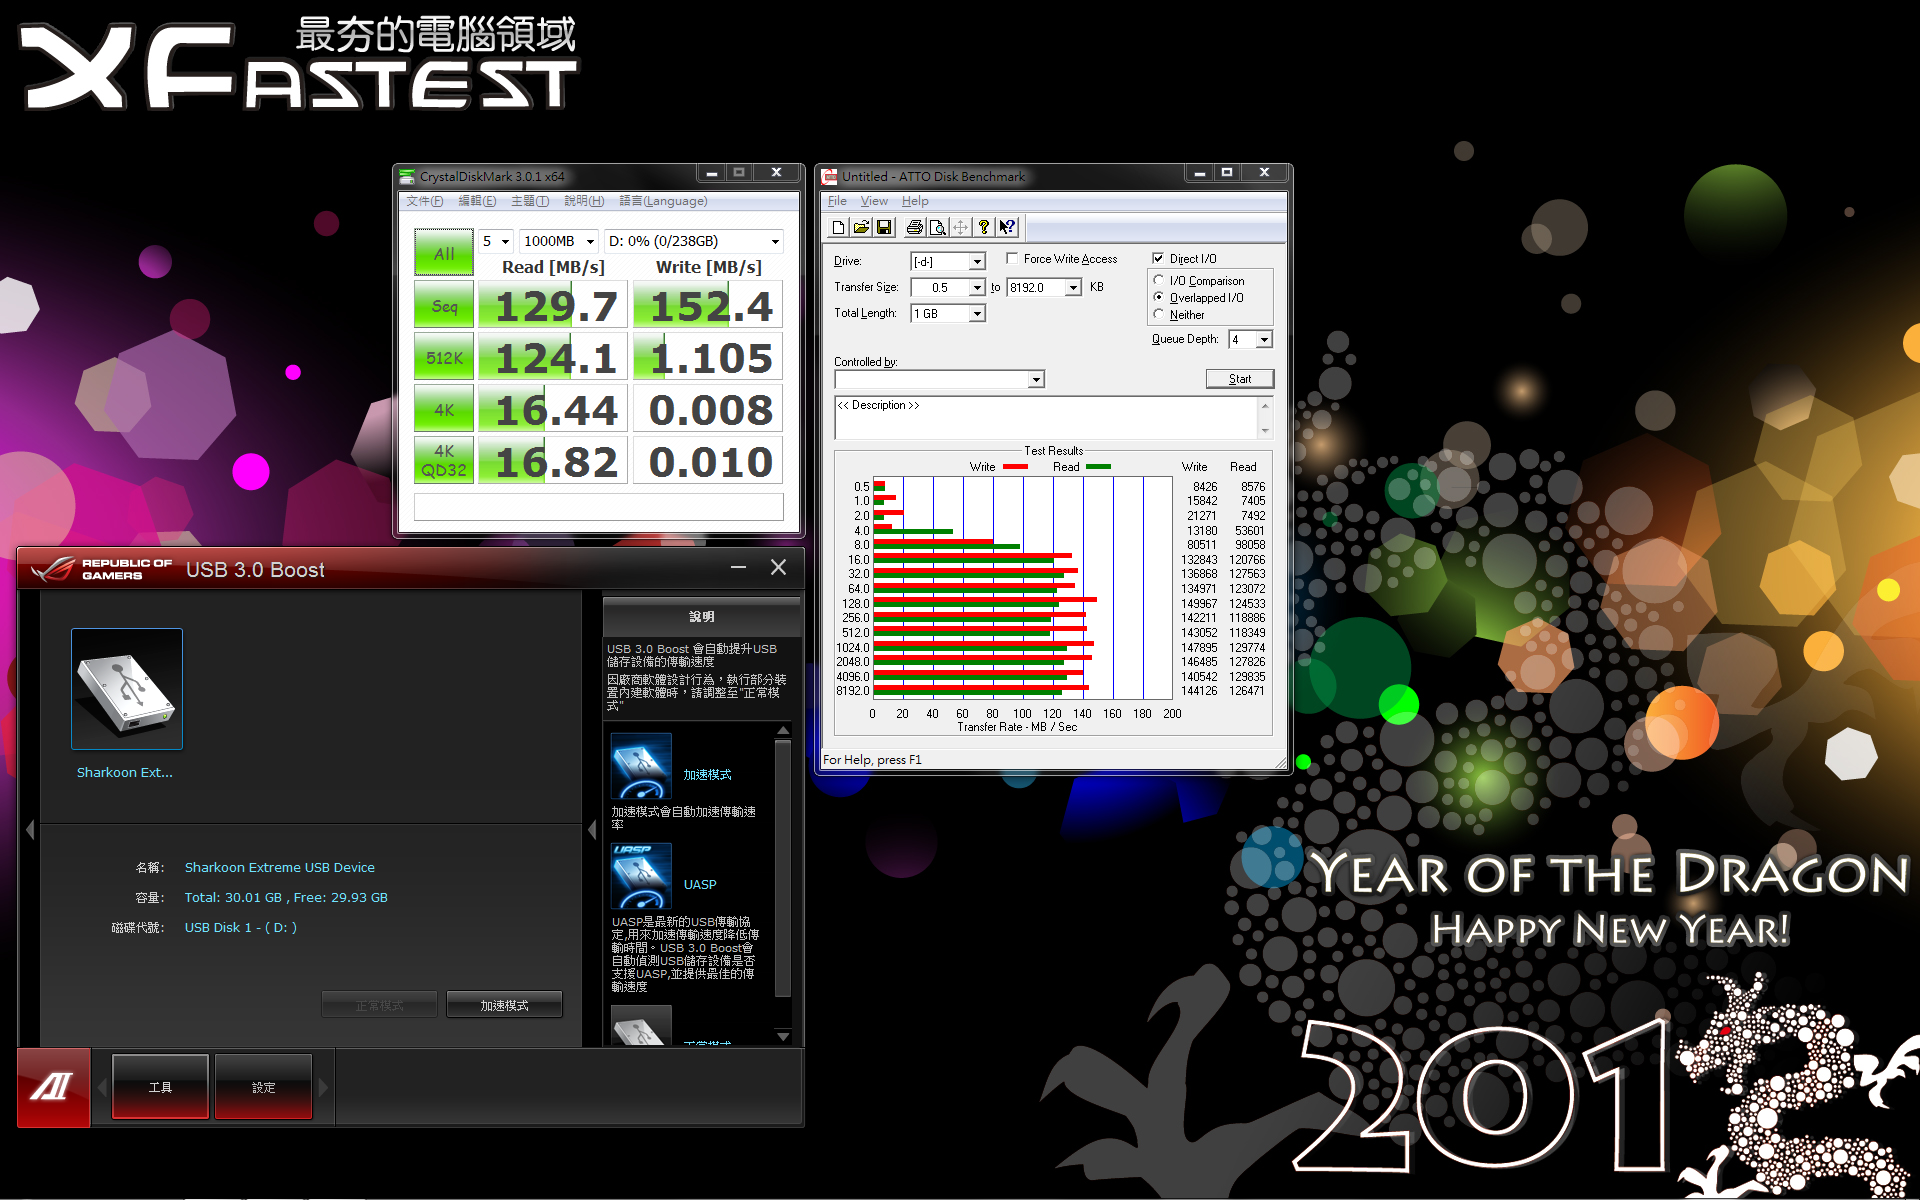
http://picx.xfastest.com/elvis/MB/ASUS/R4E/U3-Boost/02.png


再來看支援UASP的華碩2.5" USB 3.0外接盒連接傳統機械式硬碟與SATA 3.0 SSD的情況
http://picx.xfastest.com/elvis/MB/ASUS/R4E/U3-Boost/ASMT-2105.jpg
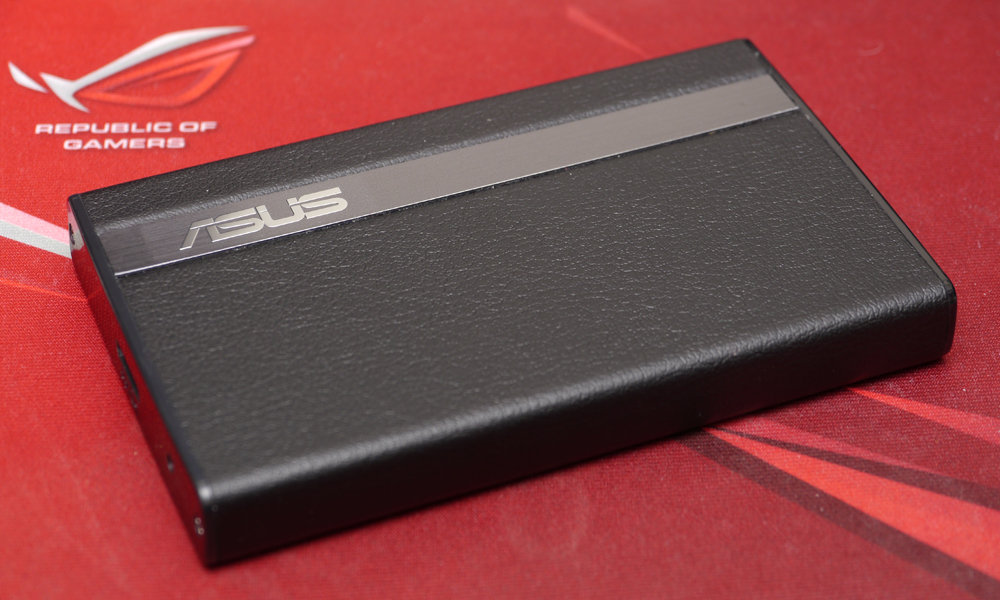

機械式硬碟Seagate Momentus XT 750GB
標準模式
http://picx.xfastest.com/elvis/MB/ASUS/R4E/U3-Boost/HDD.png


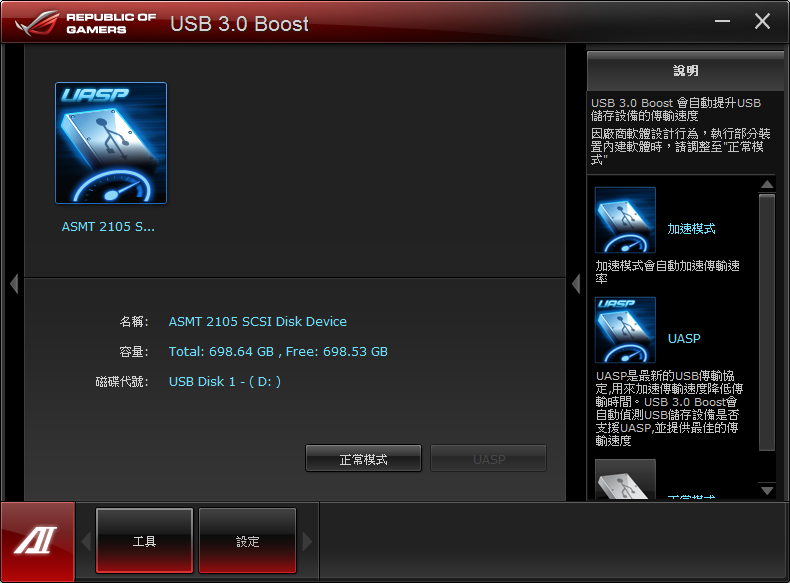
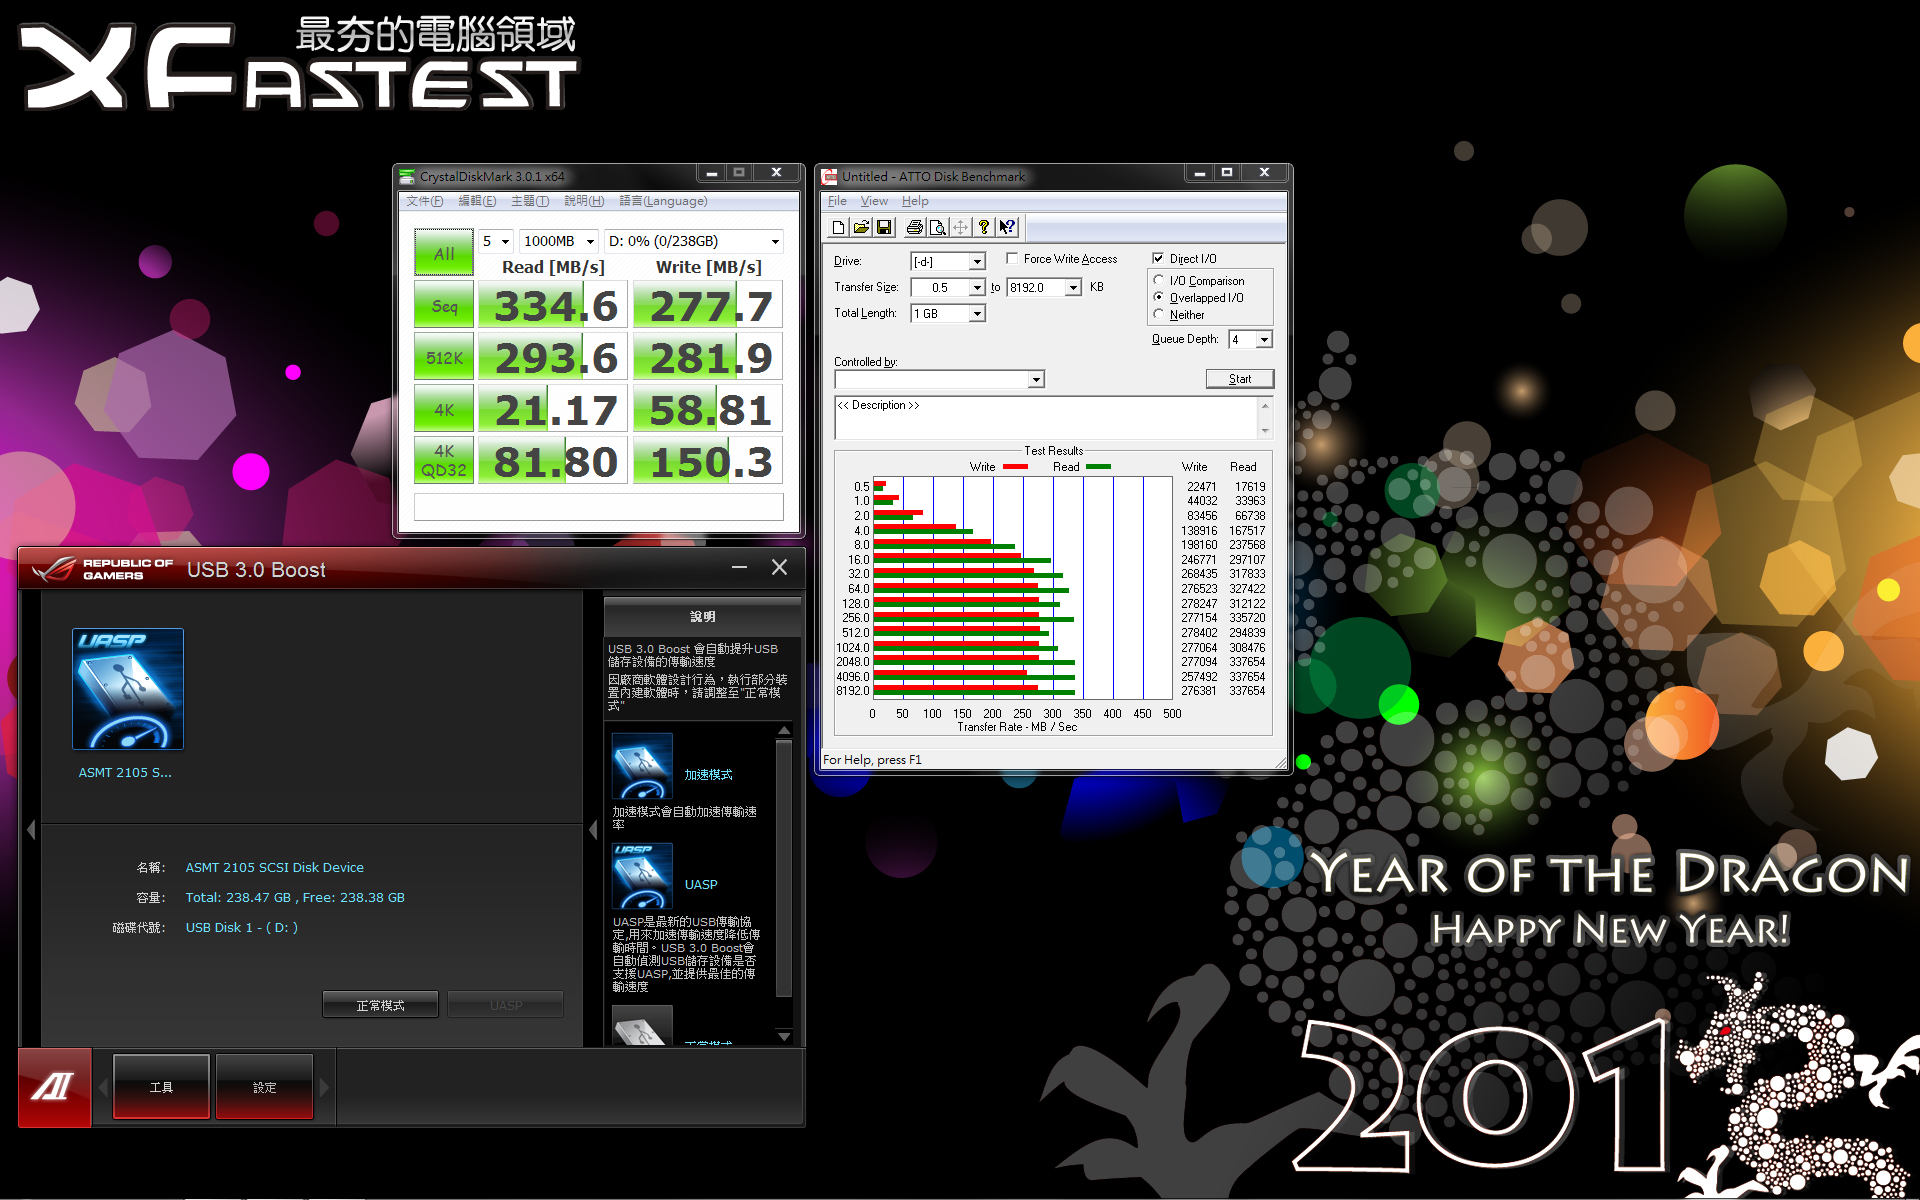
Micron Crucial M4 SSD 256GB
標準模式
http://picx.xfastest.com/elvis/MB/ASUS/R4E/U3-Boost/SSD.png
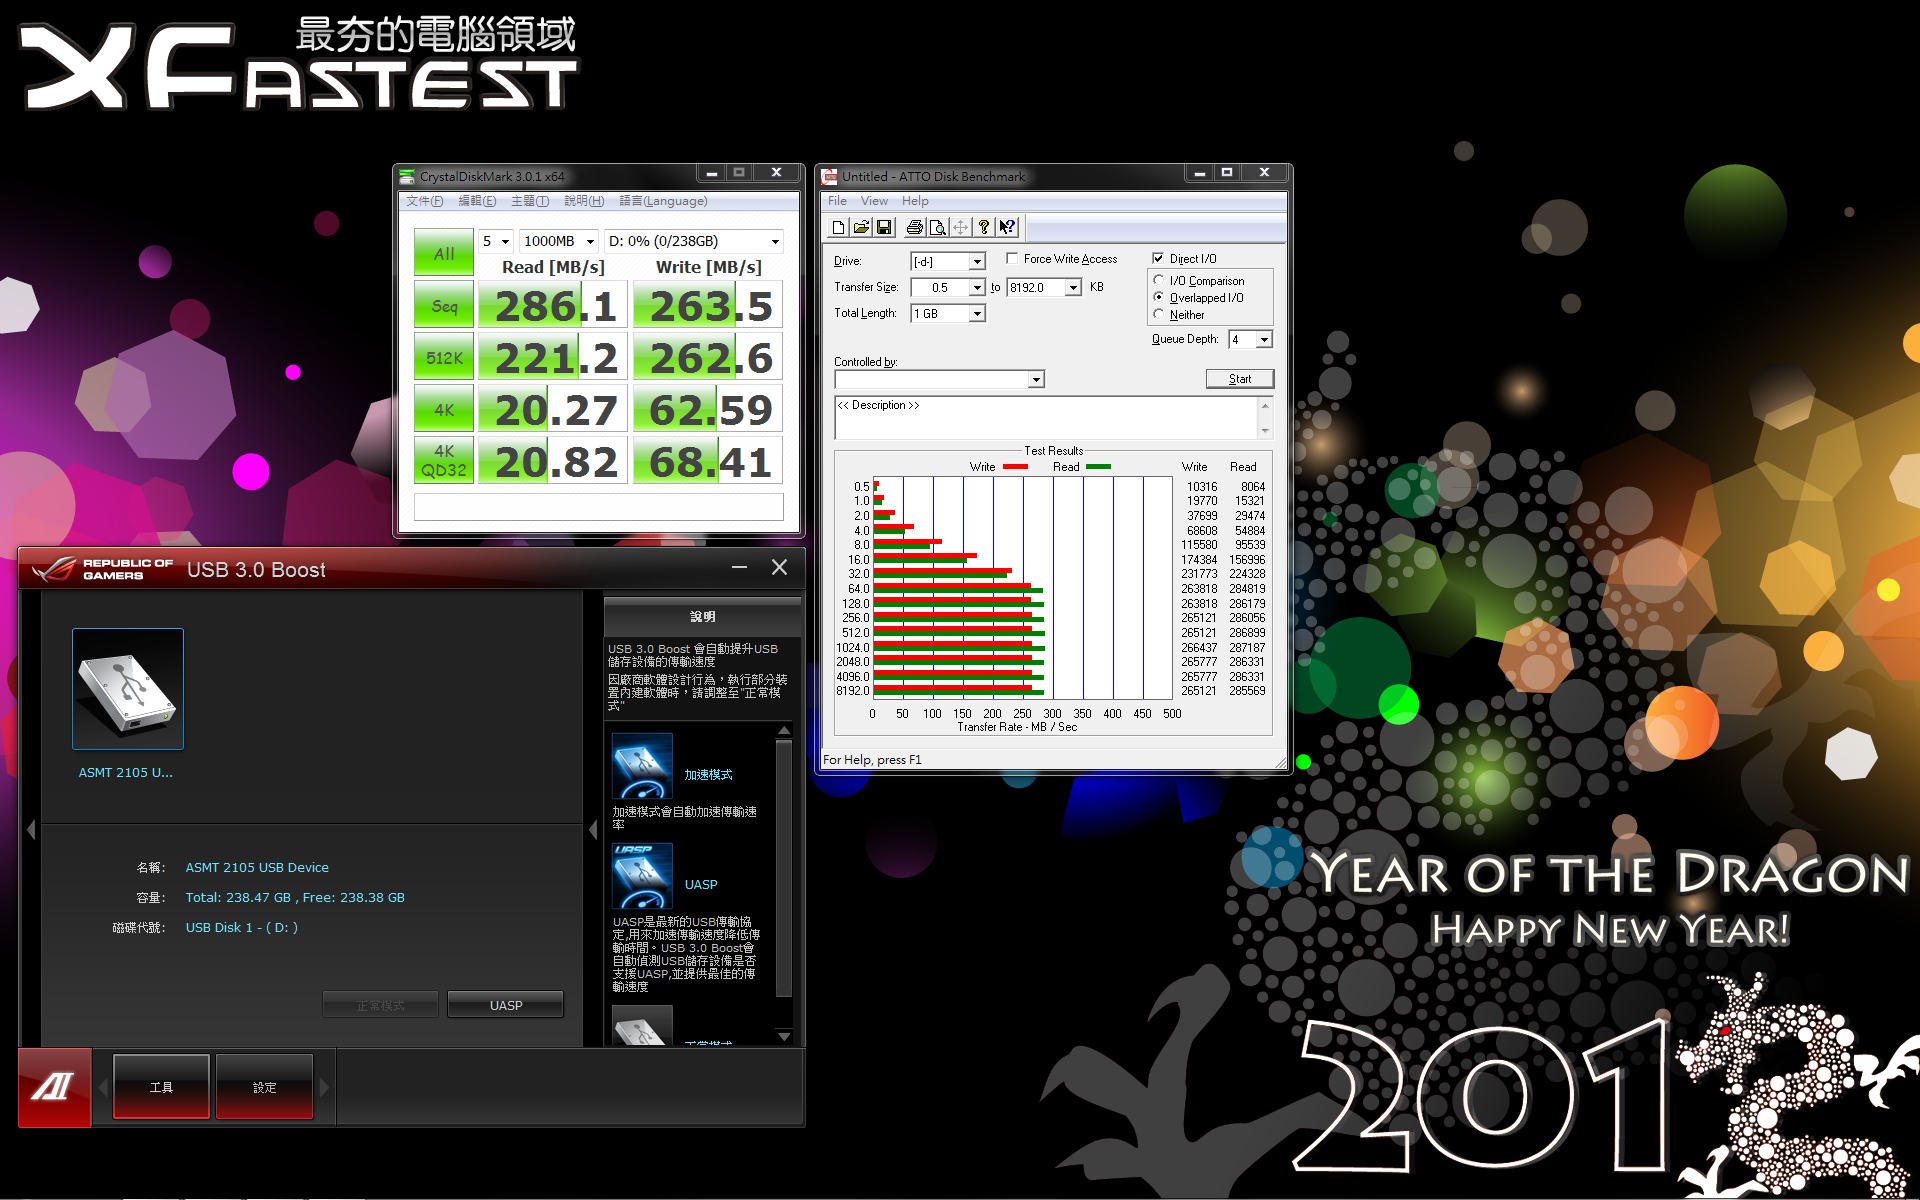
參照以上測試結果可以發現Turbo模式的加速效益並不大。
而啟動UASP模式的傳統硬碟雖然最高傳輸速率受限於裝置本身,
但透過ATTO的數據發現小檔的讀寫都有不少的增幅。
在SATA 6Gb/s的SSD啟動UASP模式無論讀寫都獲得非常明顯的加速效果!!
心得
對玩家來說,無論是遊戲或超頻,目的就只為一個"爽度"!
想要爽爽玩、爽爽超頻,千萬別忘了準備一張ASUS ROG Rampage IV Extreme主機板,
有Battlefied3限定包更好!
--
推
08/10 19:09,
08/10 19:09
--
※ 發信站: 批踢踢實業坊(ptt.cc)
◆ From: 220.133.46.24
※ 編輯: ChangElvis 來自: 220.133.46.24 (01/28 20:26)
→
01/28 20:26, , 1F
01/28 20:26, 1F
推
01/28 20:26, , 2F
01/28 20:26, 2F
推
01/28 20:26, , 3F
01/28 20:26, 3F
推
01/28 21:32, , 4F
01/28 21:32, 4F
→
01/28 21:34, , 5F
01/28 21:34, 5F
→
01/28 21:36, , 6F
01/28 21:36, 6F
→
01/28 21:38, , 7F
01/28 21:38, 7F
→
01/28 21:38, , 8F
01/28 21:38, 8F
推
01/28 21:40, , 9F
01/28 21:40, 9F
推
01/28 21:45, , 10F
01/28 21:45, 10F
推
01/28 21:49, , 11F
01/28 21:49, 11F
推
01/29 00:05, , 12F
01/29 00:05, 12F
推
01/30 09:14, , 13F
01/30 09:14, 13F
PC_Shopping 近期熱門文章

PTT數位生活區 即時熱門文章
90
158
